Difference between revisions of "Projets:Perso:2011:Motorshield:assembly"
(Pas de contenu pour l'instant: juste une tentative de structure pour guide pas à pas) |
|||
| Line 2: | Line 2: | ||
get me back from here ! I can't hit return myself ! | get me back from here ! I can't hit return myself ! | ||
| − | = | + | Step 0: matos nécessaire, etc etc etc |
| + | |||
| + | = Step 1: paste= | ||
So this is the main description for step 1. Bla bla bla toubidoubidouwhaaaaa long text long text long text long text long text long text long text long text long text long text long text long text long text long text long text long text long text long text long text long text long text long text long text long text long text long text long text long text long text long text long text long text long text long text long text long text long text long text long text long text long text long text long text long text long text long text | So this is the main description for step 1. Bla bla bla toubidoubidouwhaaaaa long text long text long text long text long text long text long text long text long text long text long text long text long text long text long text long text long text long text long text long text long text long text long text long text long text long text long text long text long text long text long text long text long text long text long text long text long text long text long text long text long text long text long text long text long text long text | ||
| − | [[File: | + | [[File:Motorshield-step10.jpg|center]] |
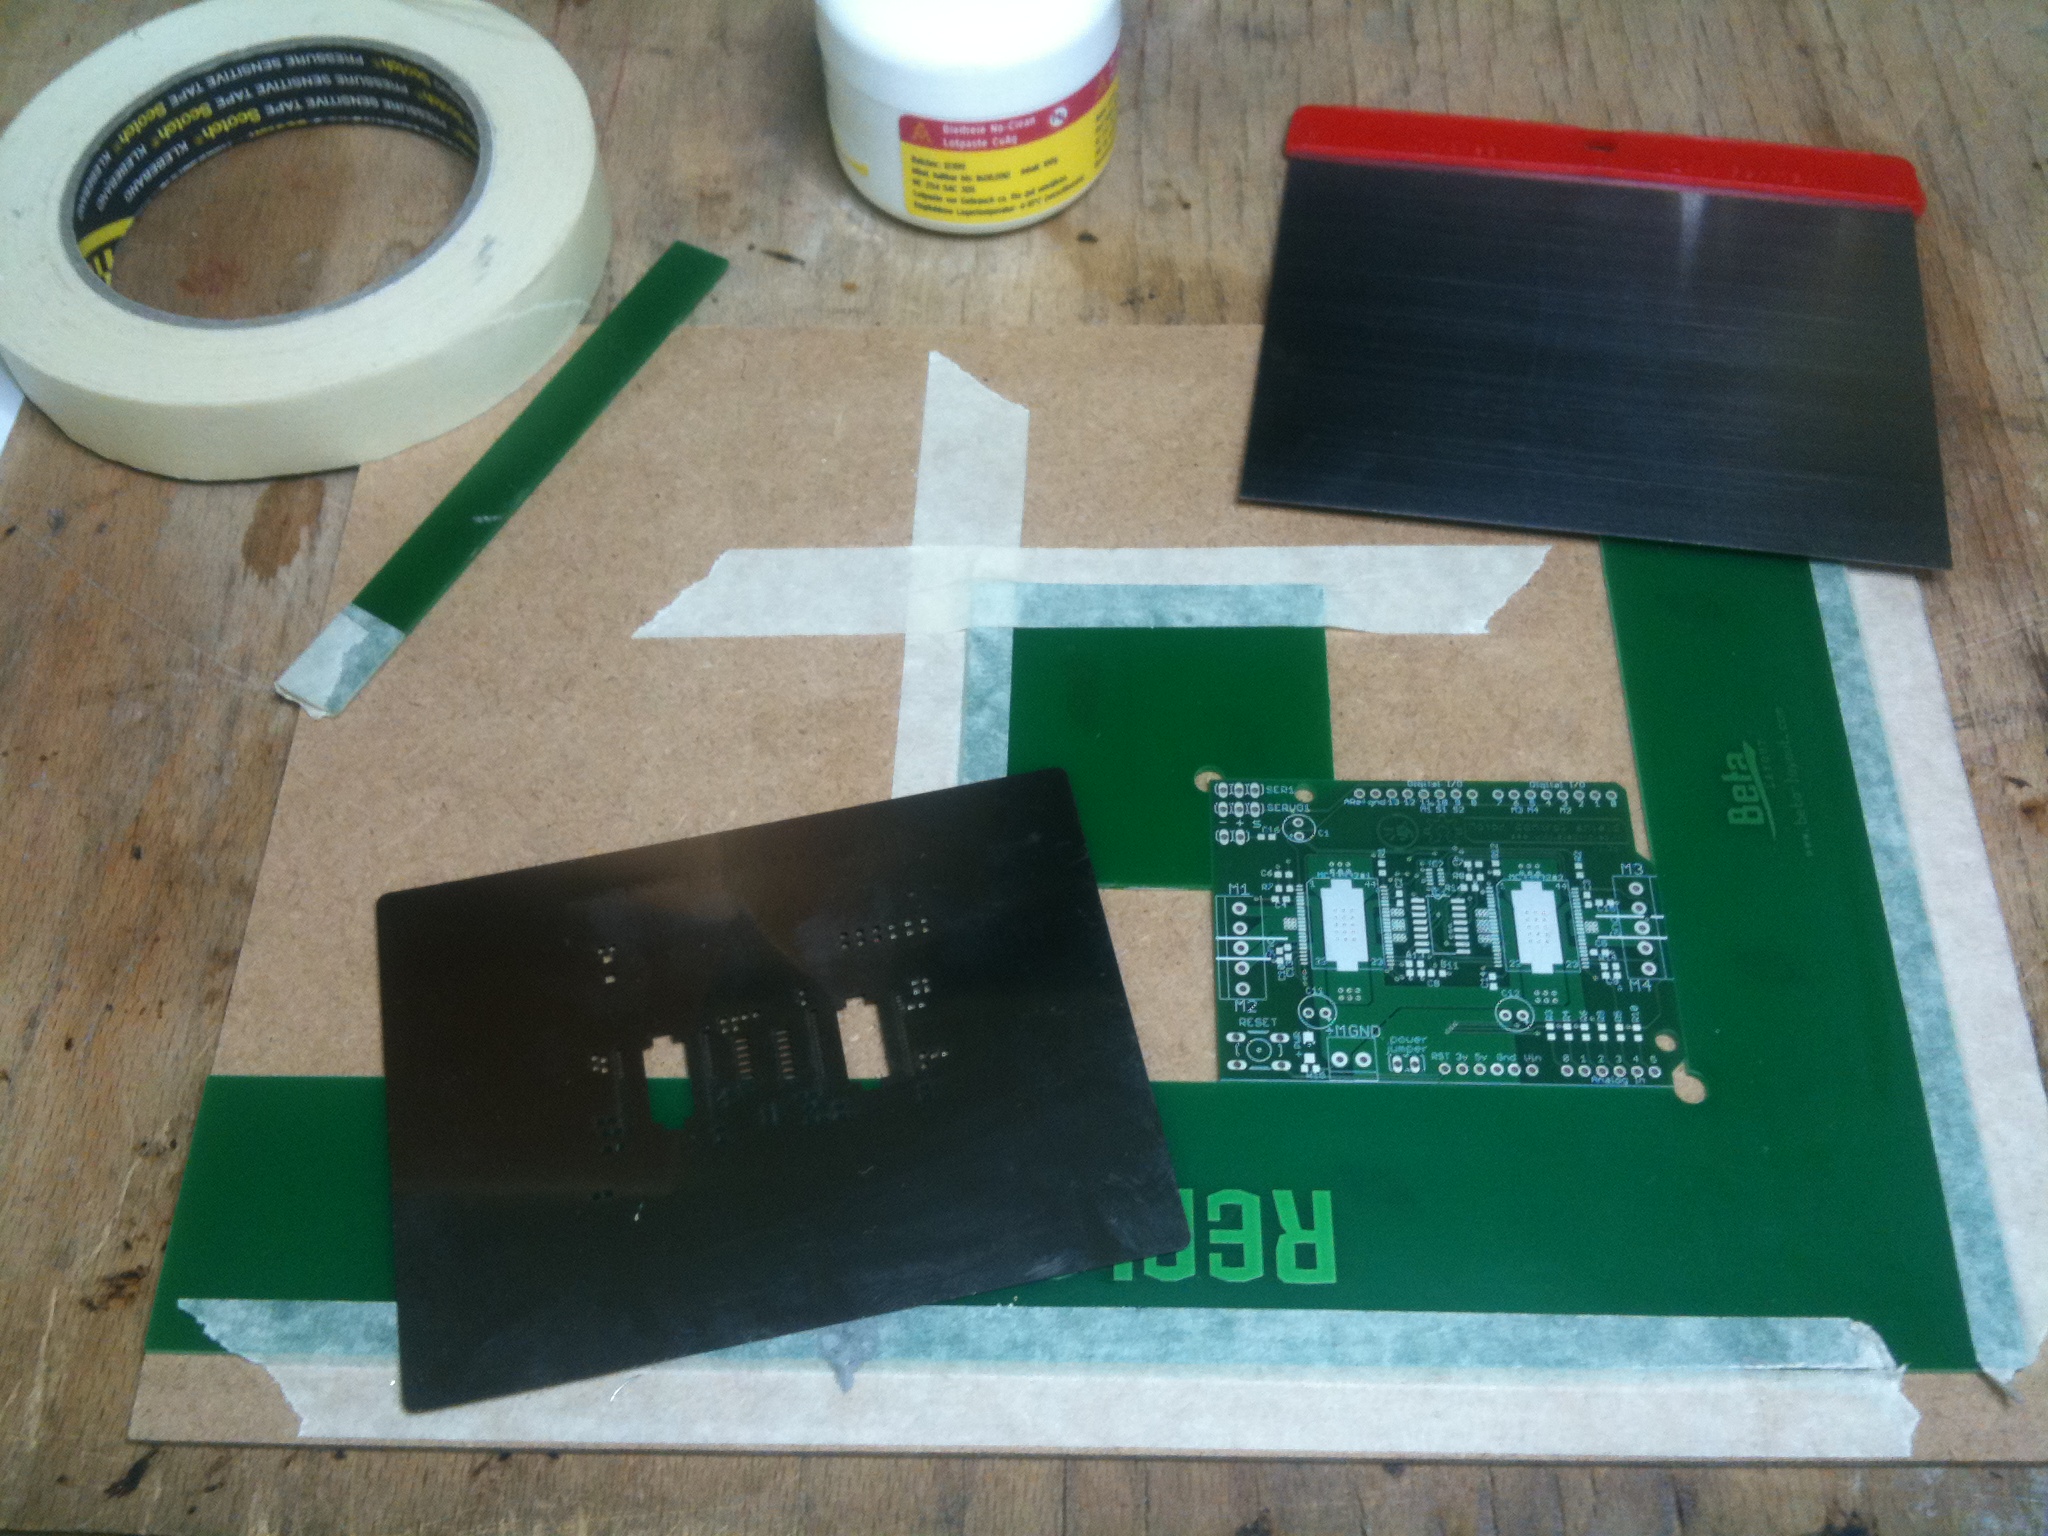
| − | <center> | + | <center>Let's stencil some paste !</center> |
Bla bla bla toubidoubidouwhaaaaa long text: | Bla bla bla toubidoubidouwhaaaaa long text: | ||
| Line 17: | Line 19: | ||
! !! | ! !! | ||
|- | |- | ||
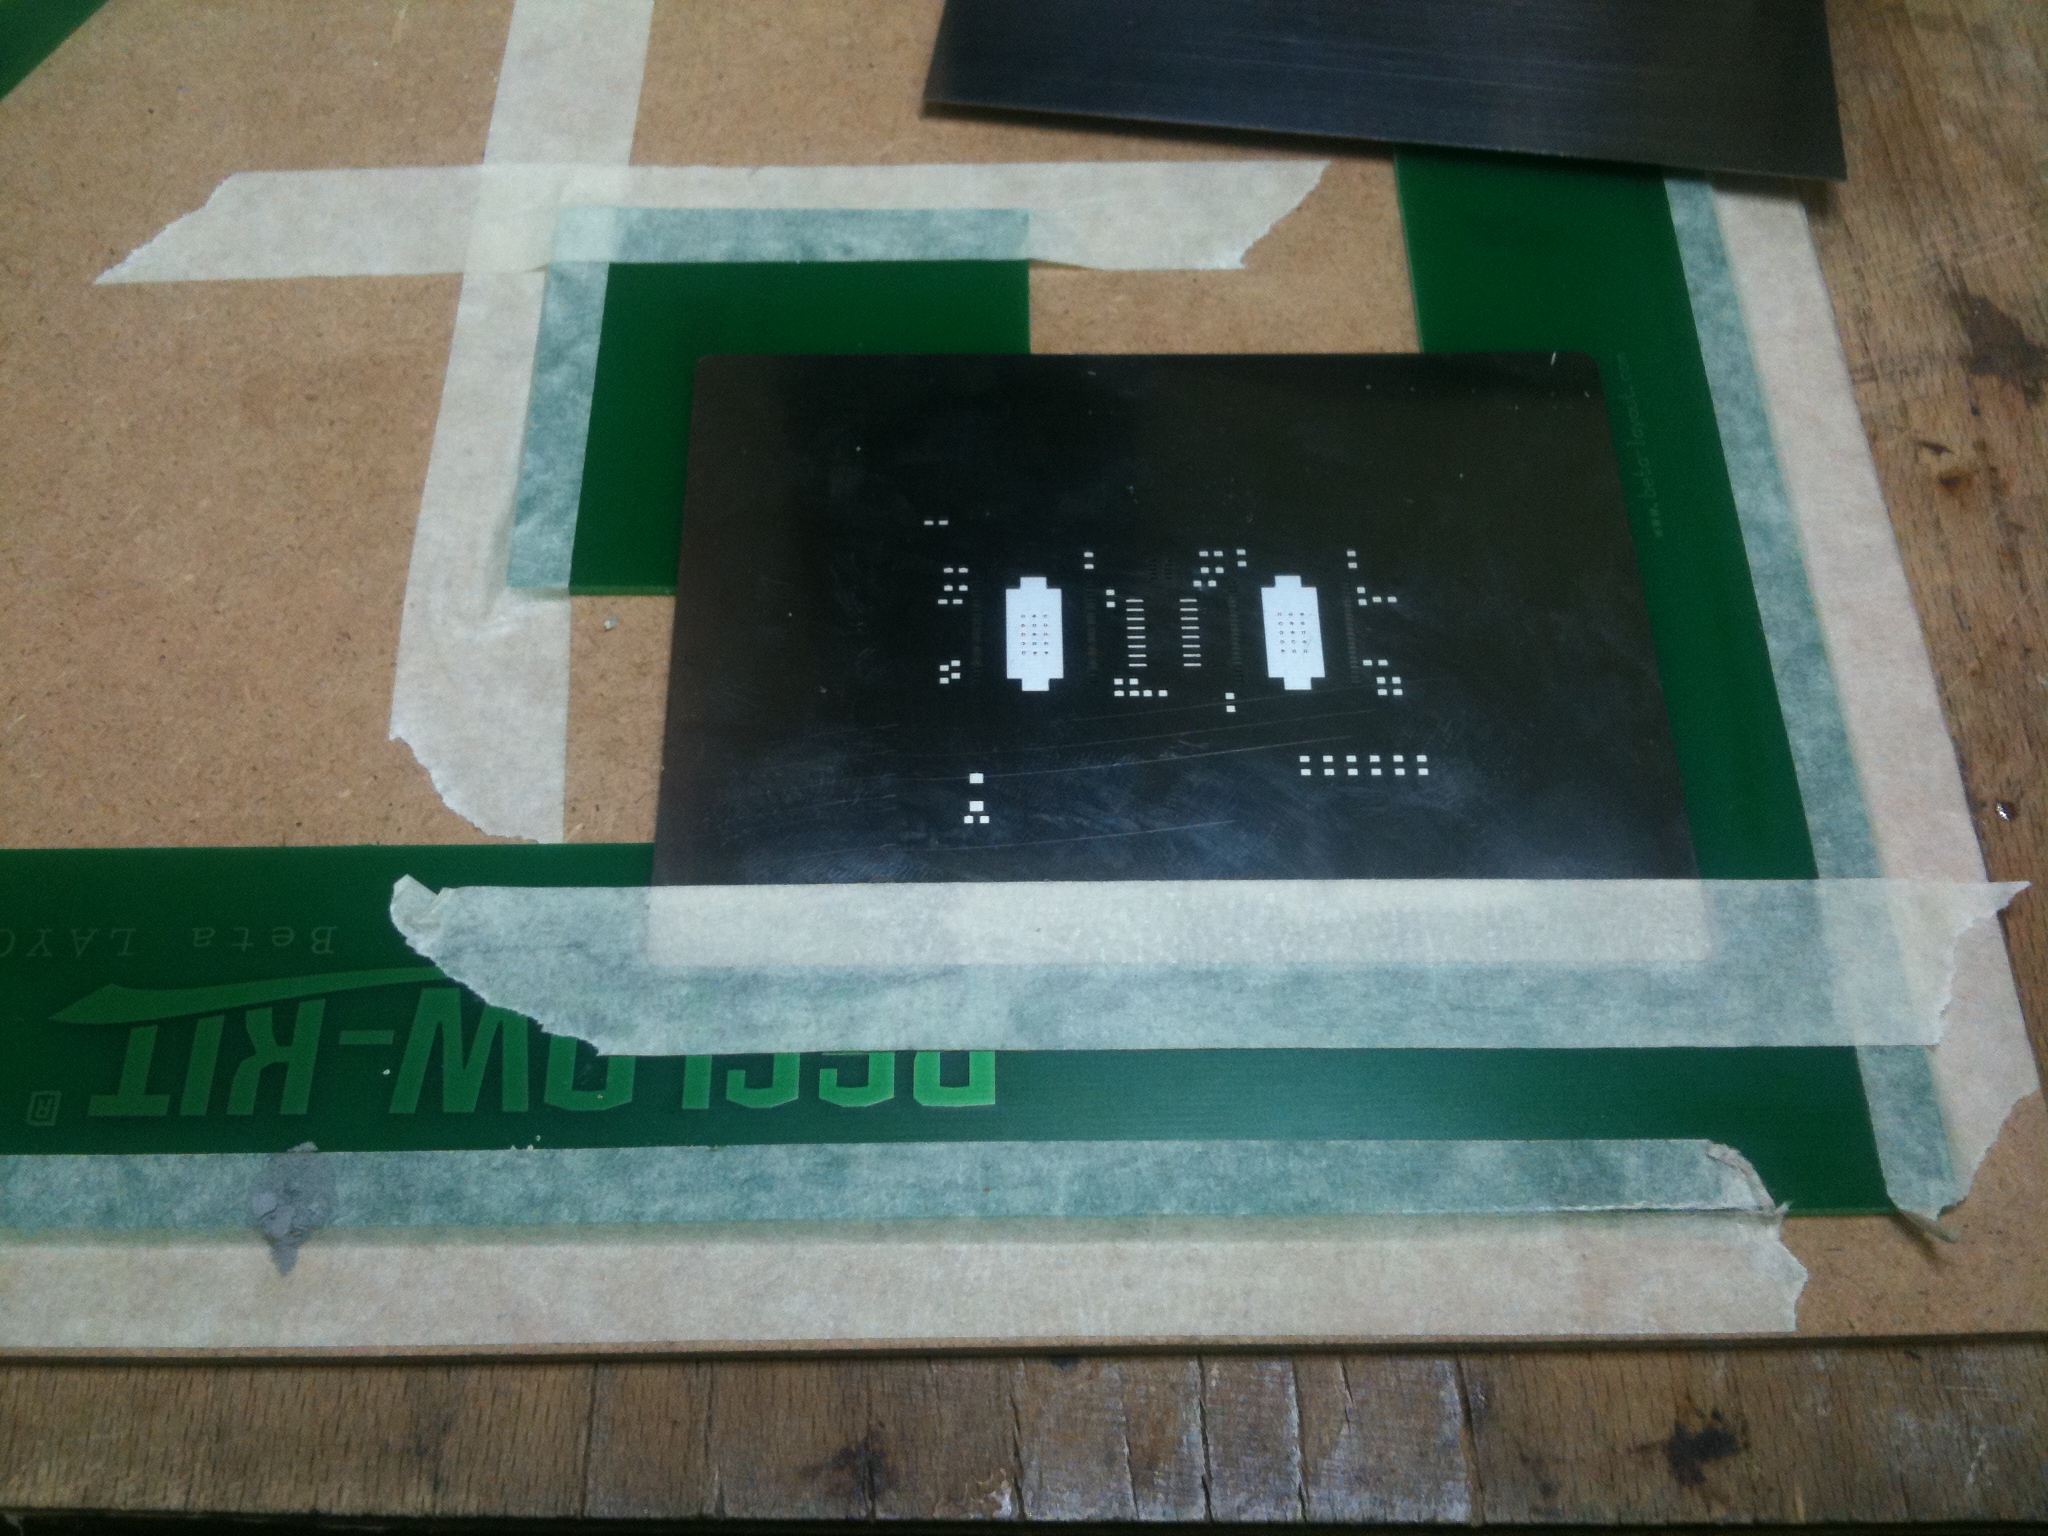
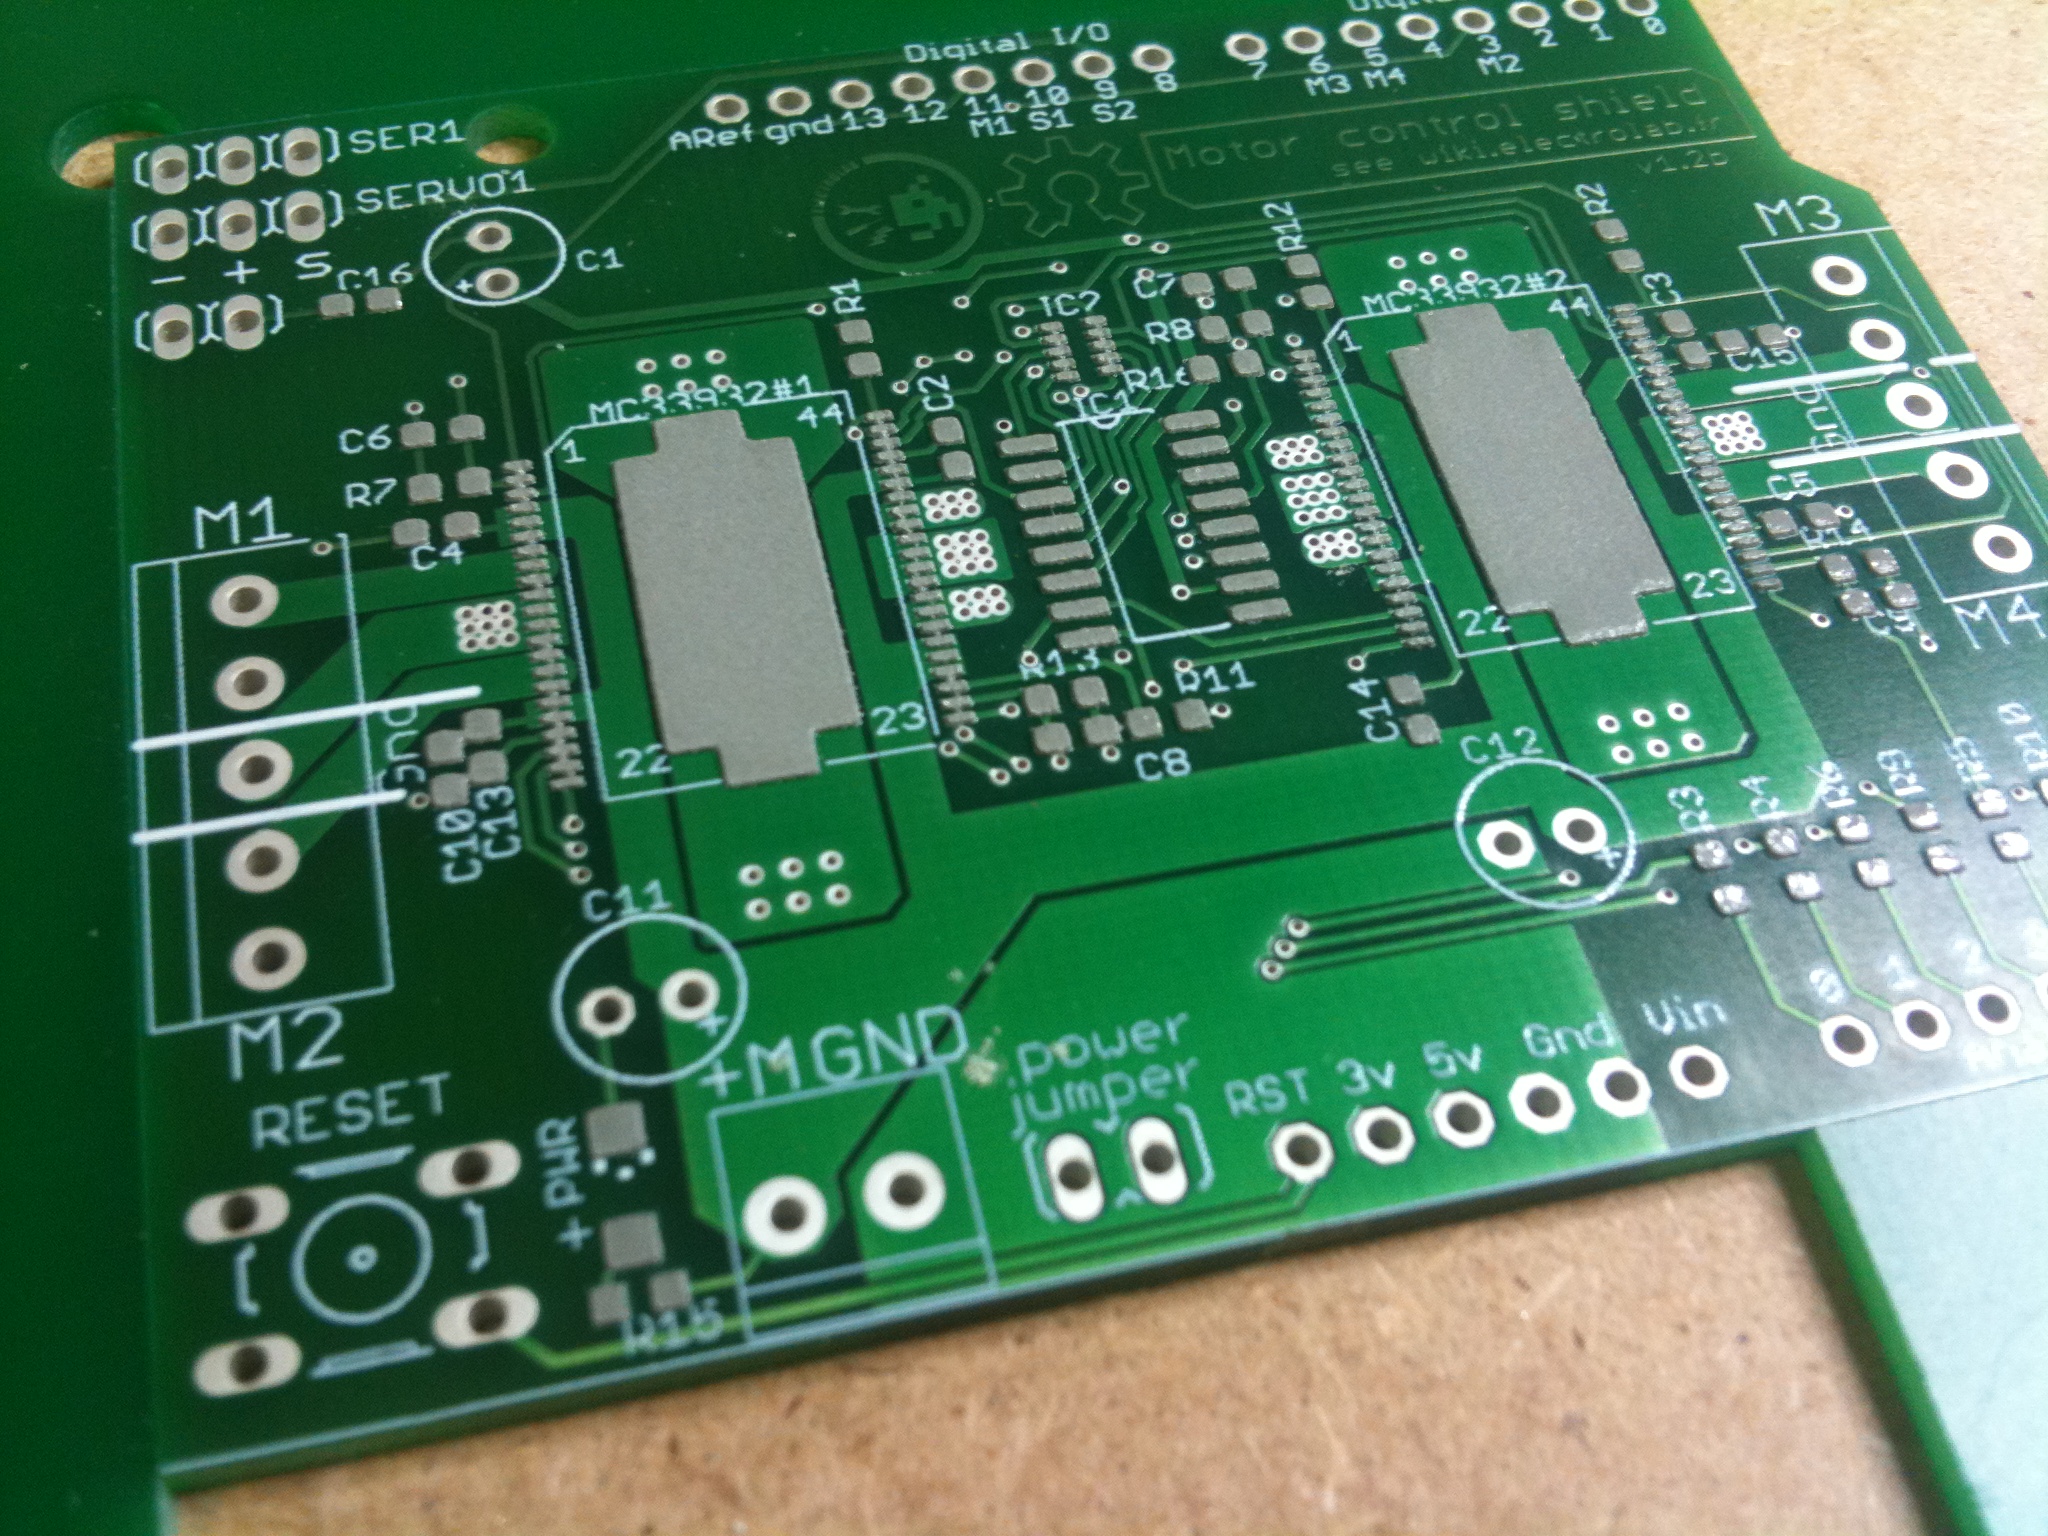
| − | | [[File: | + | | [[File:Motorshield-step11.jpg]] || Substep 1.1: ajuster le stencil sur le PCB. Bien s'appliquer sinon ca marche pô. Vérifier, s'y reprendre à 3 fois si nécessaire. |
|- | |- | ||
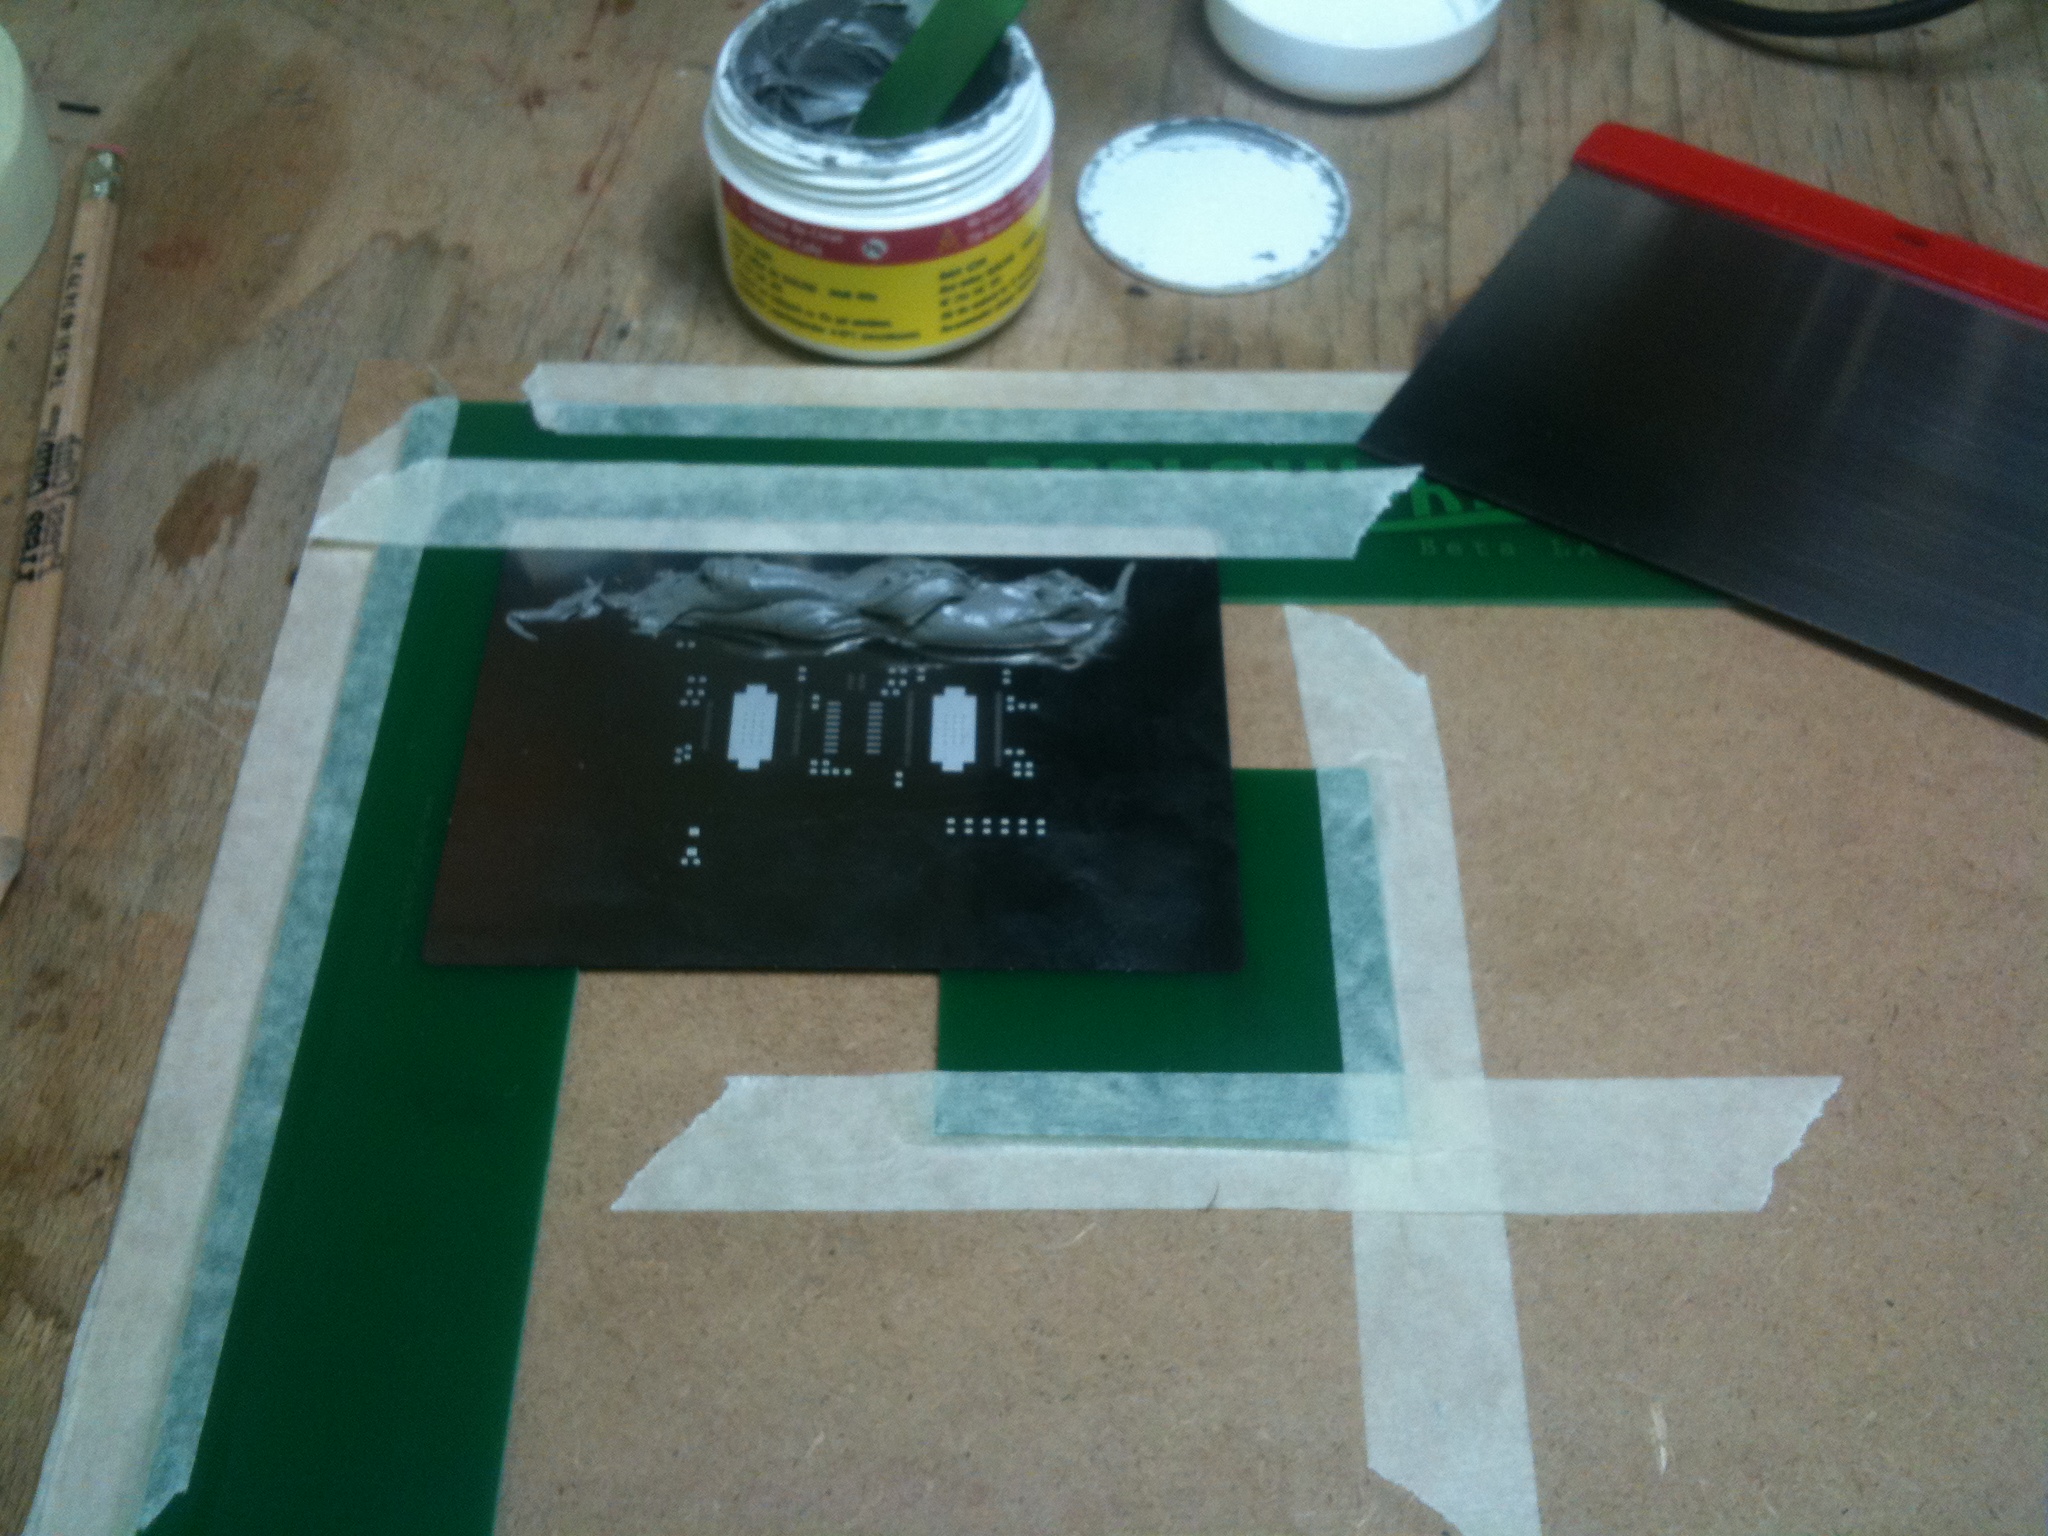
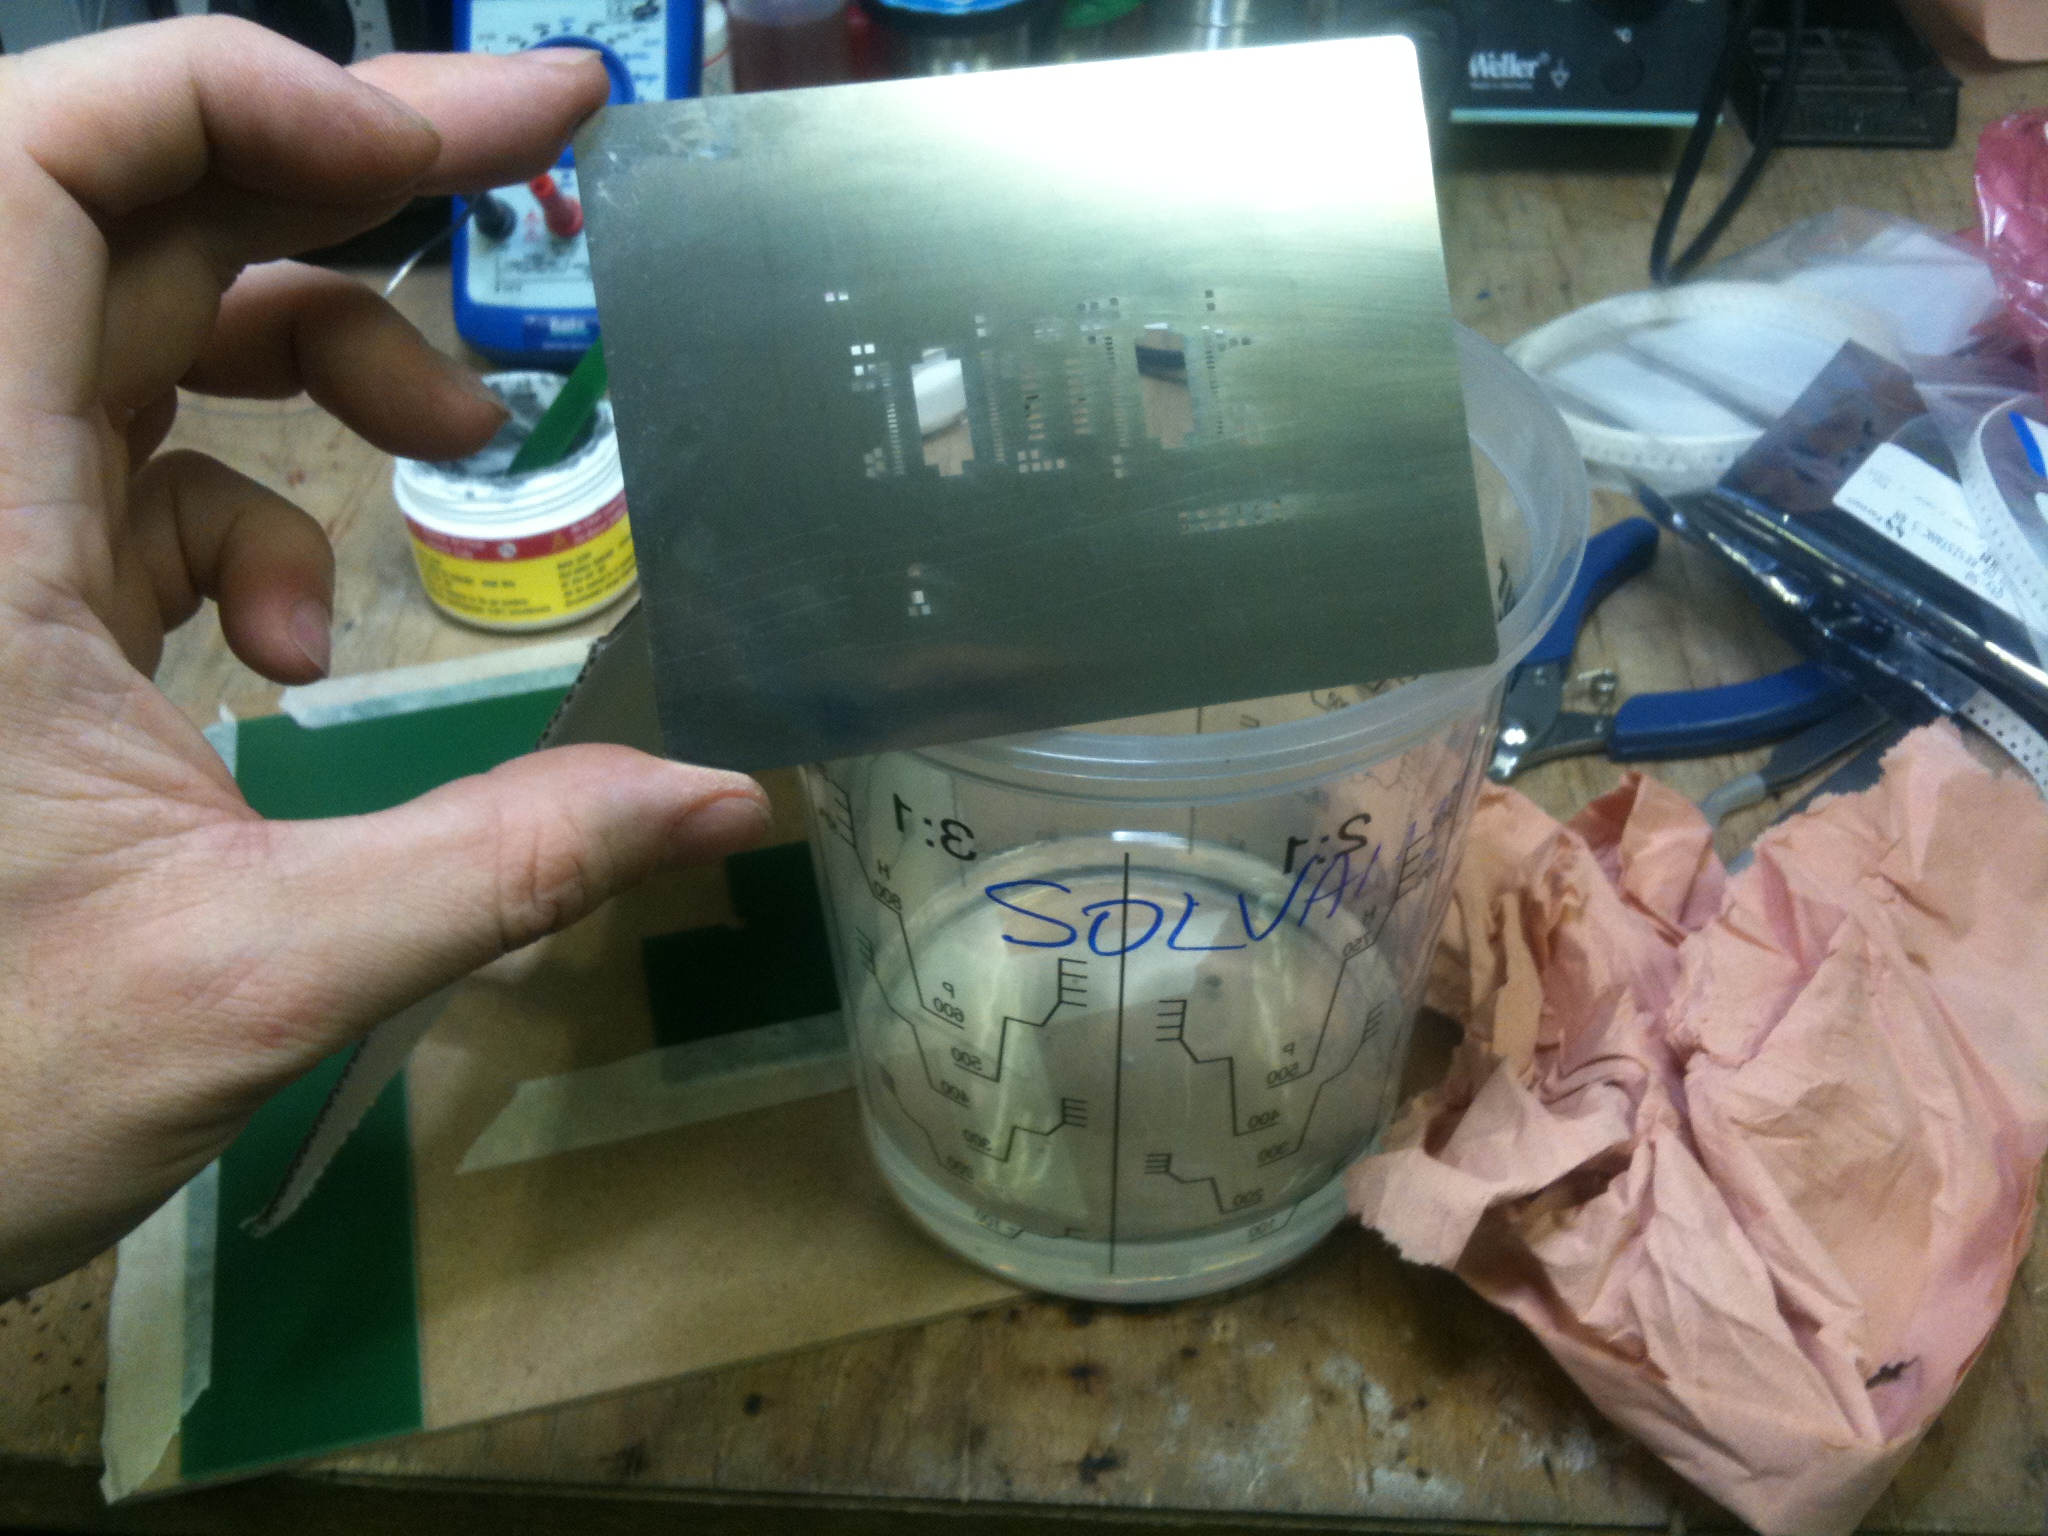
| − | | [[File: | + | | [[File:Motorshield-step12.jpg]] || Substep 1.2: déposer la pate (en quantité largement suffisante, le surplus sera pas perdu, et avec pas assez, ca juste marche pas). Penser à la touiller avant. Gaffe, c'est de la saloperie ! Notez le subtil retournement de situation... |
|- | |- | ||
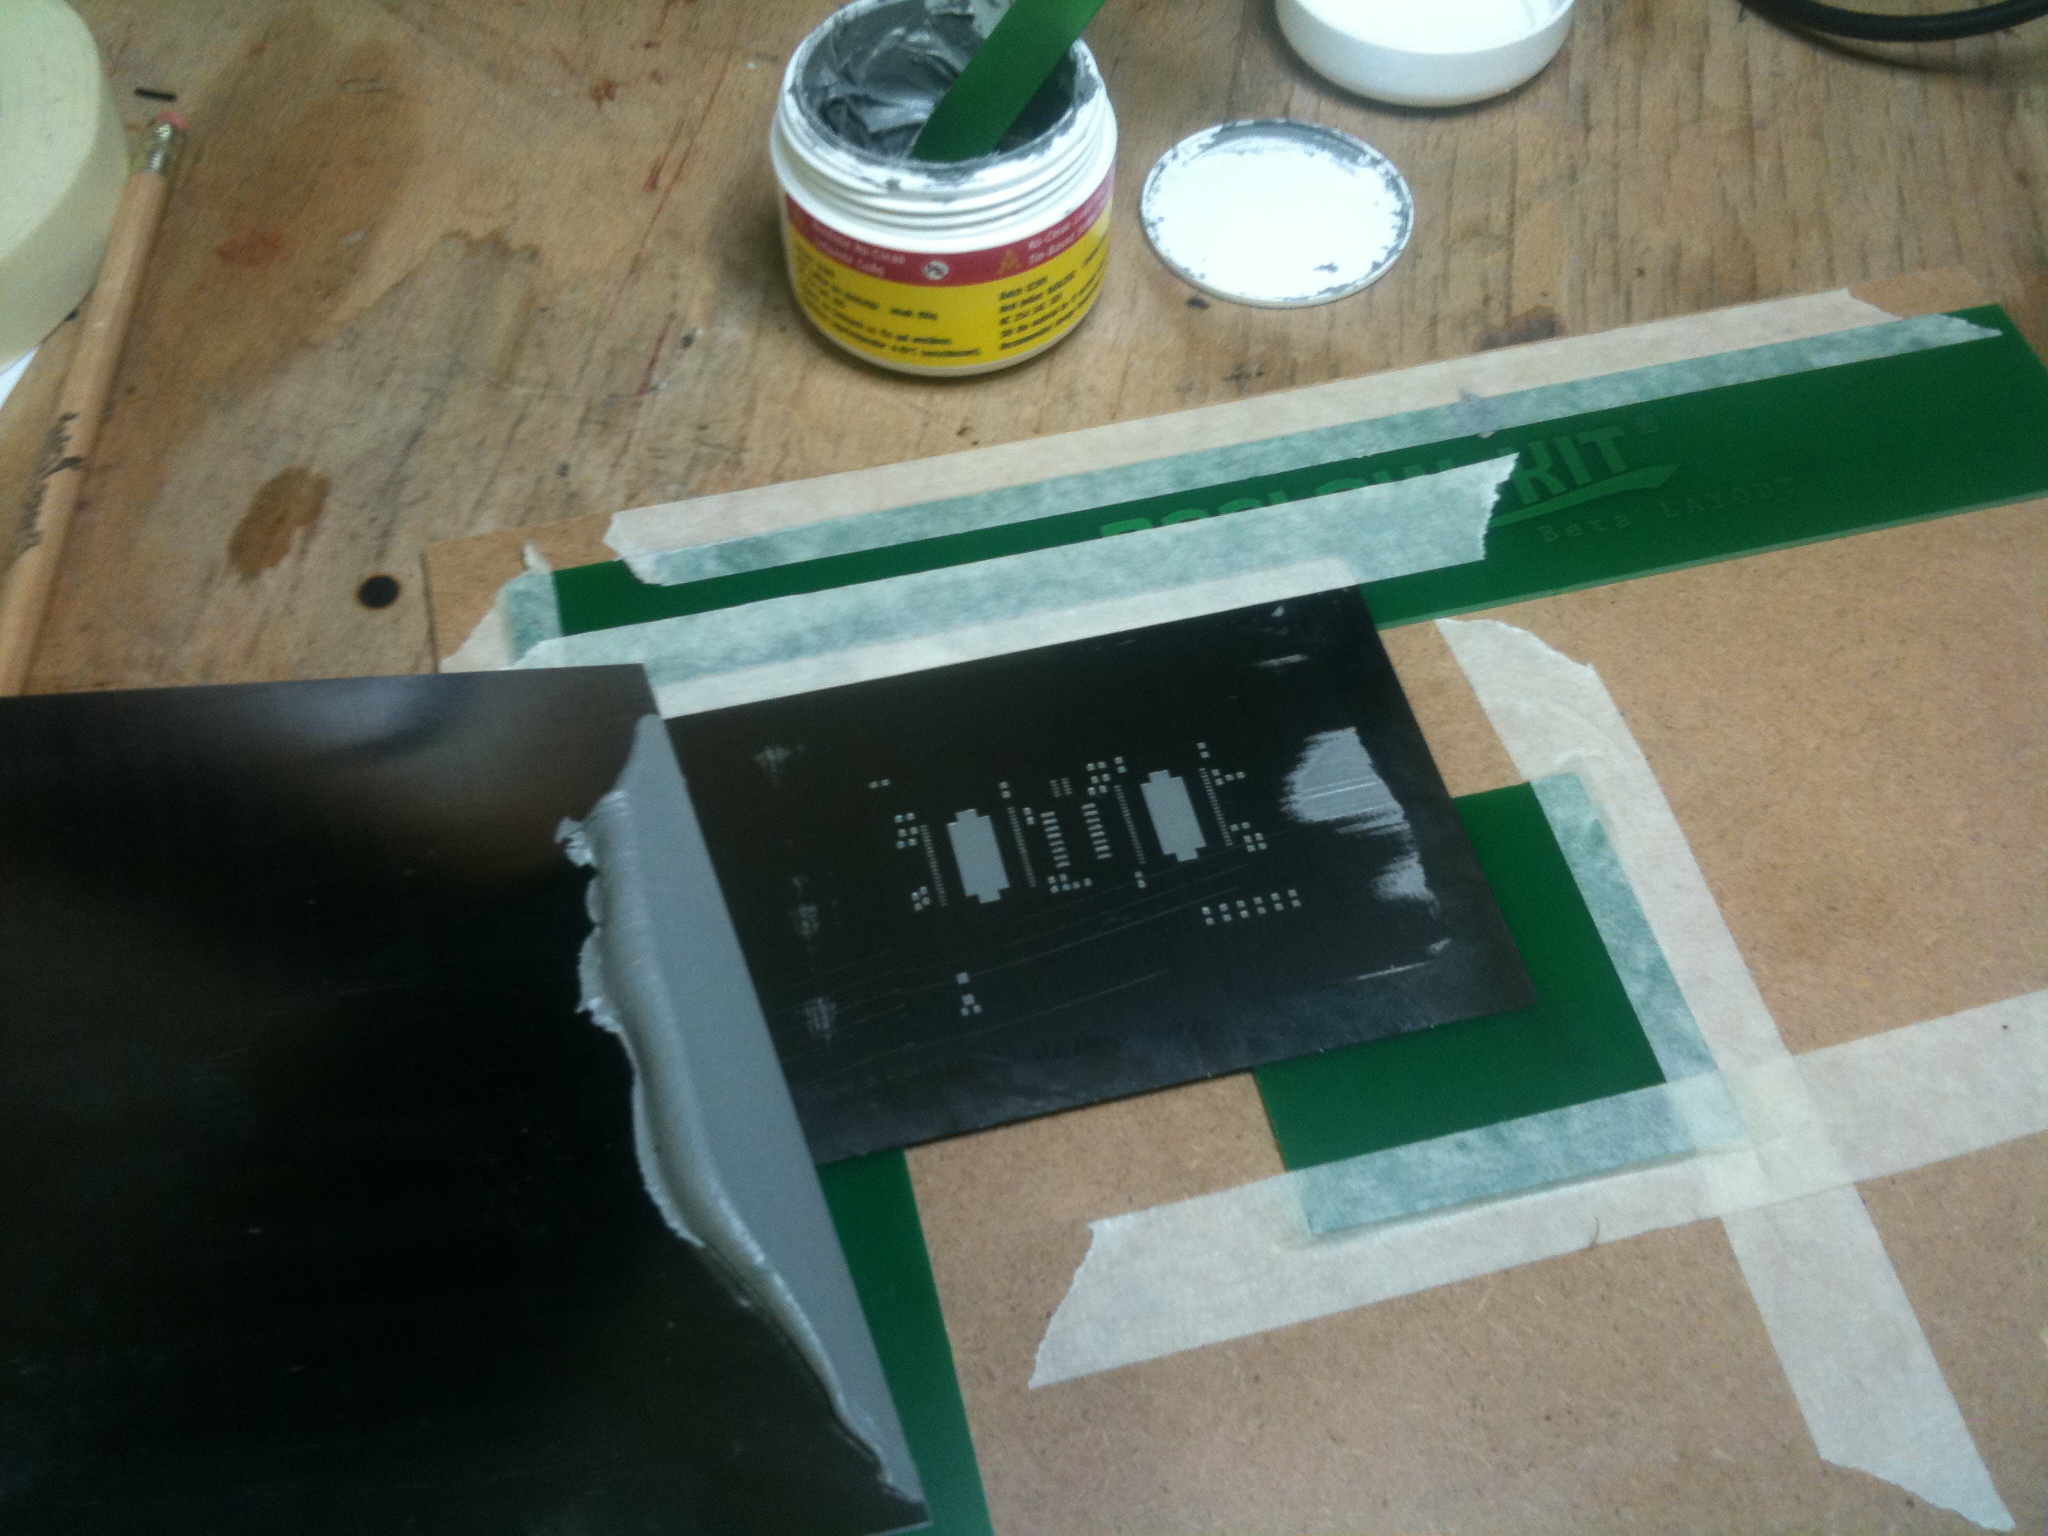
| − | | [[File: | + | | [[File:Motorshield-step13.jpg]] || Substep 1.3: un coup de raclette et PAN ! Bien appuyer comme un goret, de partout, angle de 21.782° entre la raclette & le support. |
| + | |- | ||
| + | | [[File:Motorshield-step14.jpg]] || Substep 1.4: tadaaaa ! On vérifie bien qu'on a pas fait trop de la merde... sinon, faut recommencer ! | ||
| + | |- | ||
| + | | [[File:Motorshield-step15.jpg]] || Substep 1.5: on nettoie son stencil entre chaque utilisation, sinon saypataupe, et ca n'en vaut pas la peine. | ||
| + | |- | ||
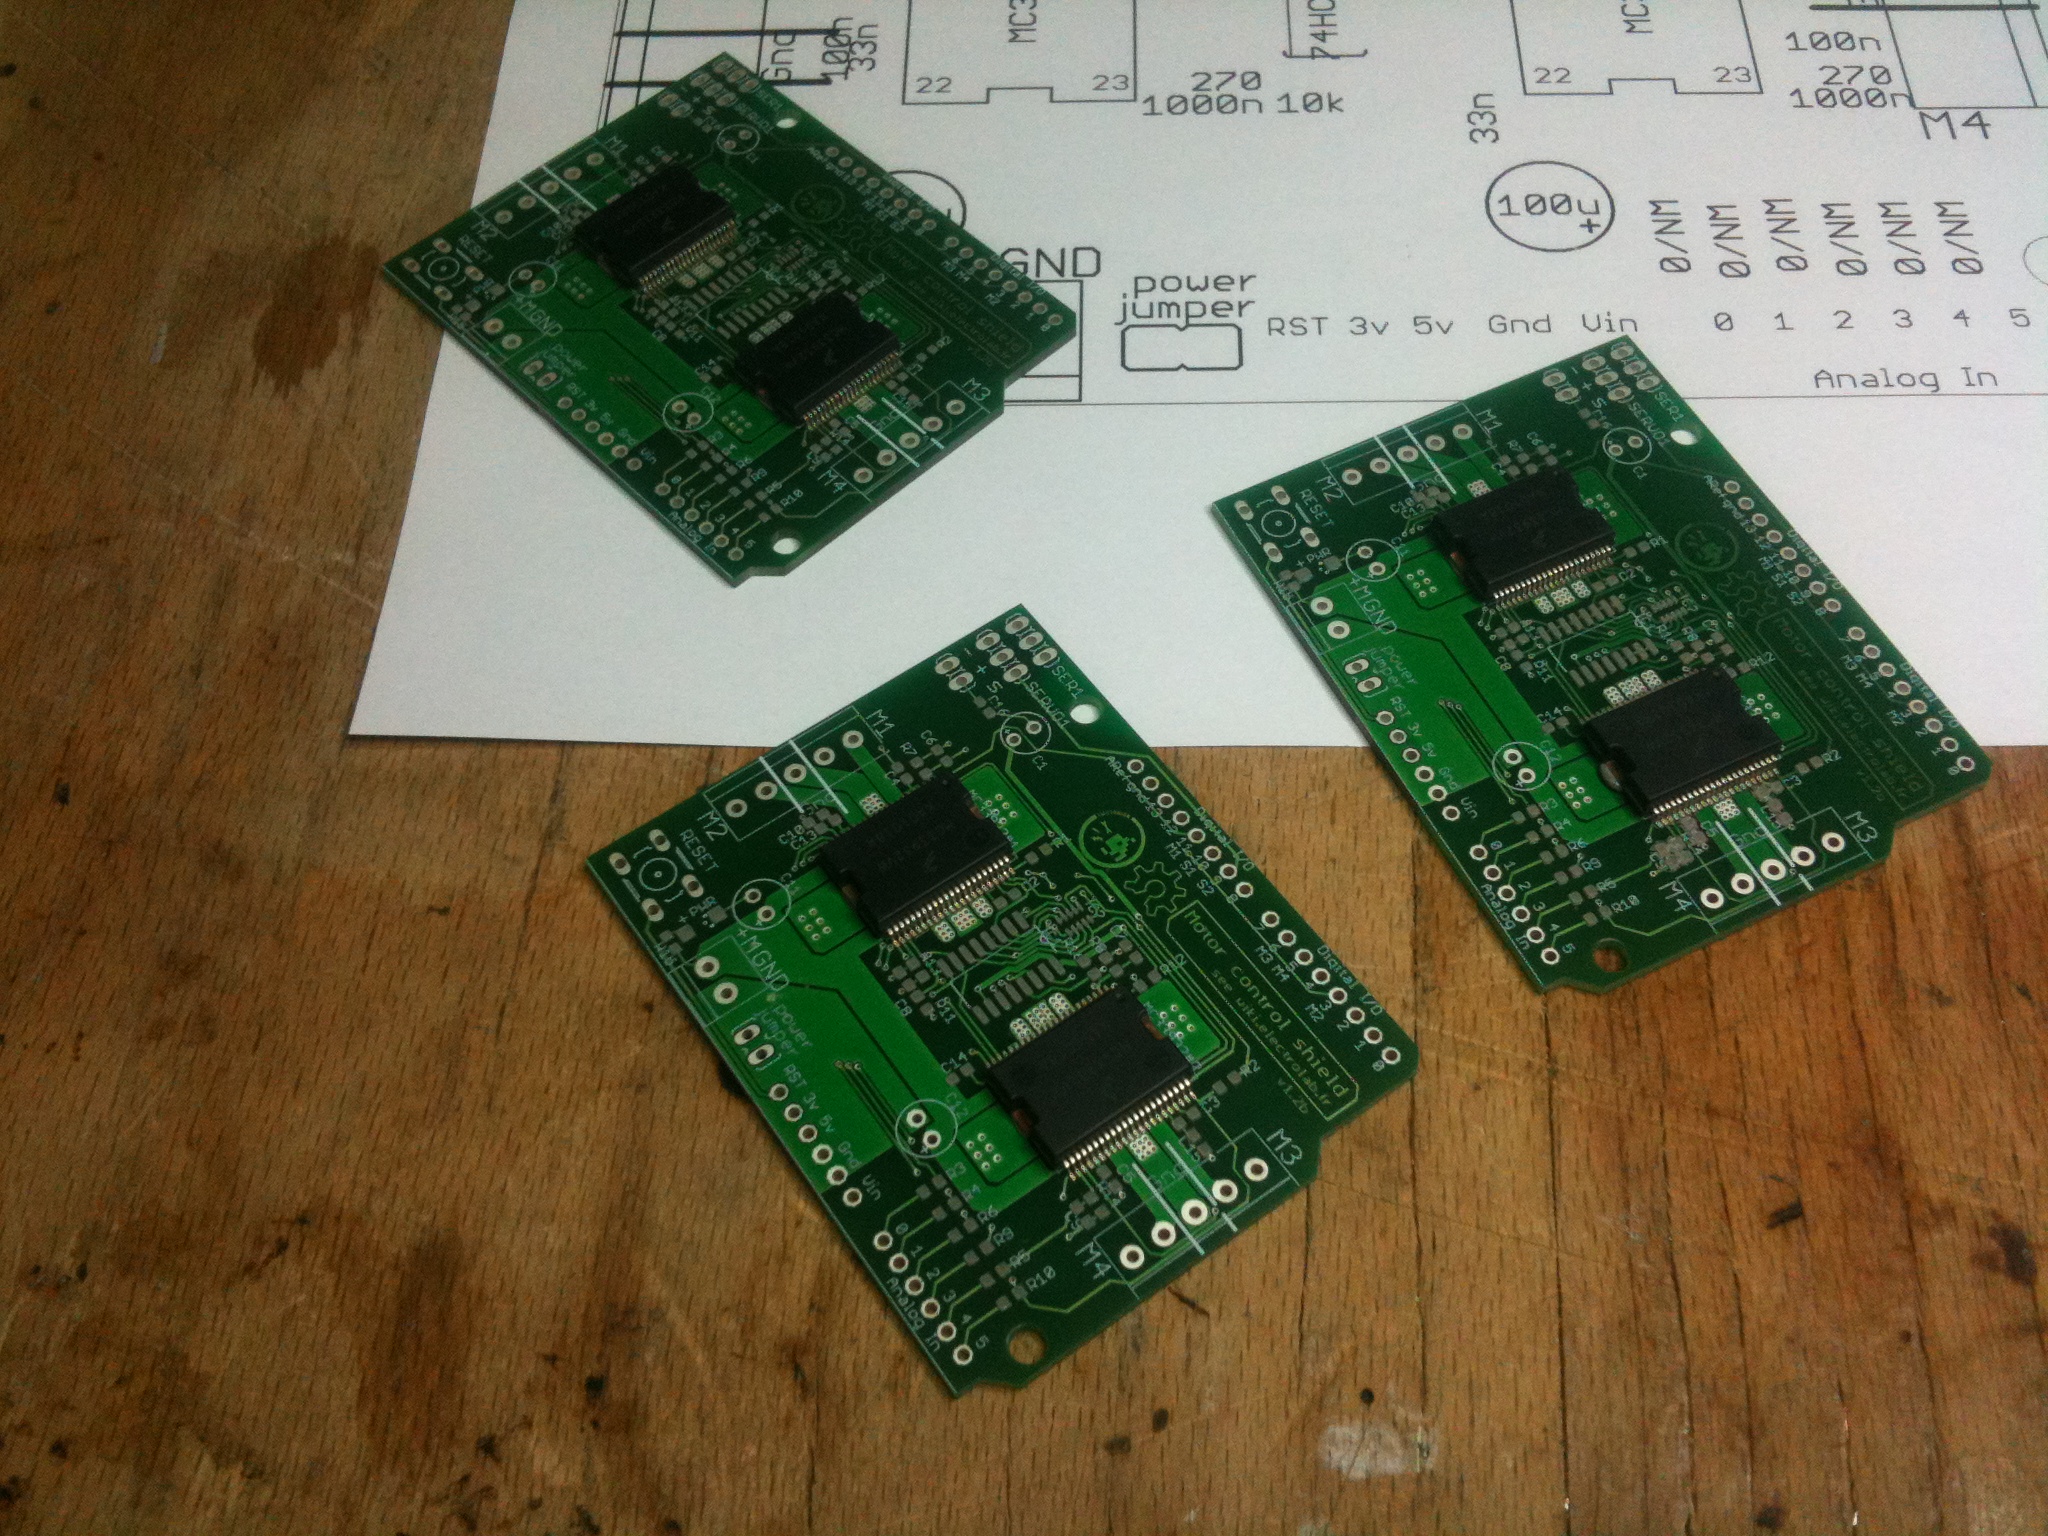
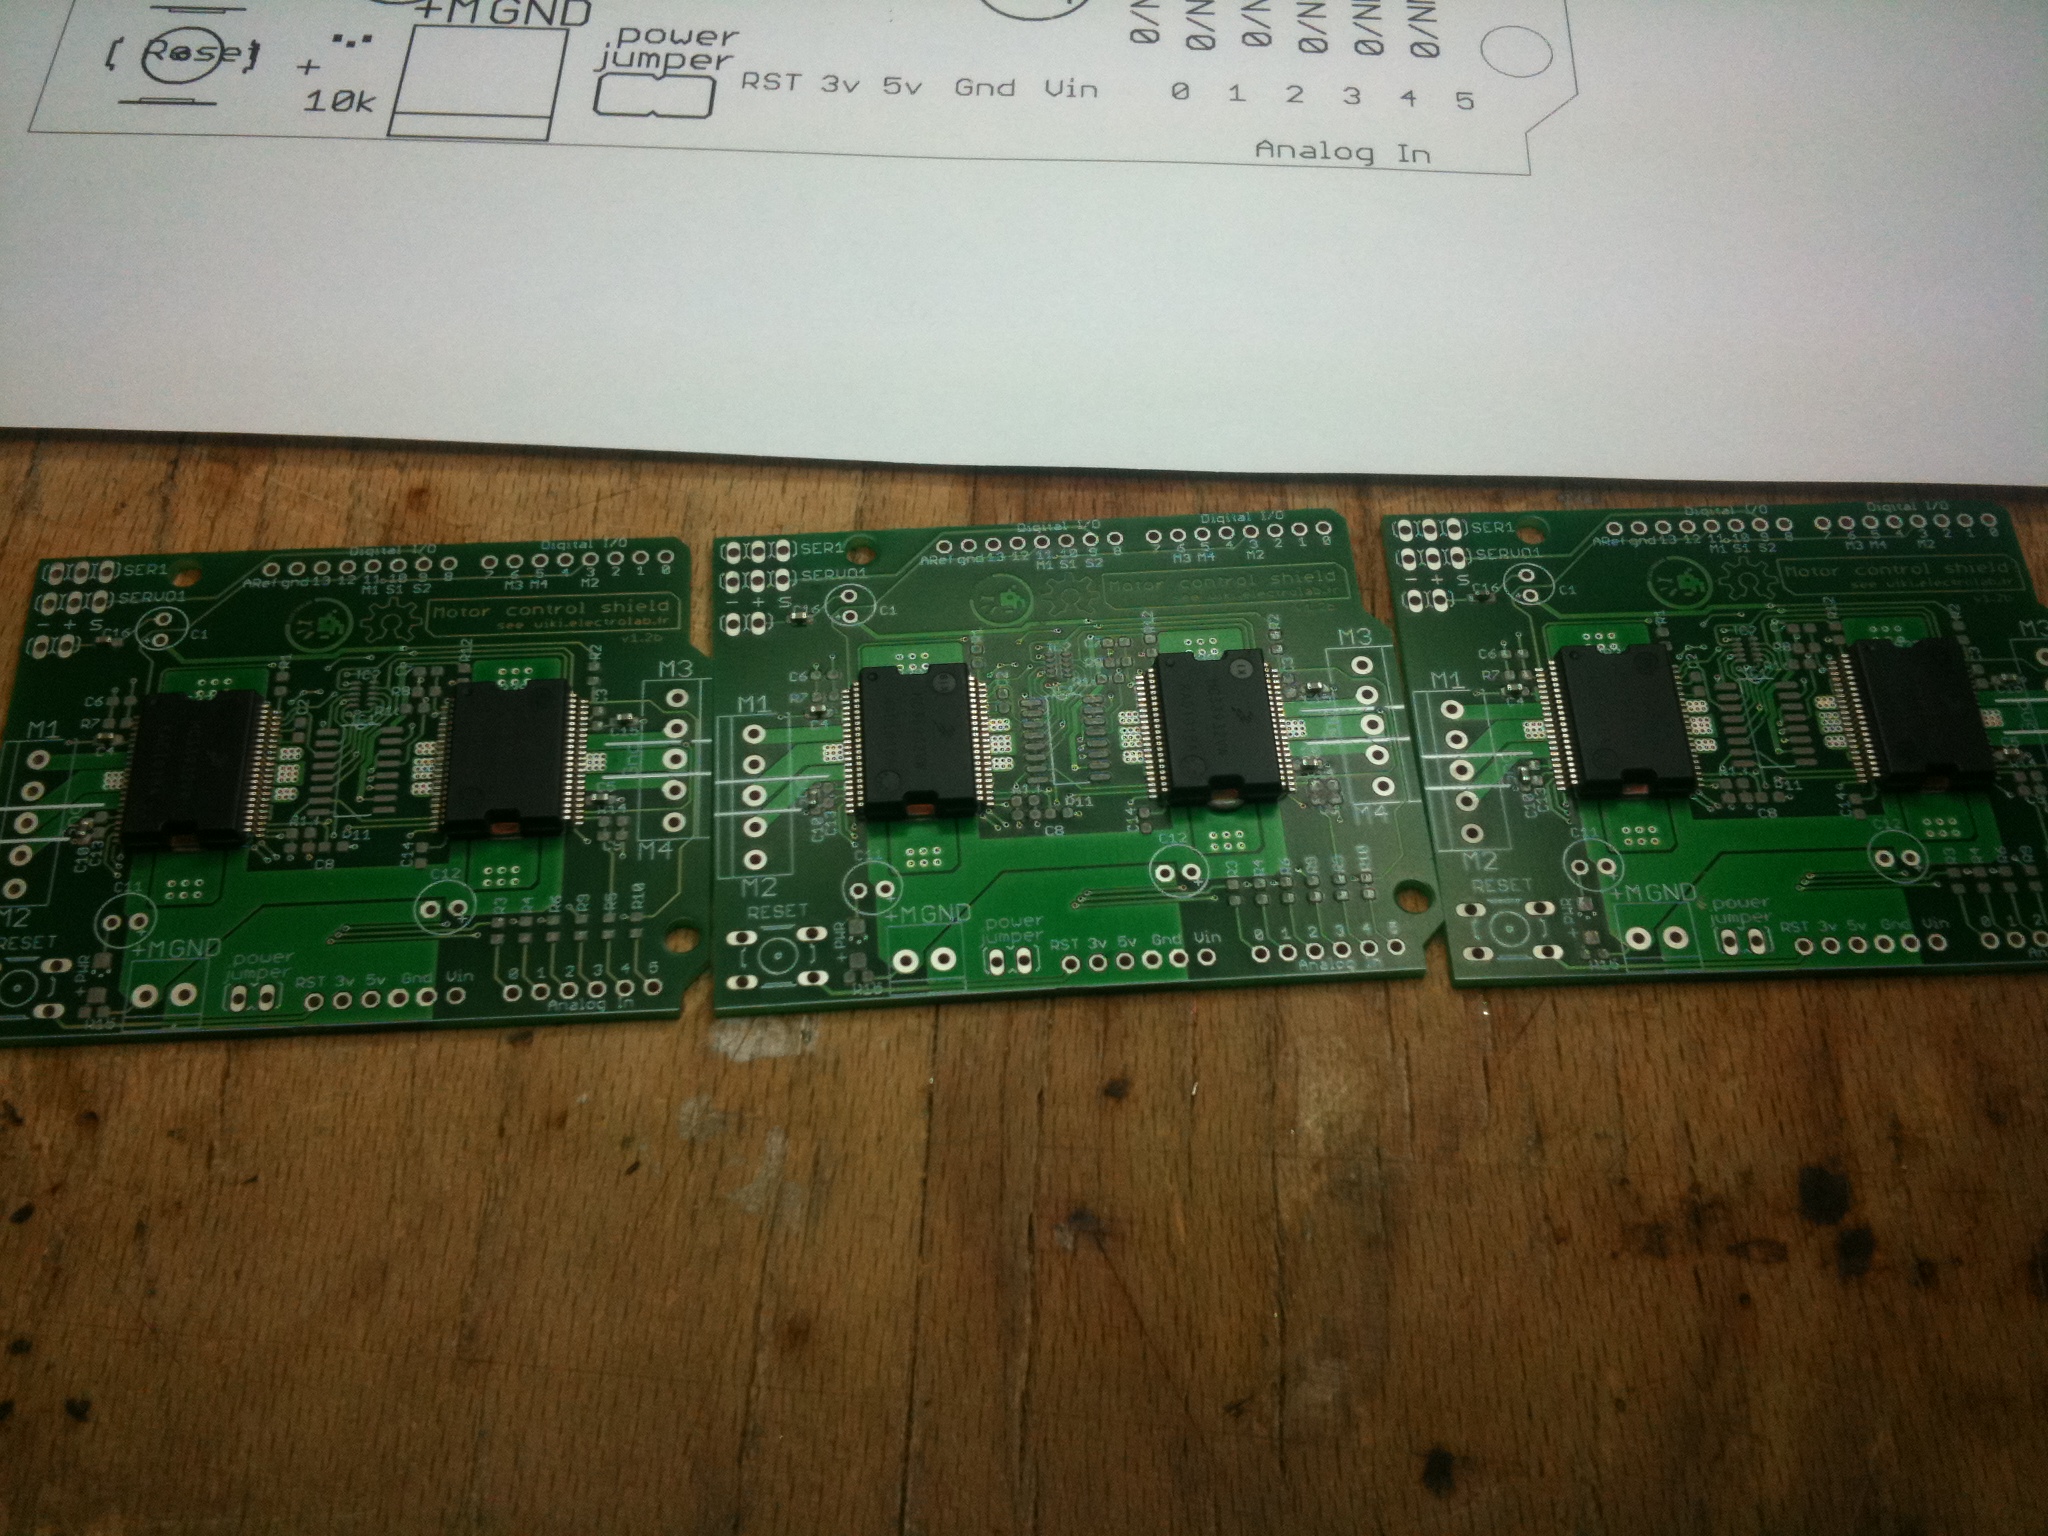
| + | | [[File:Motorshield-step16.jpg]] || Substep 1.6: Trois d'un coup ! Remarquez que yen a une nickel, une correcte et une pas top. | ||
|- | |- | ||
! !! | ! !! | ||
| Line 27: | Line 35: | ||
| − | = | + | = Step 2: components= |
So this is the main description for step 2. Bla bla bla toubidoubidouwhaaaaa long text long text long text long text long text long text long text long text long text long text long text long text long text long text long text long text long text long text long text long text long text long text long text long text long text long text long text long text long text long text long text long text long text long text long text long text long text long text long text long text long text long text long text long text long text long text | So this is the main description for step 2. Bla bla bla toubidoubidouwhaaaaa long text long text long text long text long text long text long text long text long text long text long text long text long text long text long text long text long text long text long text long text long text long text long text long text long text long text long text long text long text long text long text long text long text long text long text long text long text long text long text long text long text long text long text long text long text long text | ||
| − | [[File: | + | Bla bla bla toubidoubidouwhaaaaa long text: |
| − | + | * long text long text long text long text long | |
| + | * text long text long text long text long text long text long text long text long text long text long text long text long text long text long text long text long text long text long text long text long text long text long text long | ||
| + | * text long text long text long text long text long text long text long text long text long text long text long text long text long text long text long text long text long text | ||
| + | |||
| + | {|class="wikitable" | ||
| + | |- | ||
| + | ! !! | ||
| + | |- | ||
| + | | [[File:Motorshield-step21.jpg]] || Substep 2.1: on pose les composants les plus délicats en premier. En cas d'epic fail, on peut encore faire demi tour... | ||
| + | |- | ||
| + | | [[File:Motorshield-step22.jpg]] || Substep 2.2: mais en fait, pas d'epic fail :) Notez qu'on peut foirouiller le positionnement, ca se corrige ensuite. | ||
| + | |- | ||
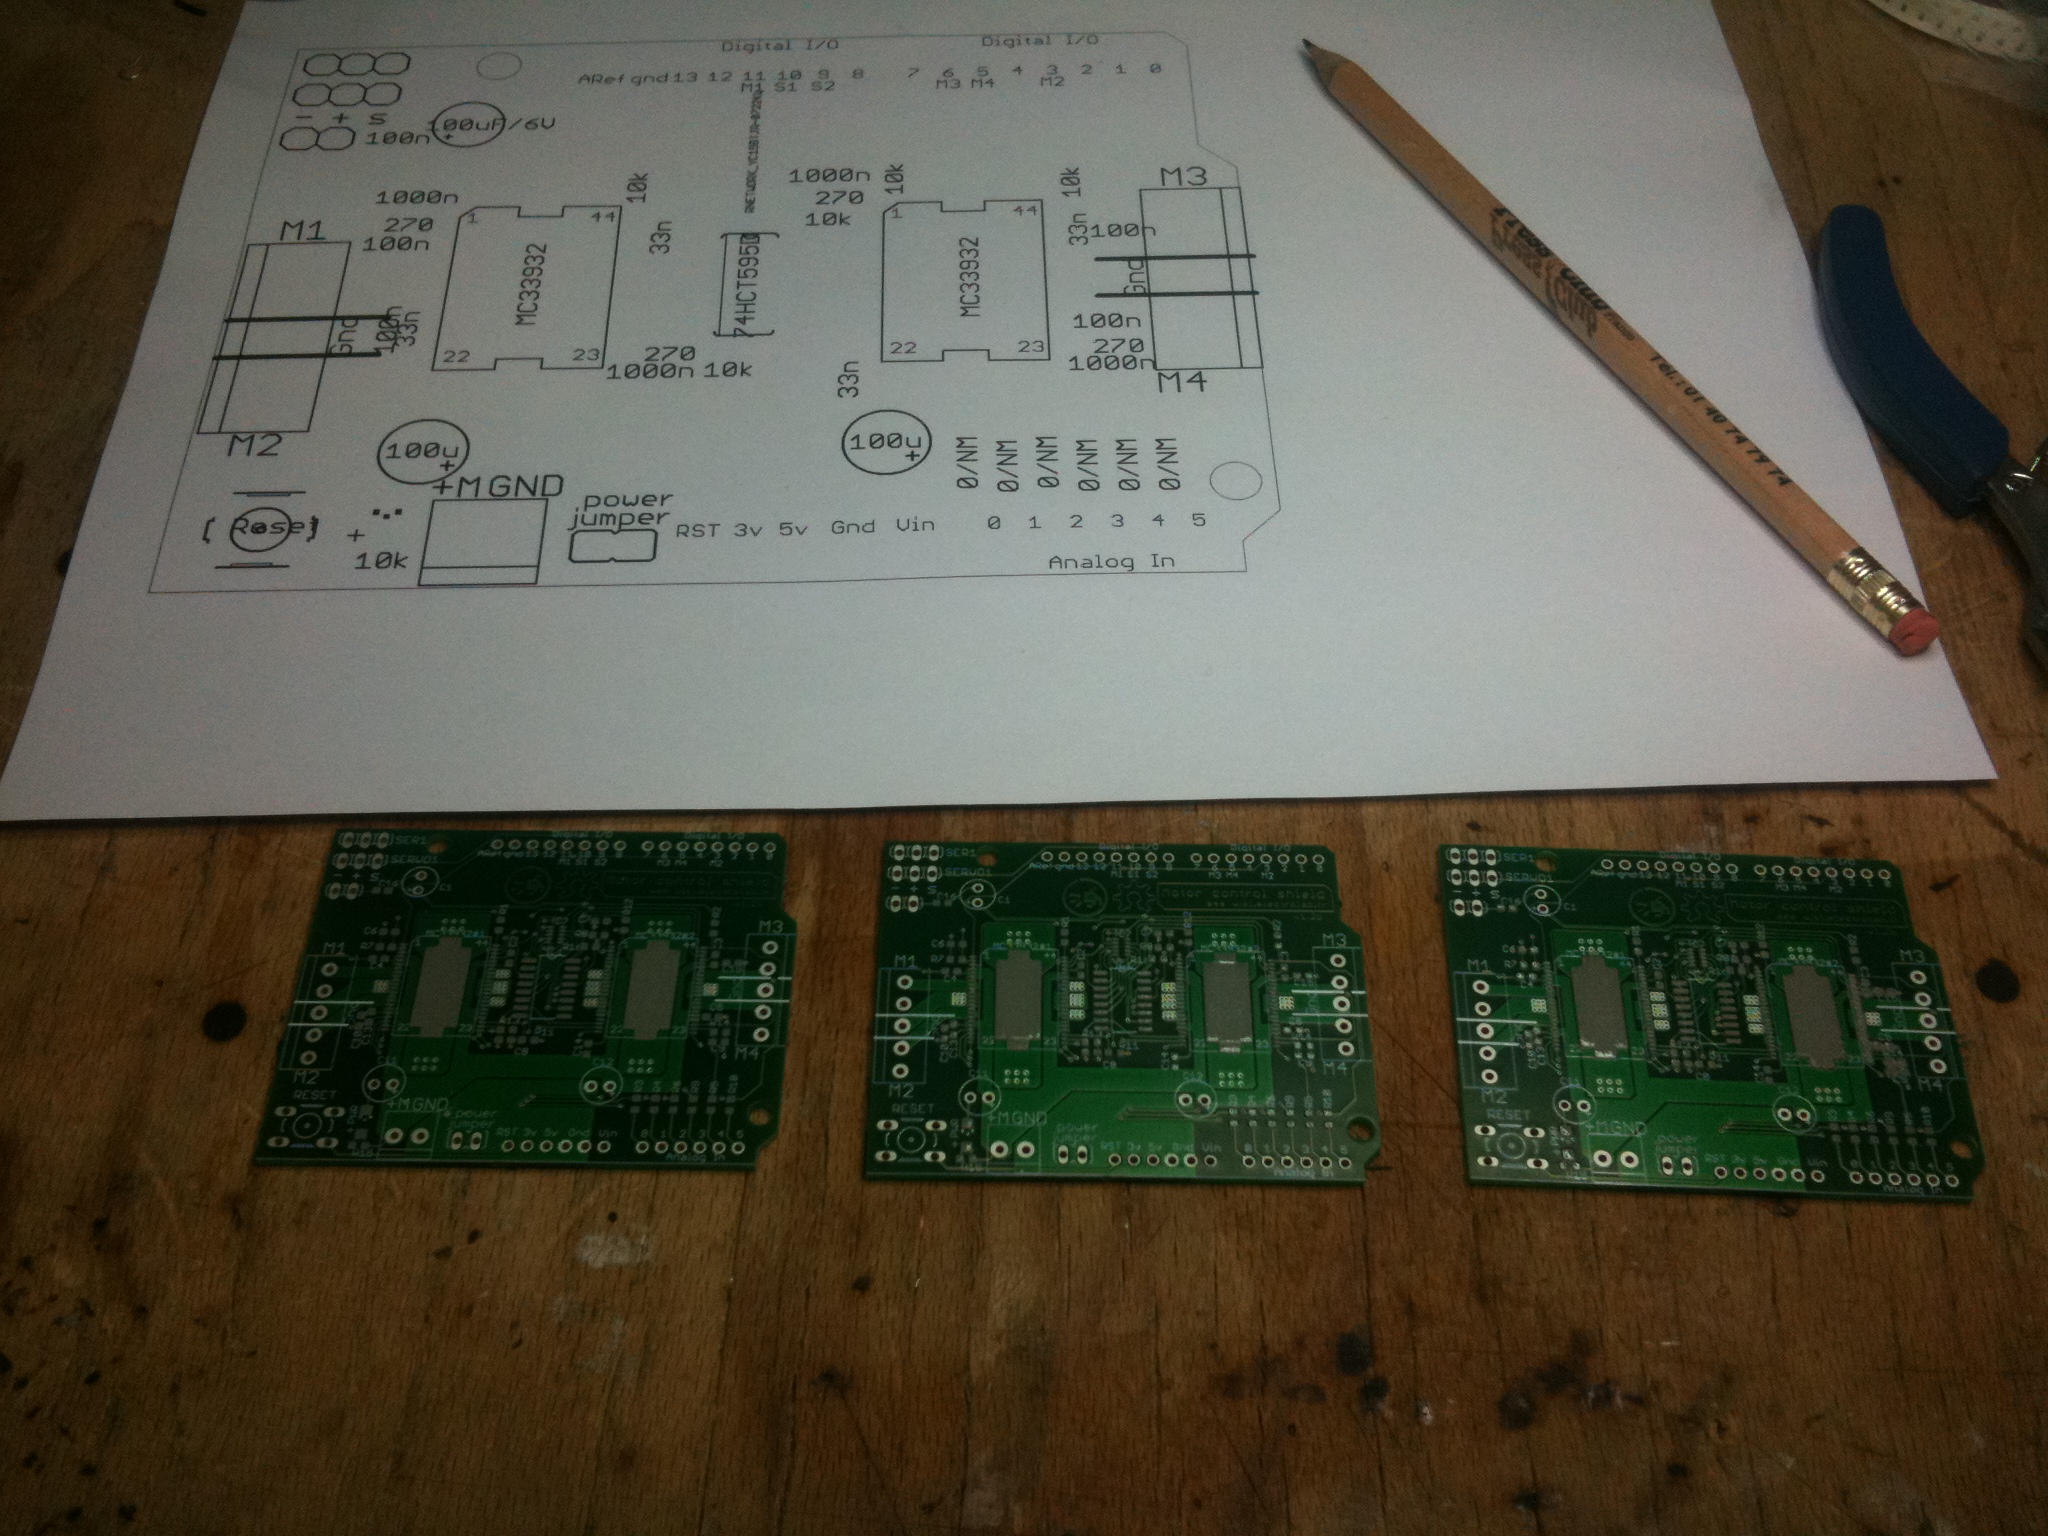
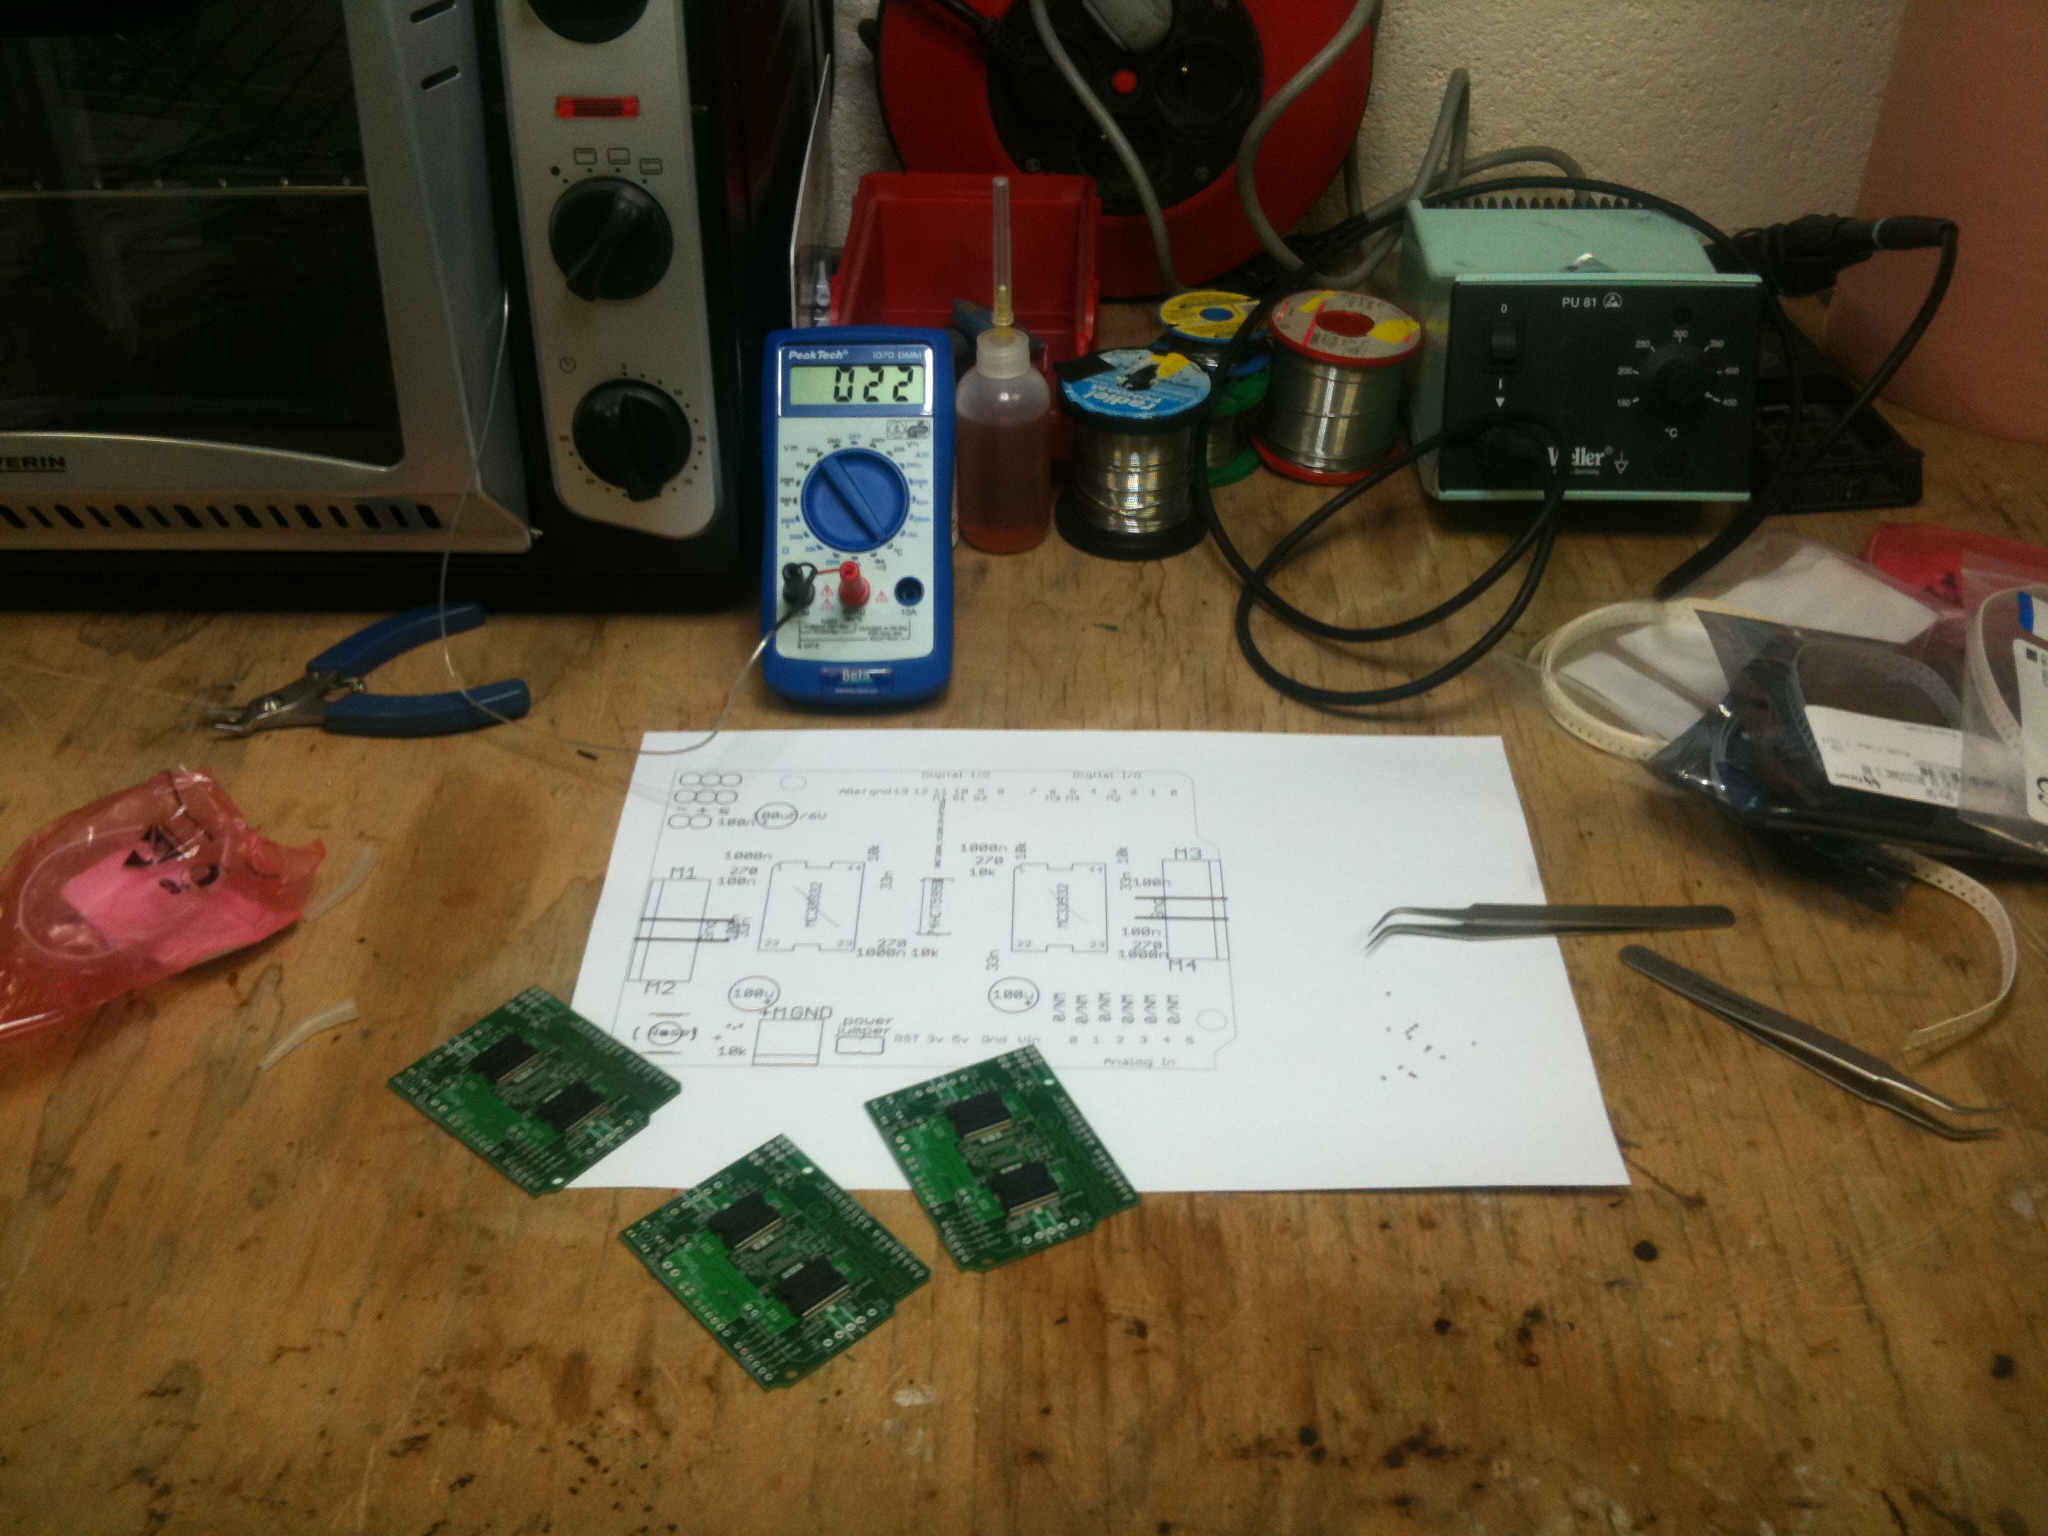
| + | | [[File:Motorshield-step23.jpg]] || Substep 2.3: on prépare du passif: compter le bon nombre, mettre le sac "fait" à gauche. Repérer les emplacements. Vérifier la polarité. | ||
| + | |- | ||
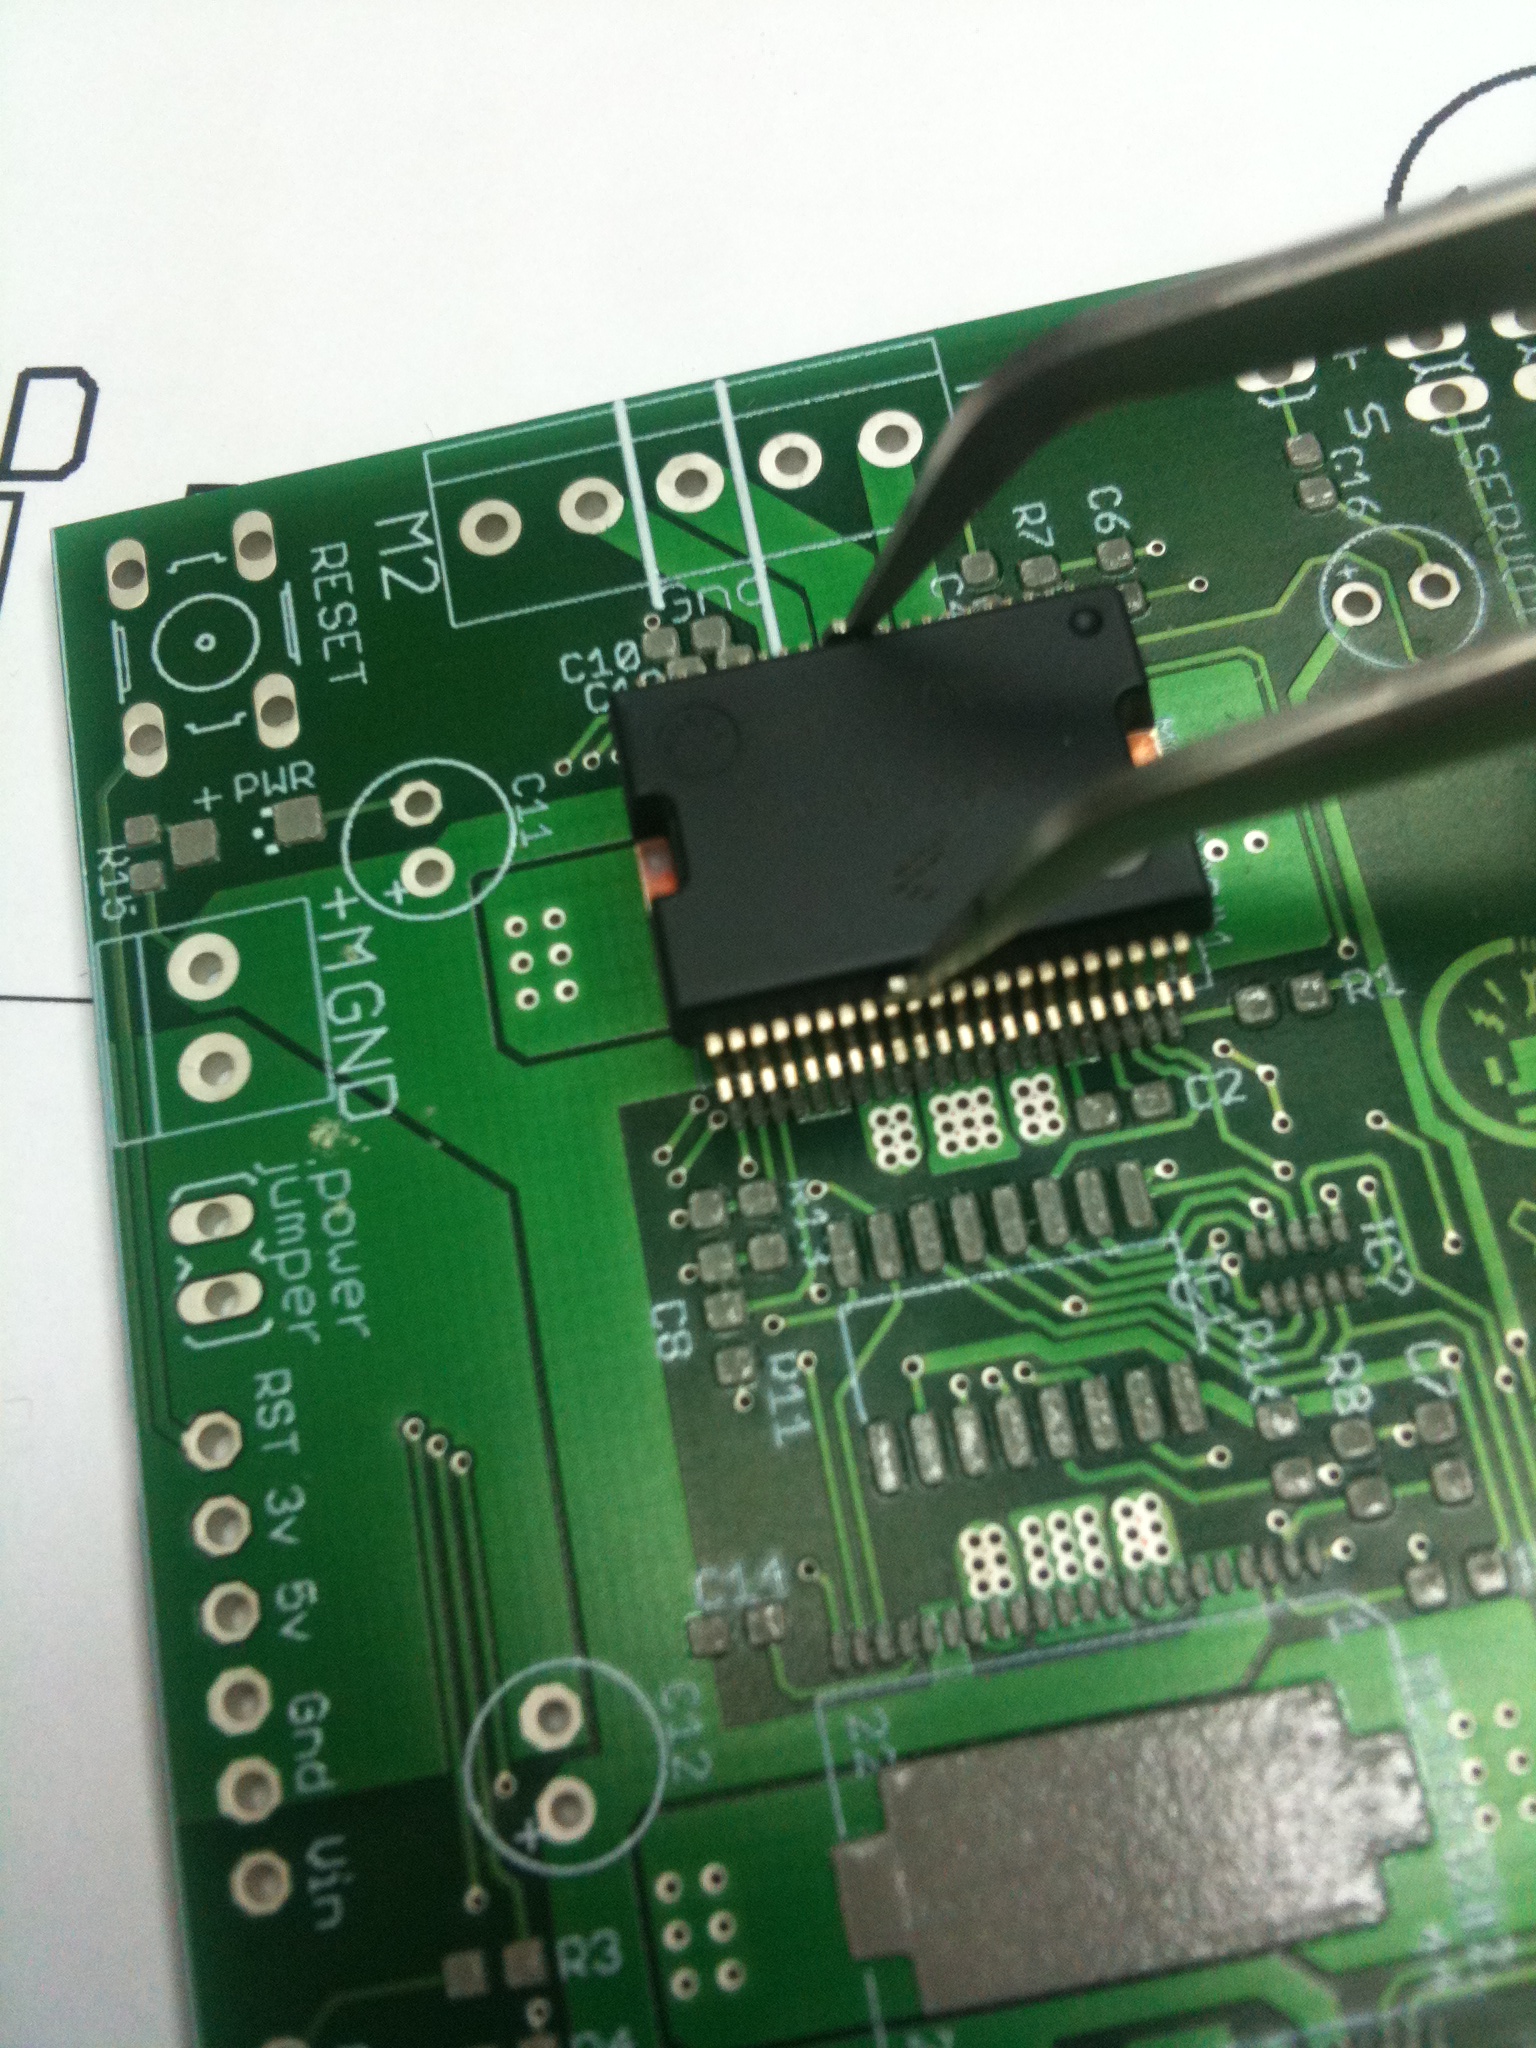
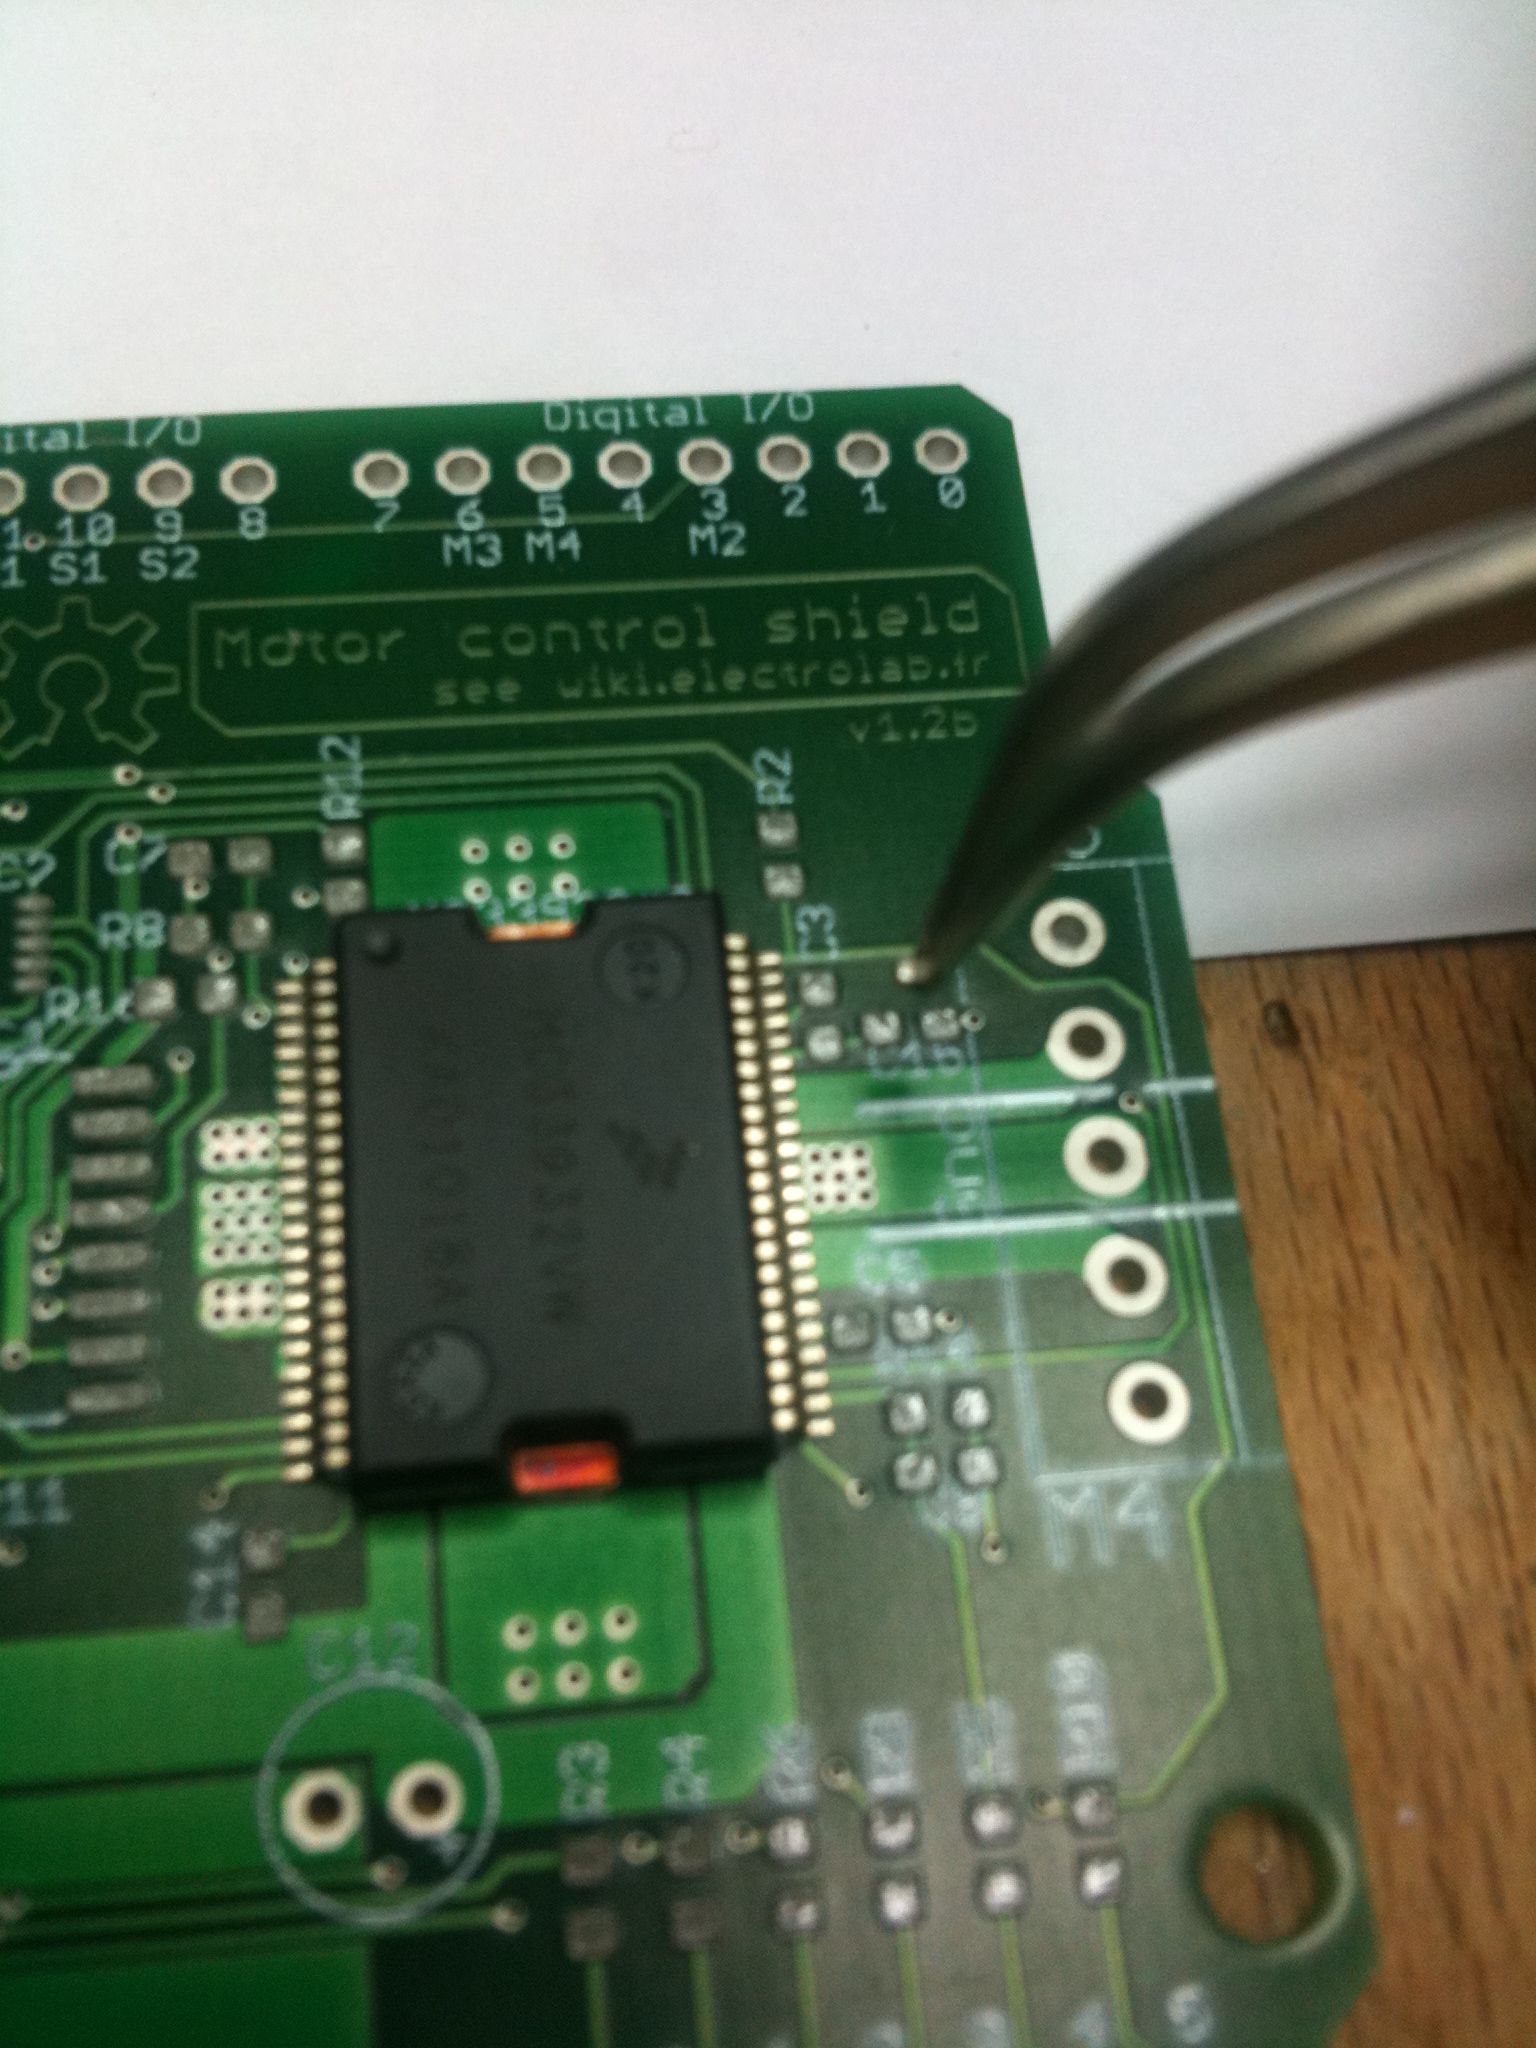
| + | | [[File:Motorshield-step24.jpg]] || Substep 2.4: on approche le composant avec la brucelle... notez que changer l'orientation de la carte pour se simplifier la vie n'est pas interdit, mais recommandé ! | ||
| + | |- | ||
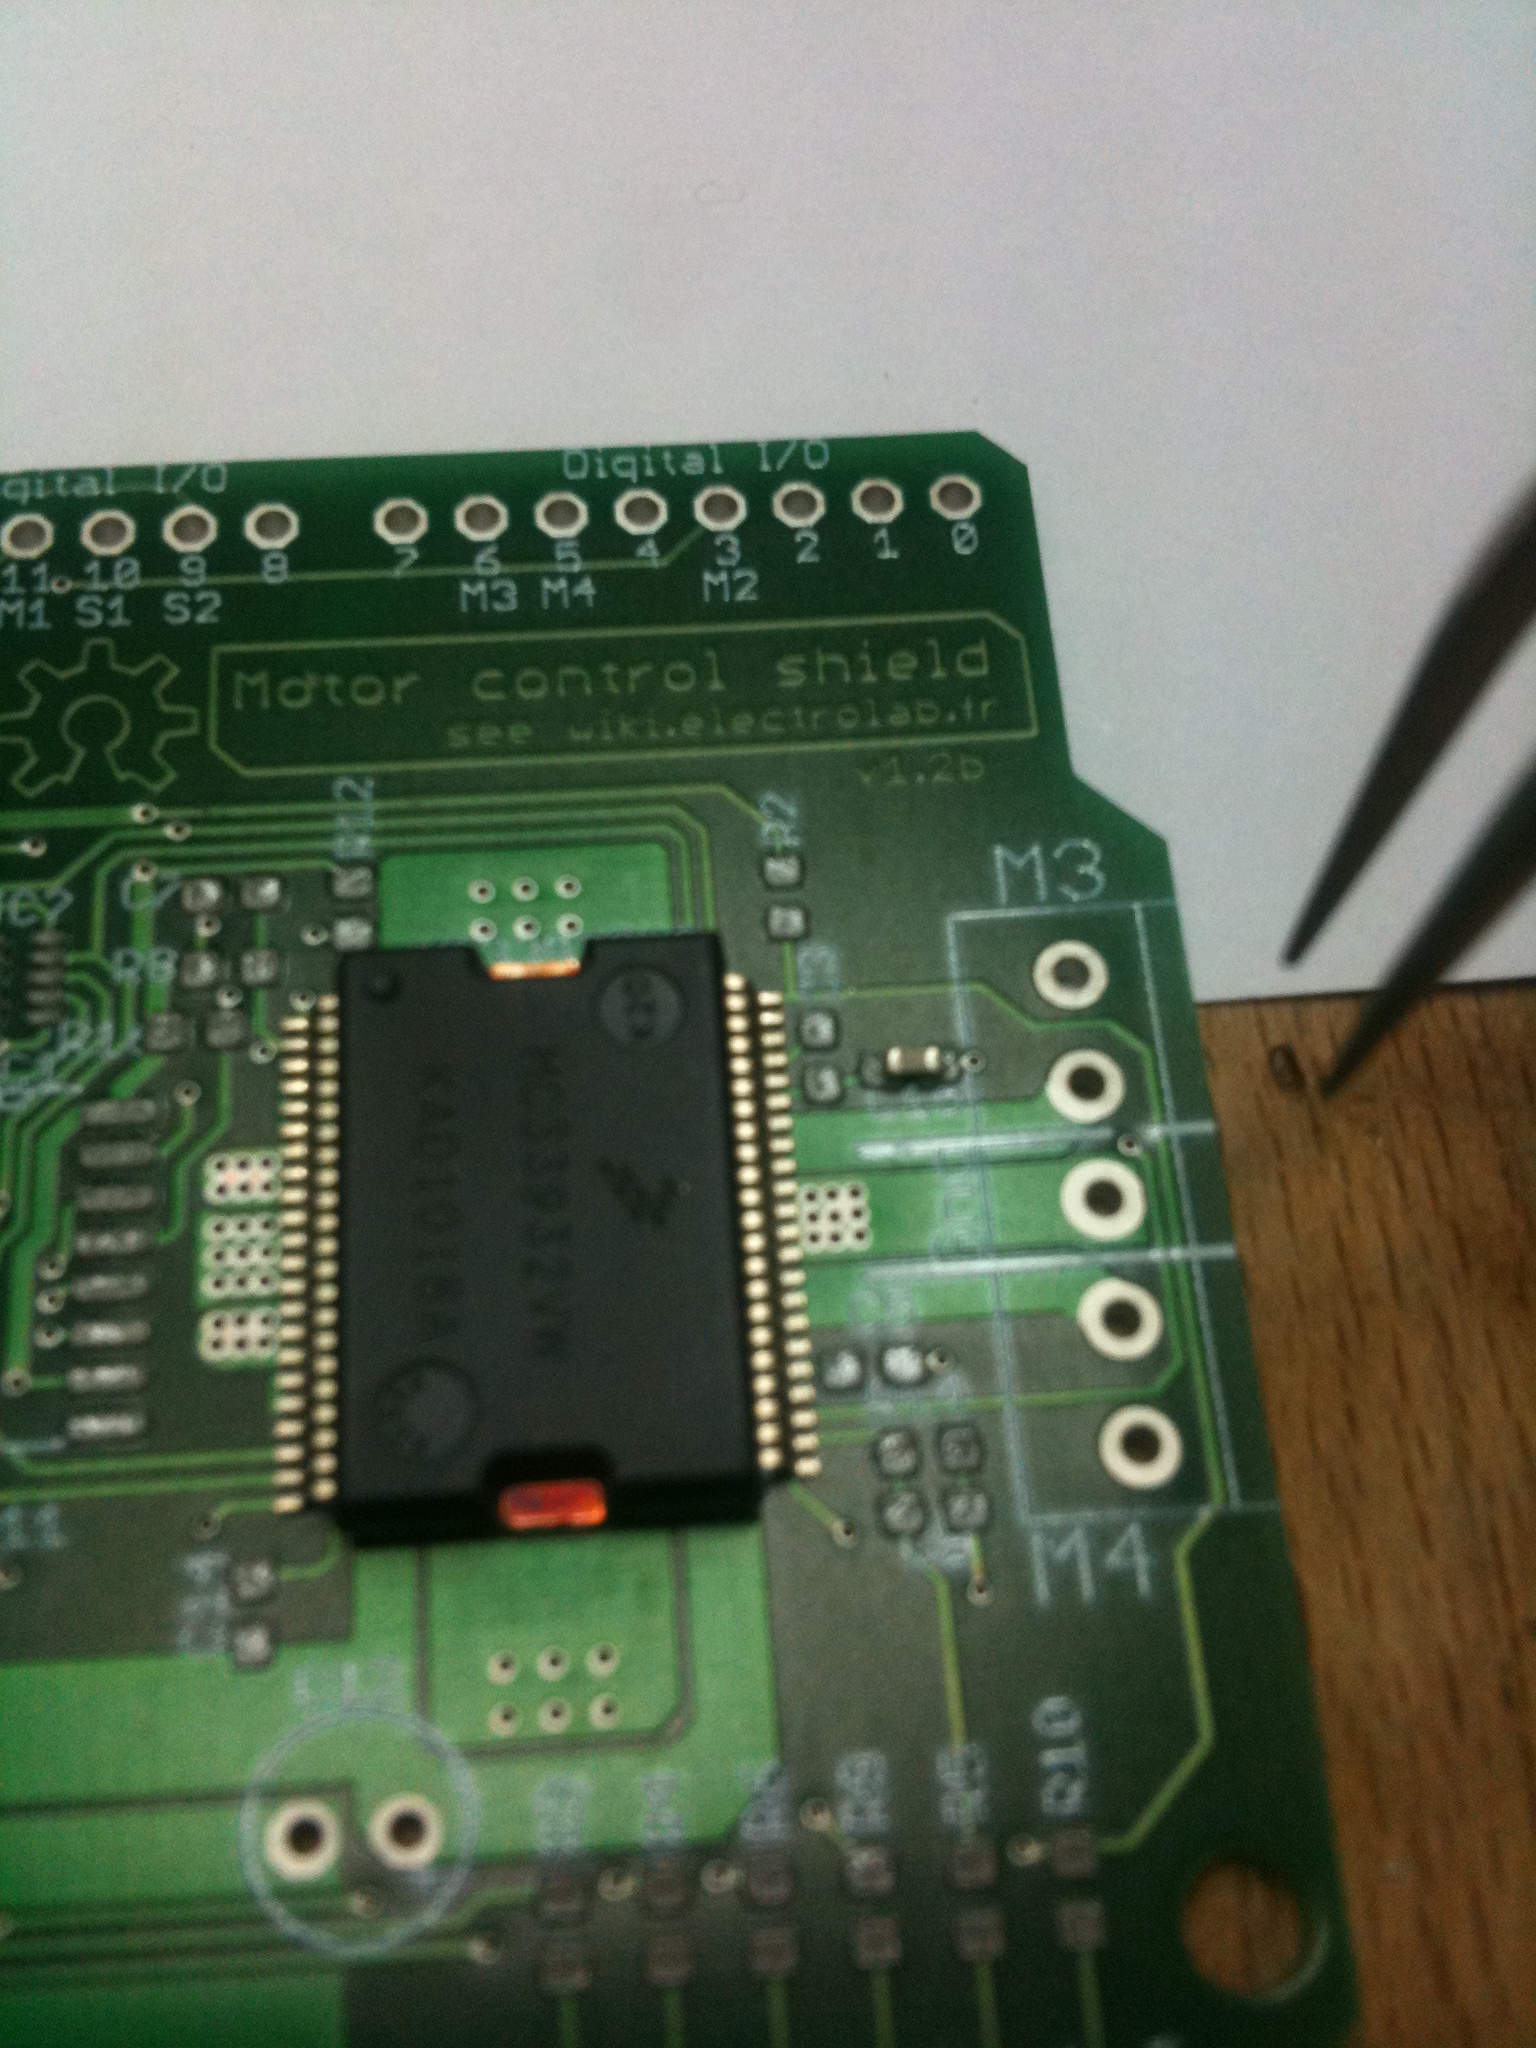
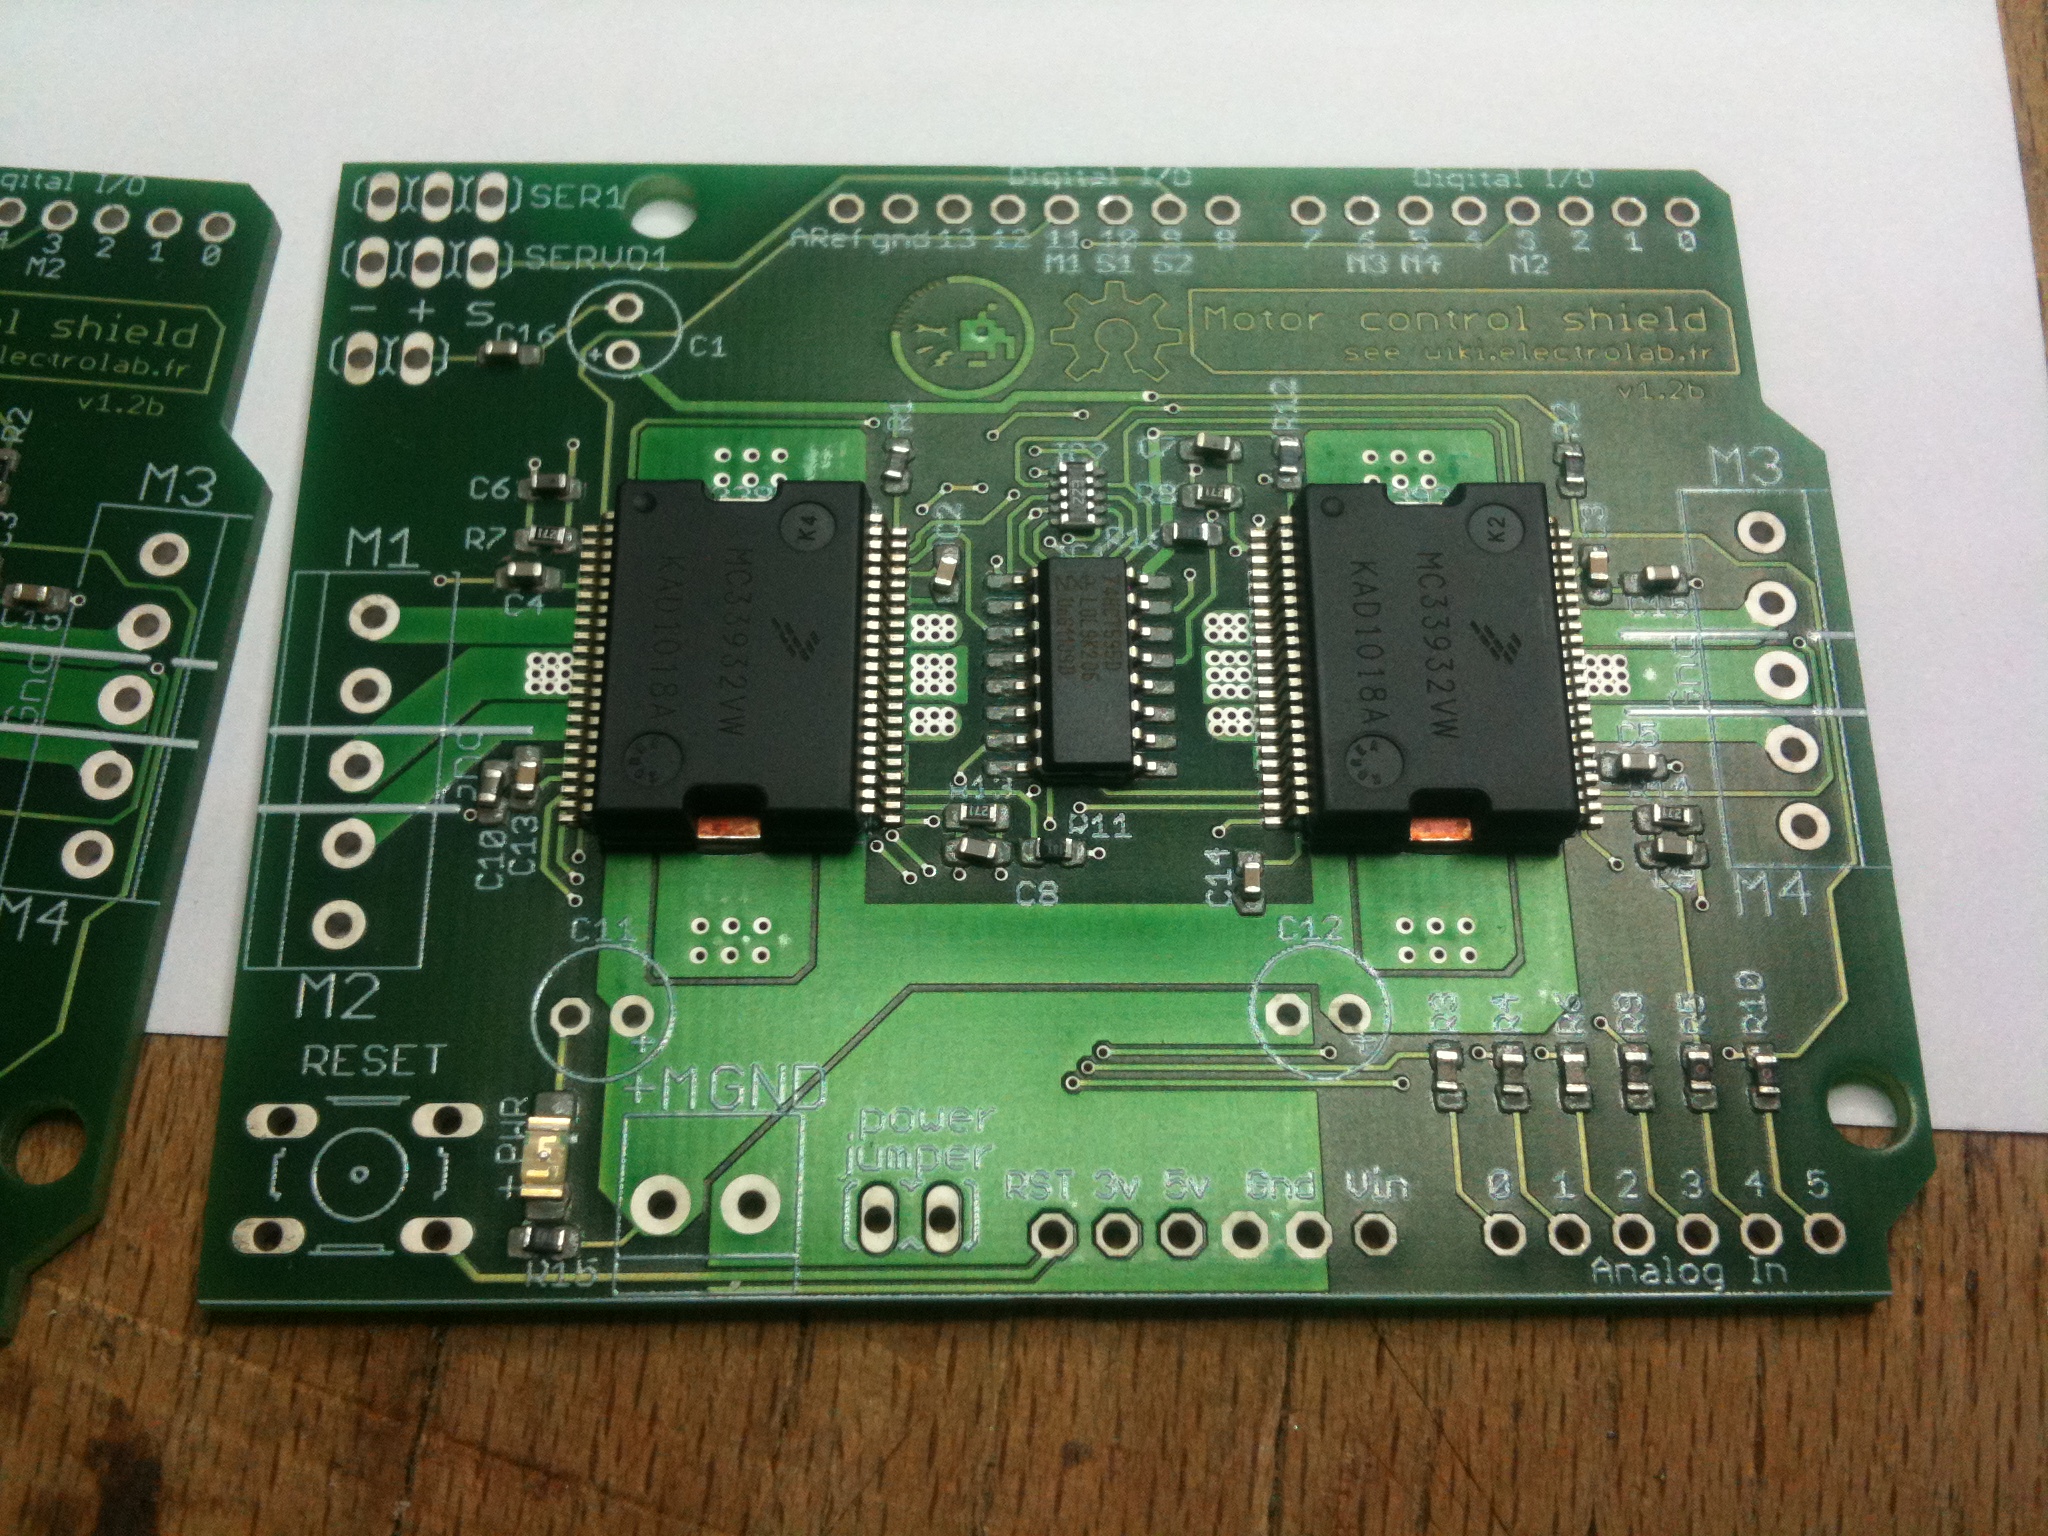
| + | | [[File:Motorshield-step25.jpg]] || Substep 2.5: On se détend, on relache, et c'est fait ! Lui appuyer le gras pour bien le coller à la pate est une bonne idée (voir les fails suivants). Le premier d'une série... | ||
| + | |- | ||
| + | | [[File:Motorshield-step26.jpg]] || Substep 2.6: Pour la suite de cette valeur, tout pareil... | ||
| + | |- | ||
| + | | [[File:Motorshield-step27.jpg]] || Substep 2.7: Et d'ailleurs, pour tous les autres, tout pareil... on comprend vite pourquoi on laisse ca aux robots ! | ||
| + | |- | ||
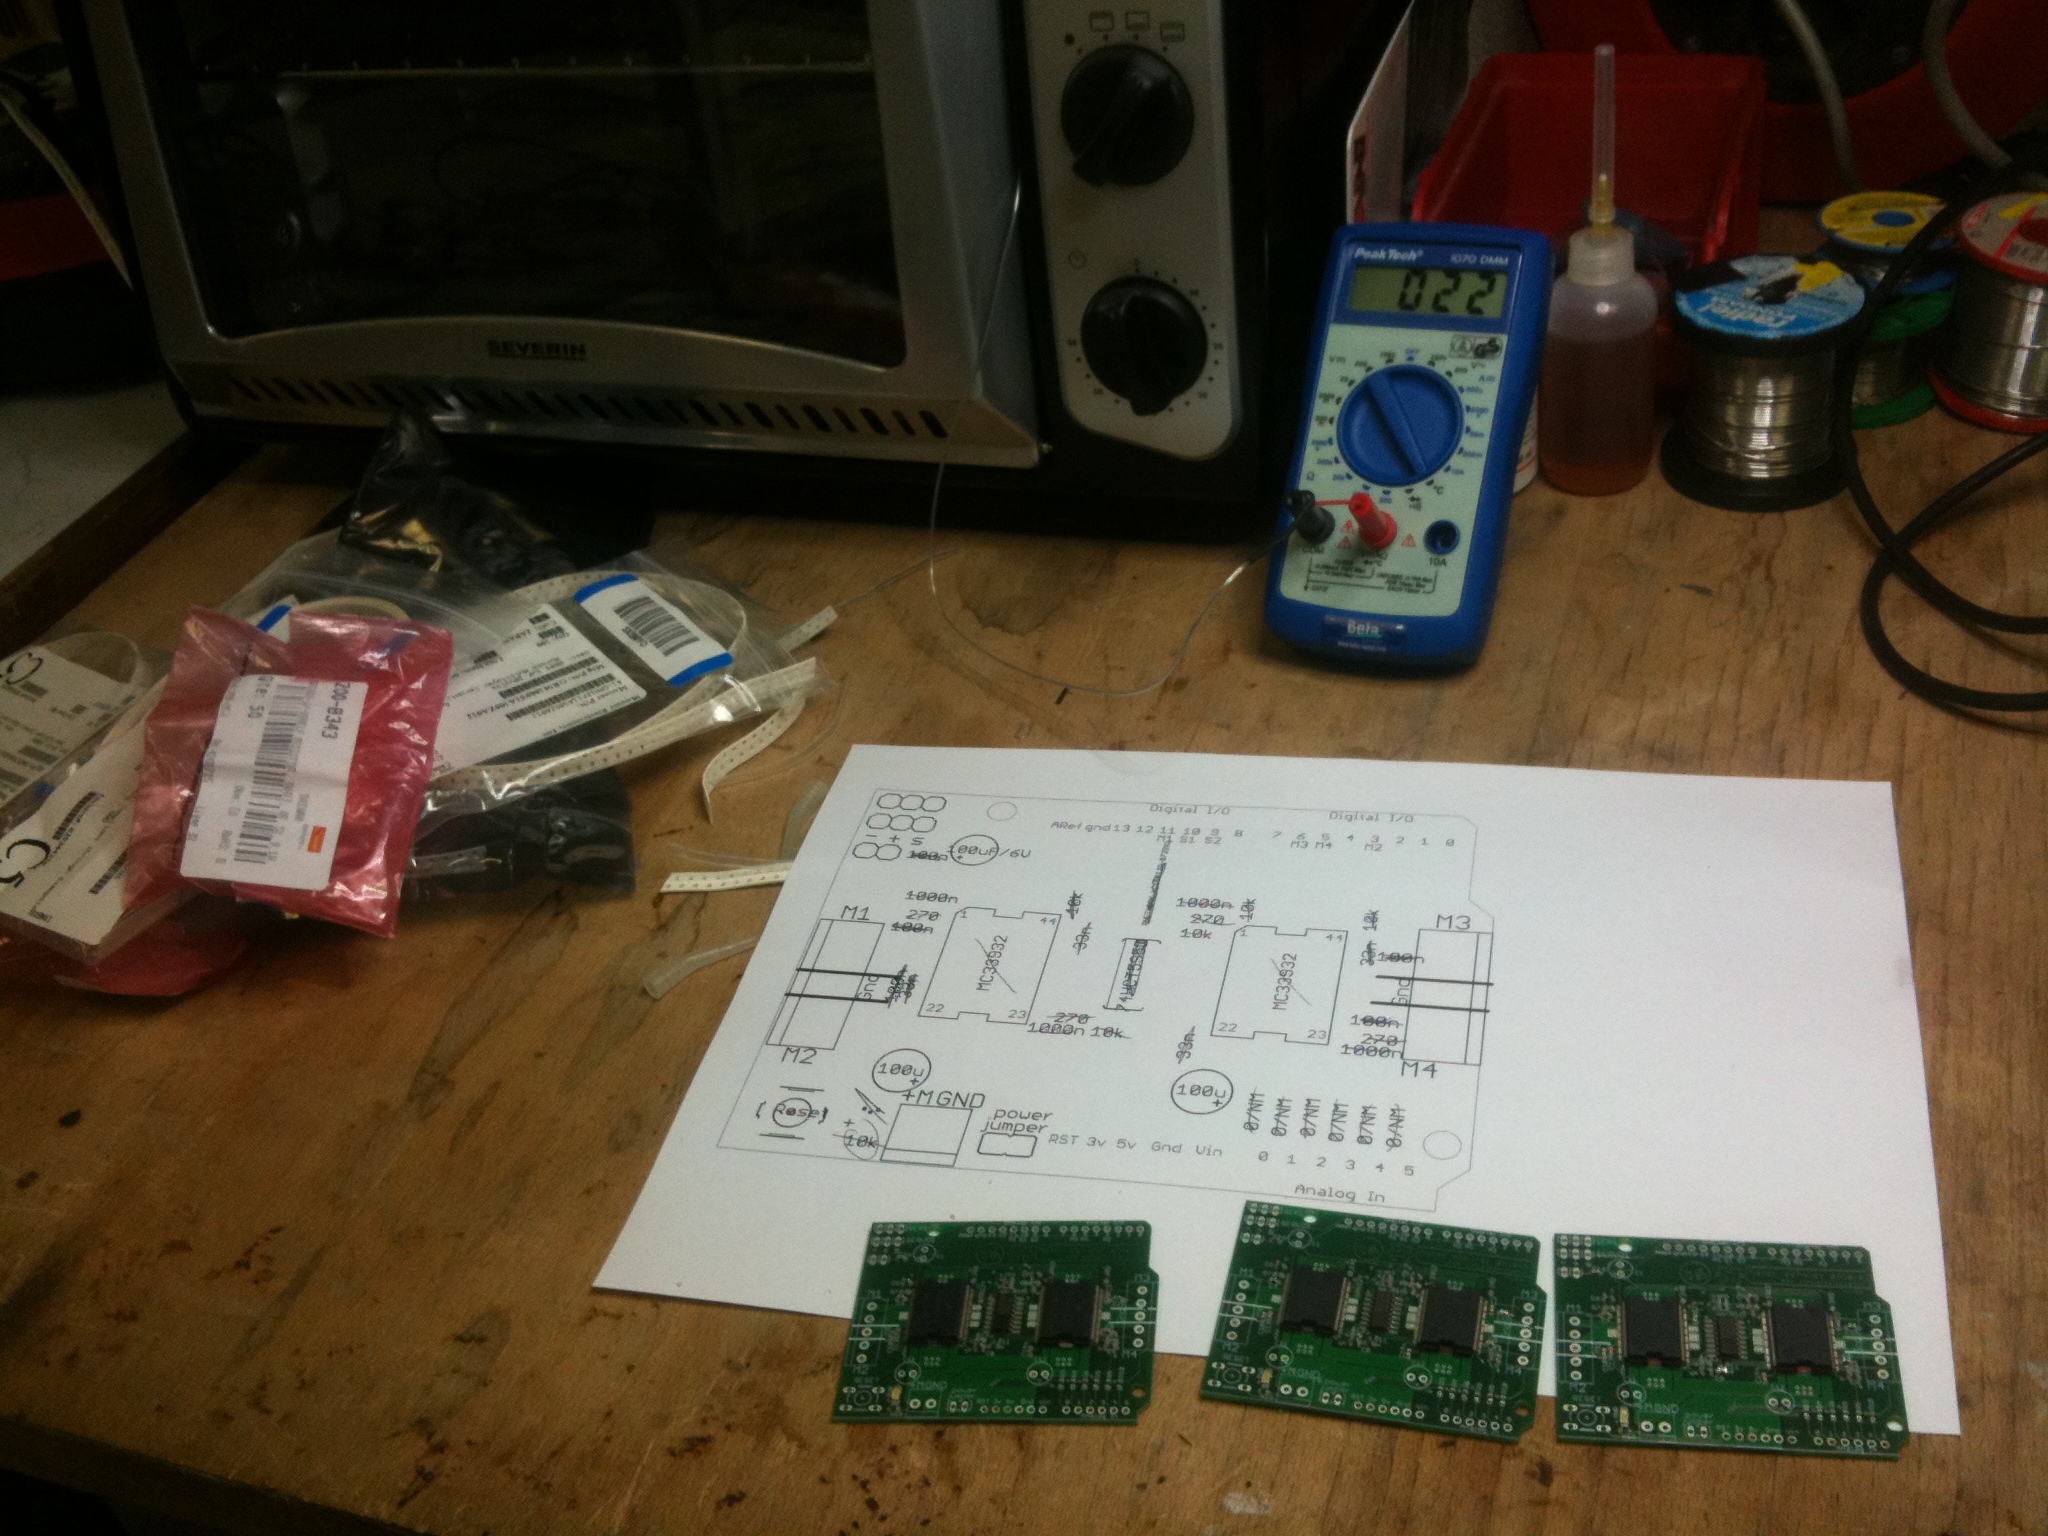
| + | | [[File:Motorshield-step28.jpg]] || Substep 2.8: Prete à passer au four ! tout n'est pas aligné parfait, mais on s'en cogne... ca va s'aligner à la cuisson. | ||
| + | |- | ||
| + | ! !! | ||
| + | |} | ||
| + | |||
| + | |||
| + | = Step 3: four= | ||
| + | So this is the main description for step 3. Bla bla bla toubidoubidouwhaaaaa long text long text long text long text long text long text long text long text long text long text long text long text long text long text long text long text long text long text long text long text long text long text long text long text long text long text long text long text long text long text long text long text long text long text long text long text long text long text long text long text long text long text long text long text long text long text | ||
Bla bla bla toubidoubidouwhaaaaa long text: | Bla bla bla toubidoubidouwhaaaaa long text: | ||
| Line 42: | Line 79: | ||
! !! | ! !! | ||
|- | |- | ||
| − | | [[File: | + | | [[File:Motorshield-step31.jpg]] || Substep 3.1: |
| + | |- | ||
| + | | [[File:Motorshield-step32.jpg]] || Substep 3.2: | ||
| + | |- | ||
| + | | [[File:Motorshield-step33.jpg]] || Substep 3.3: | ||
| + | |- | ||
| + | | [[File:Motorshield-step34.jpg]] || Substep 3.4: | ||
| + | |- | ||
| + | | [[File:Motorshield-step35.jpg]] || Substep 3.5: | ||
| + | |- | ||
| + | | [[File:Motorshield-step36.jpg]] || Substep 3.6: | ||
|- | |- | ||
| − | | [[File: | + | | [[File:Motorshield-step37.jpg]] || Substep 3.7: |
|- | |- | ||
| − | | [[File: | + | | [[File:Motorshield-step38.jpg]] || Substep 3.8: |
|- | |- | ||
! !! | ! !! | ||
|} | |} | ||
Revision as of 01:42, 14 December 2011
quick introduction maybe..?
get me back from here ! I can't hit return myself !
Step 0: matos nécessaire, etc etc etc
Step 1: paste
So this is the main description for step 1. Bla bla bla toubidoubidouwhaaaaa long text long text long text long text long text long text long text long text long text long text long text long text long text long text long text long text long text long text long text long text long text long text long text long text long text long text long text long text long text long text long text long text long text long text long text long text long text long text long text long text long text long text long text long text long text long text
Bla bla bla toubidoubidouwhaaaaa long text:
- long text long text long text long text long
- text long text long text long text long text long text long text long text long text long text long text long text long text long text long text long text long text long text long text long text long text long text long text long
- text long text long text long text long text long text long text long text long text long text long text long text long text long text long text long text long text long text
Step 2: components
So this is the main description for step 2. Bla bla bla toubidoubidouwhaaaaa long text long text long text long text long text long text long text long text long text long text long text long text long text long text long text long text long text long text long text long text long text long text long text long text long text long text long text long text long text long text long text long text long text long text long text long text long text long text long text long text long text long text long text long text long text long text
Bla bla bla toubidoubidouwhaaaaa long text:
- long text long text long text long text long
- text long text long text long text long text long text long text long text long text long text long text long text long text long text long text long text long text long text long text long text long text long text long text long
- text long text long text long text long text long text long text long text long text long text long text long text long text long text long text long text long text long text
Step 3: four
So this is the main description for step 3. Bla bla bla toubidoubidouwhaaaaa long text long text long text long text long text long text long text long text long text long text long text long text long text long text long text long text long text long text long text long text long text long text long text long text long text long text long text long text long text long text long text long text long text long text long text long text long text long text long text long text long text long text long text long text long text long text
Bla bla bla toubidoubidouwhaaaaa long text:
- long text long text long text long text long
- text long text long text long text long text long text long text long text long text long text long text long text long text long text long text long text long text long text long text long text long text long text long text long
- text long text long text long text long text long text long text long text long text long text long text long text long text long text long text long text long text long text
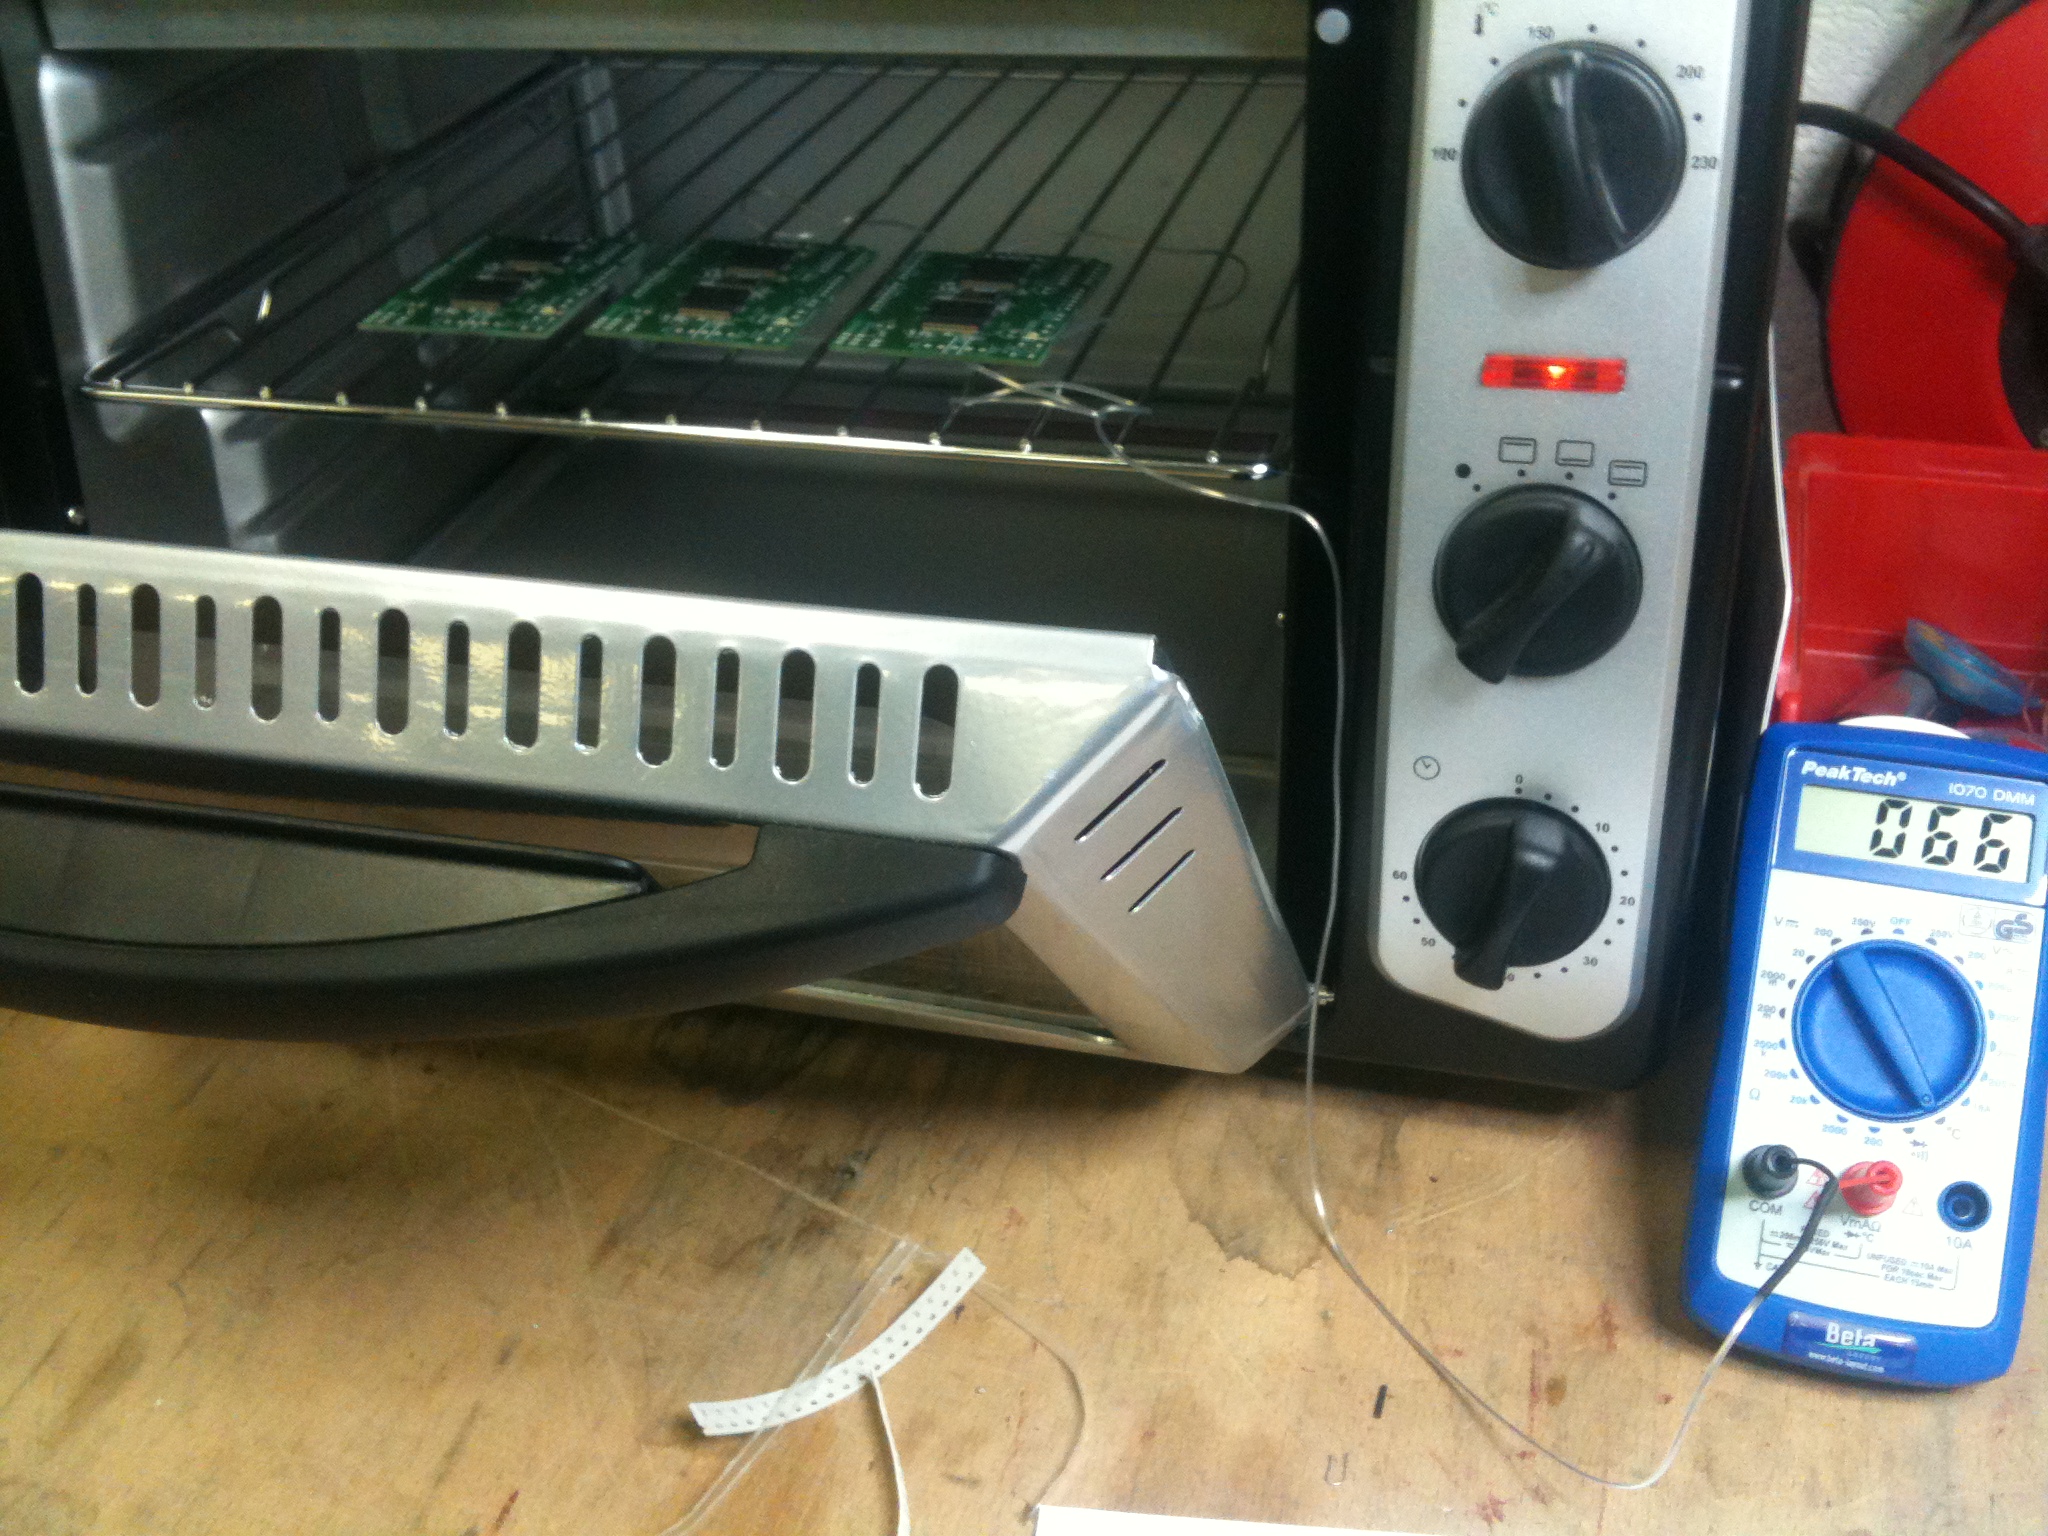 |
Substep 3.1: |
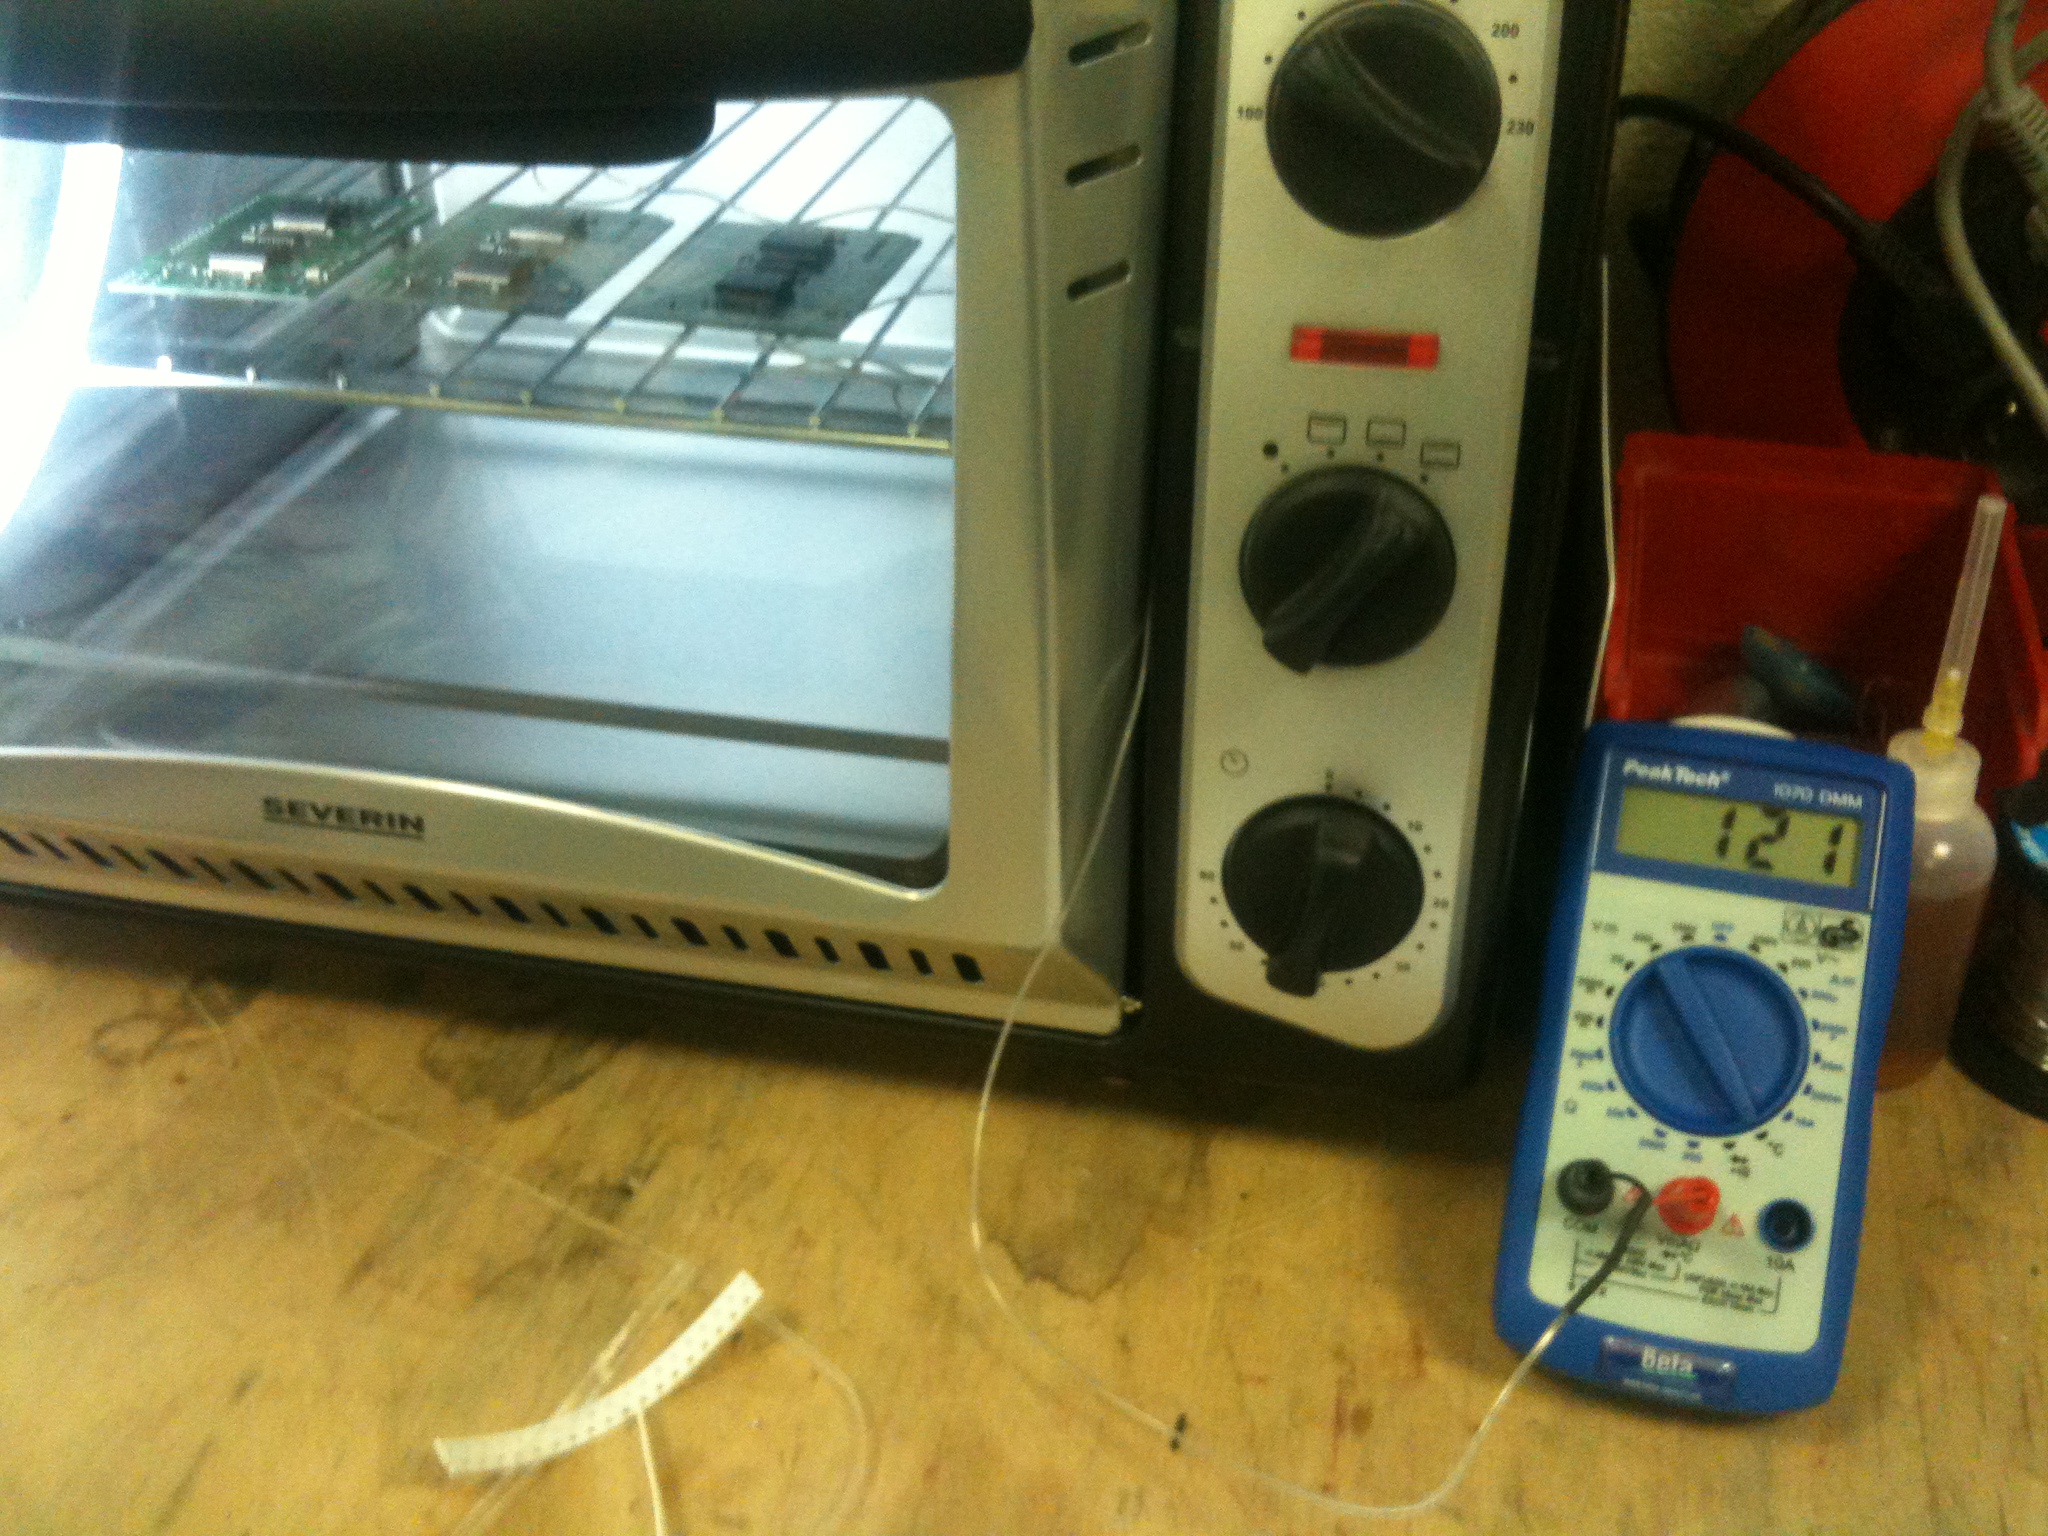 |
Substep 3.2: |
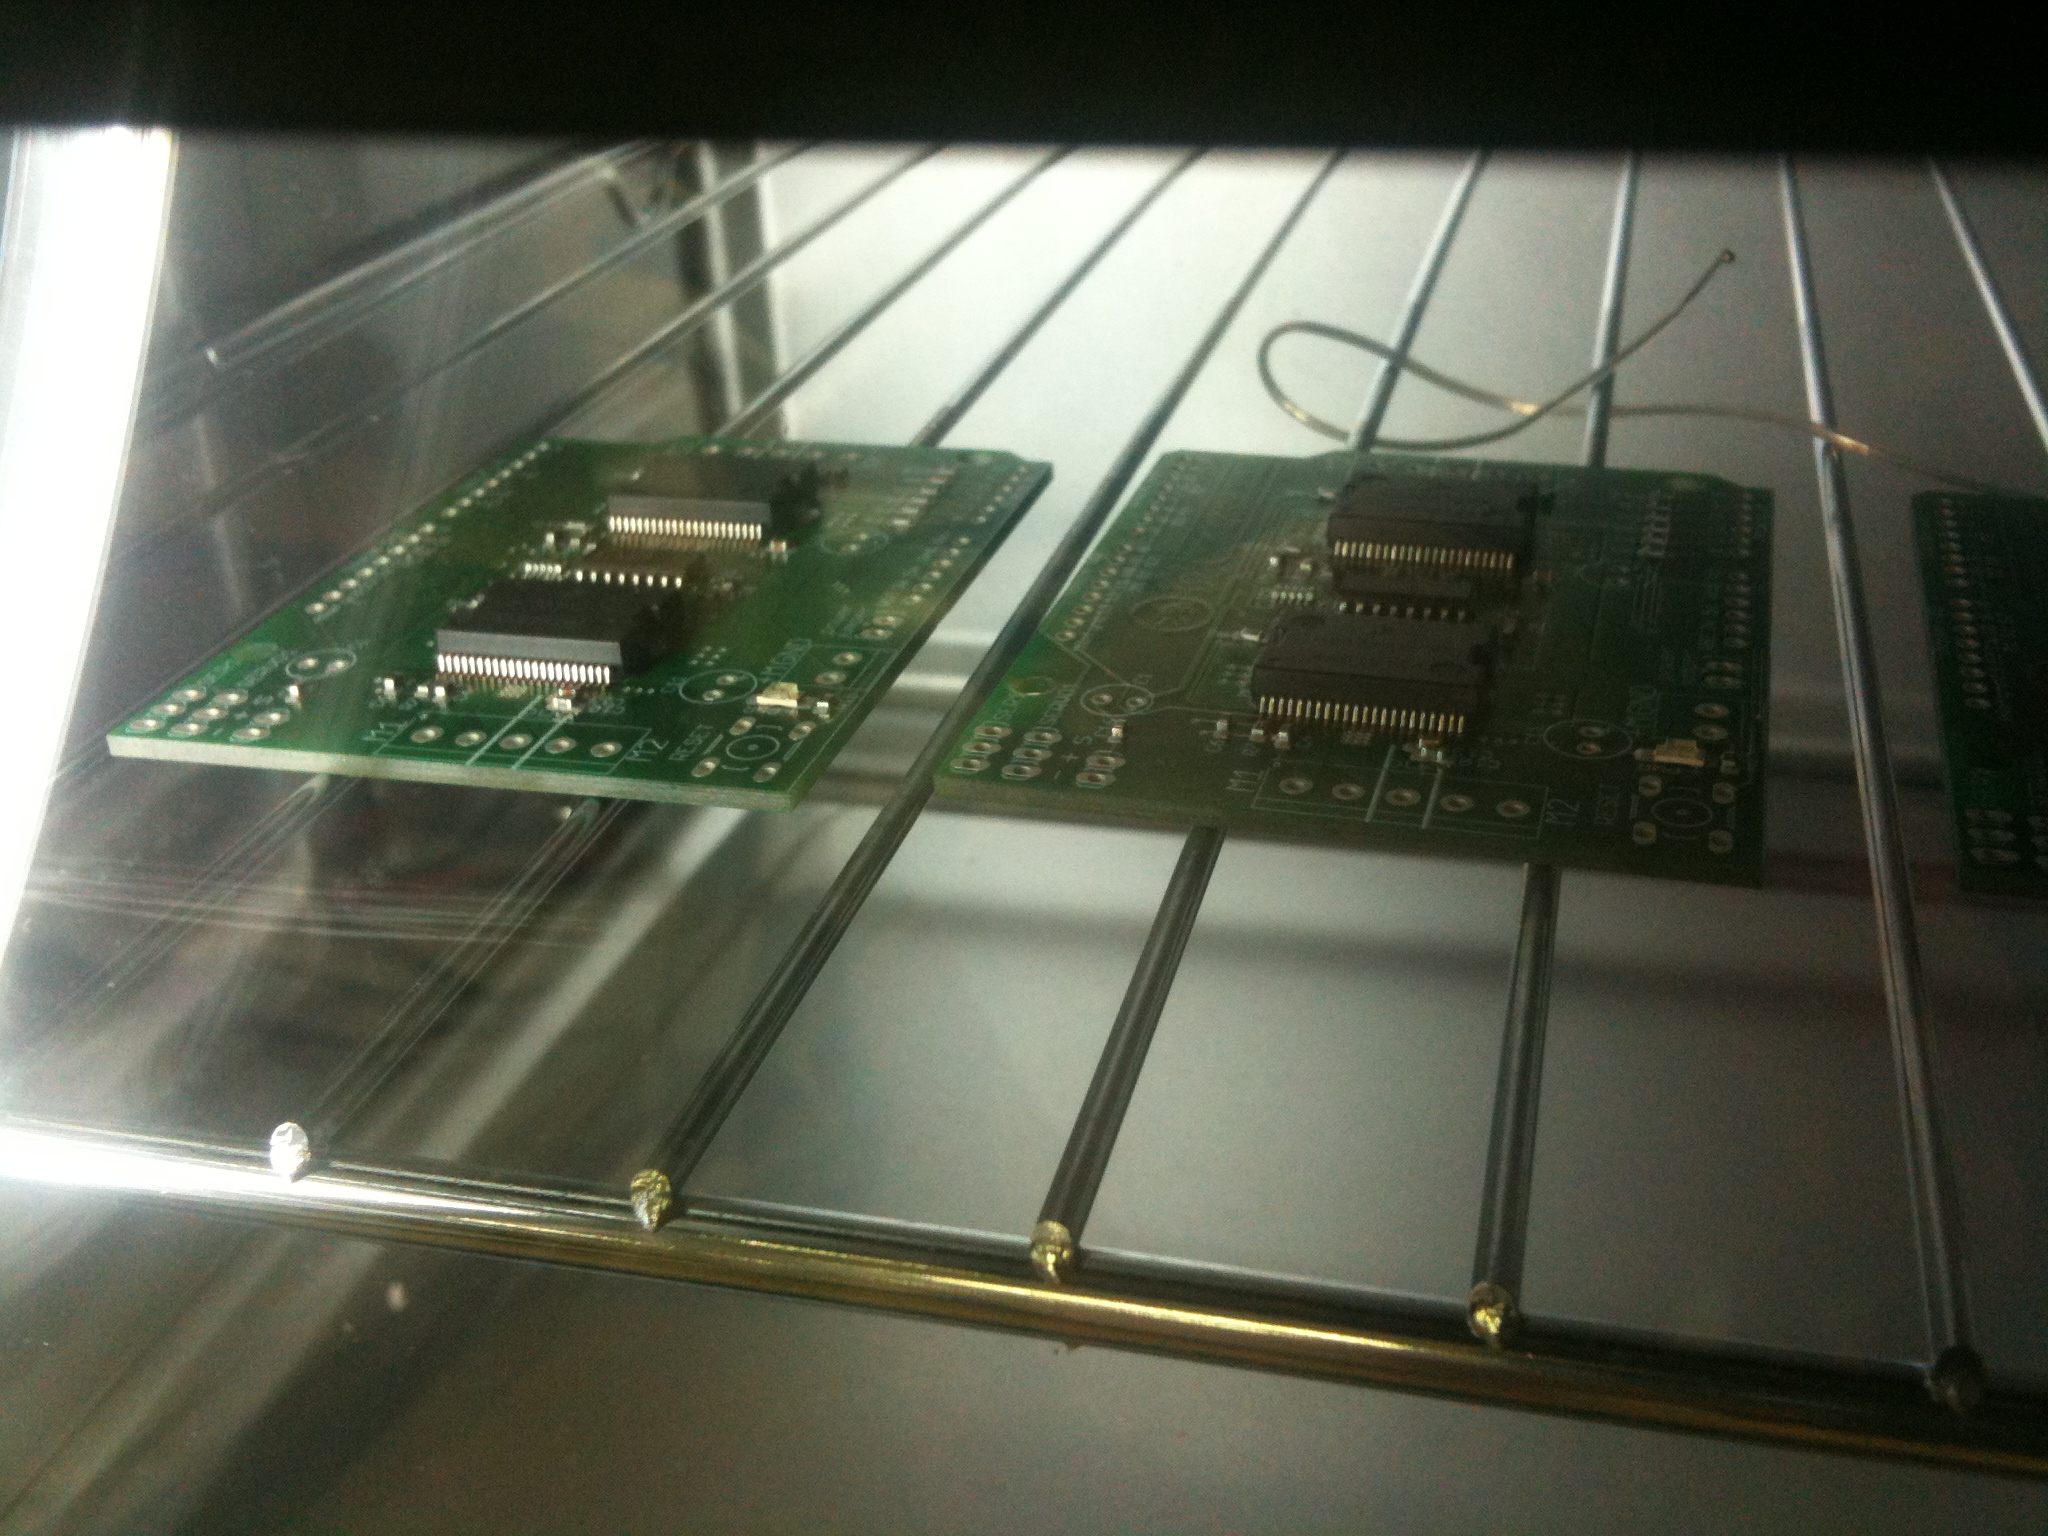 |
Substep 3.3: |
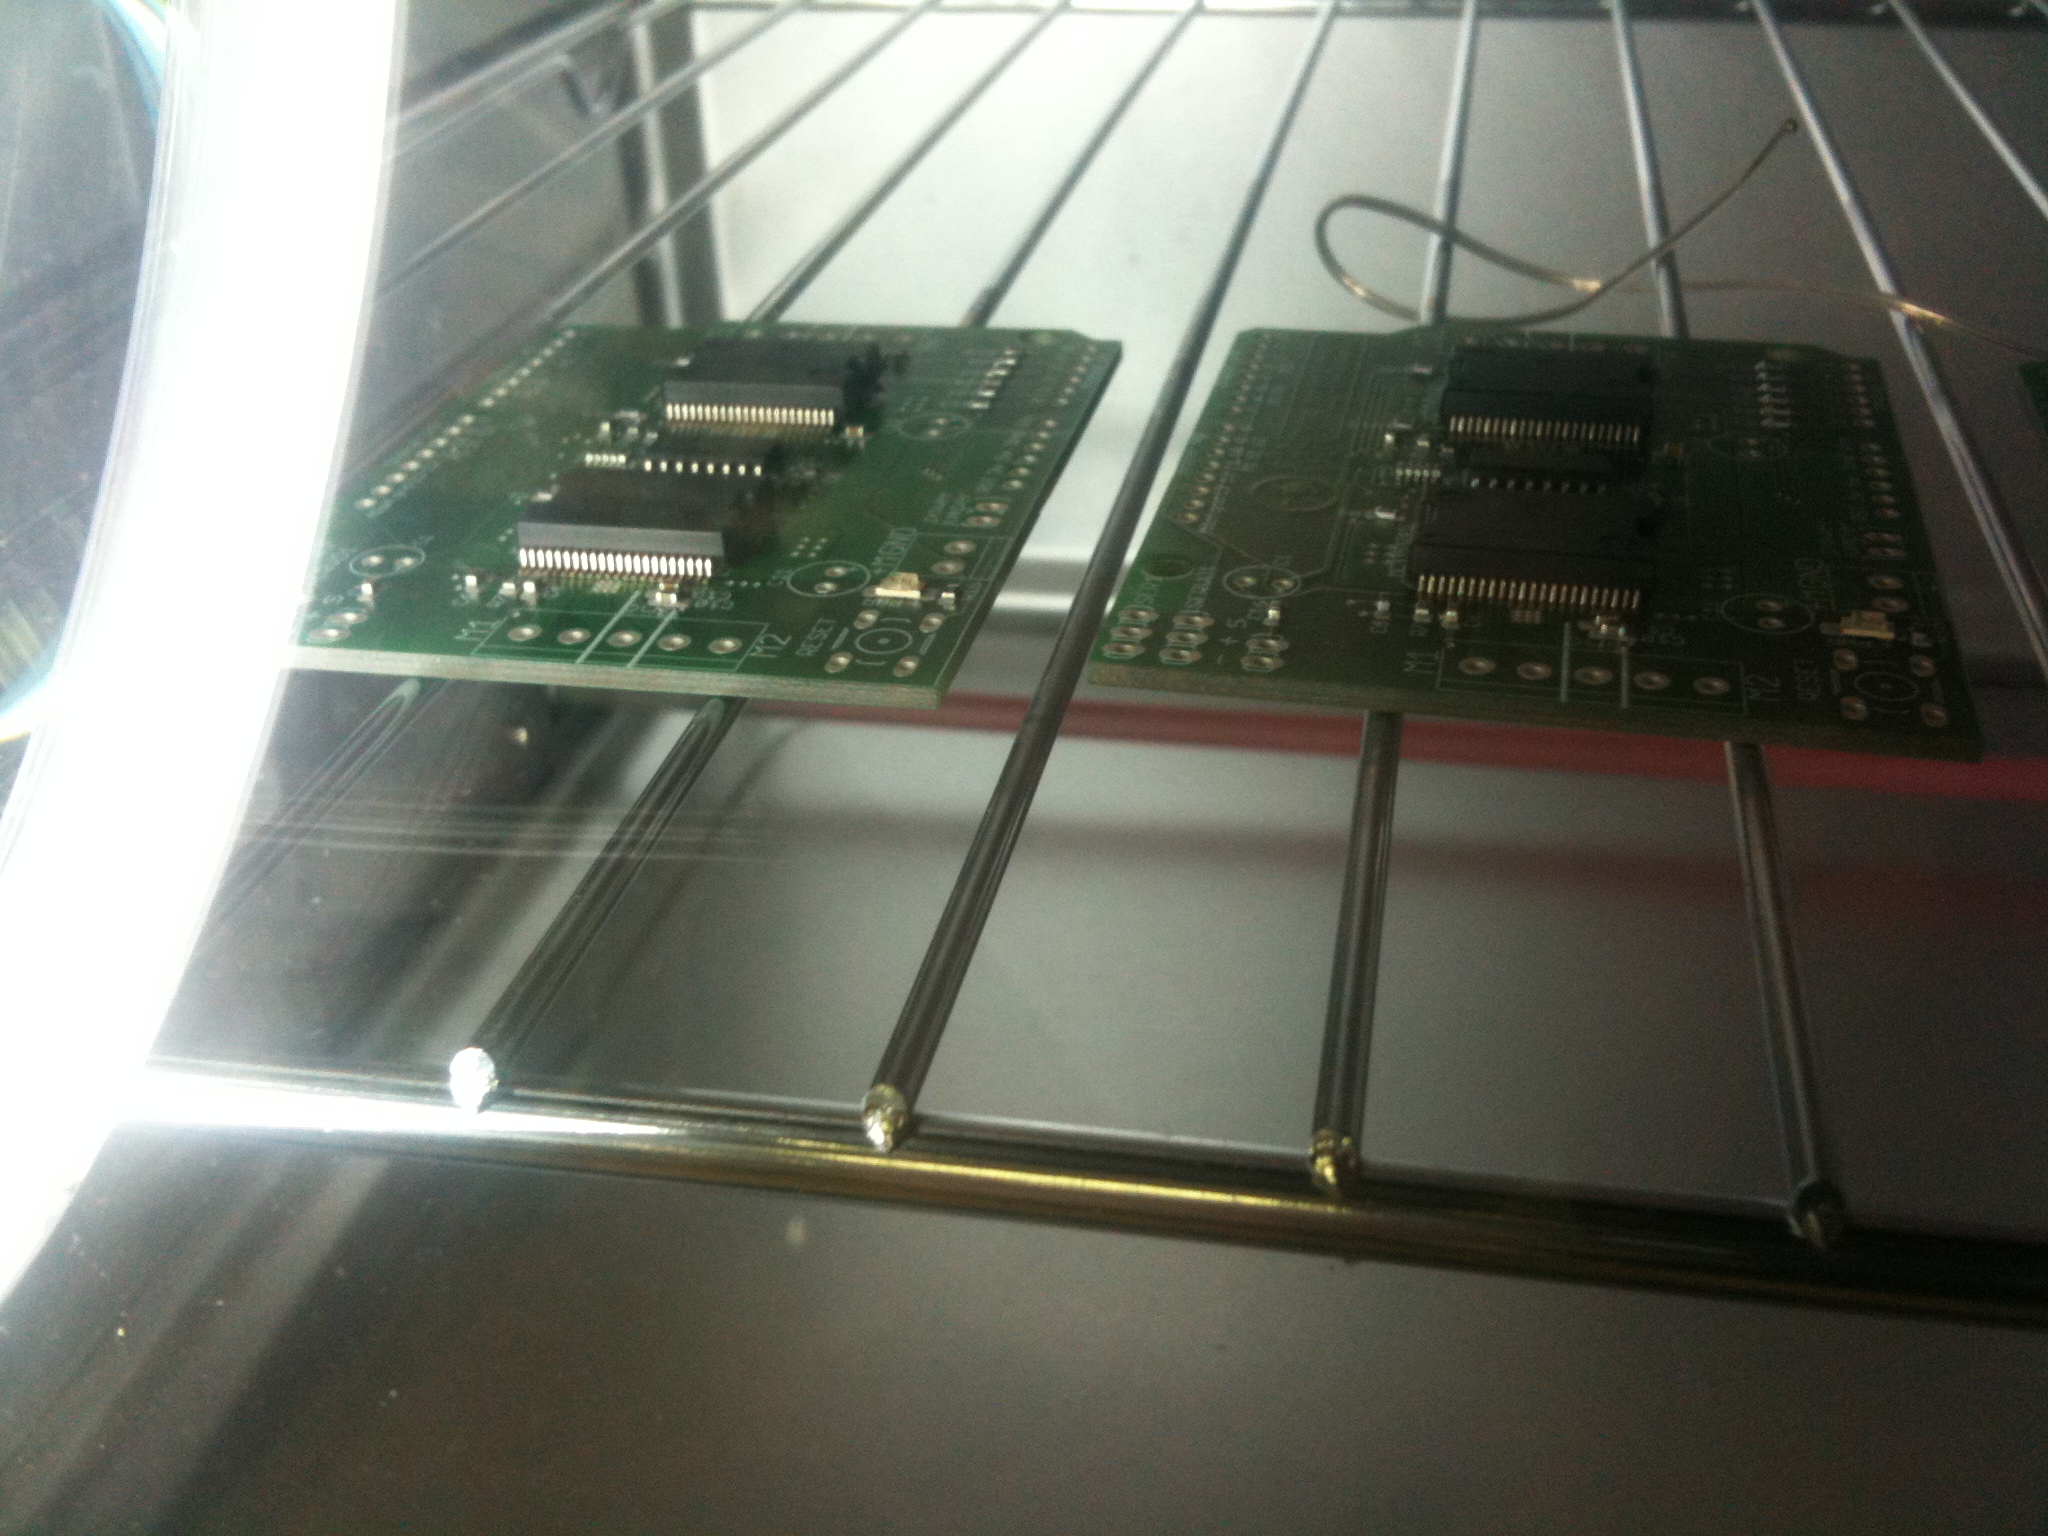 |
Substep 3.4: |
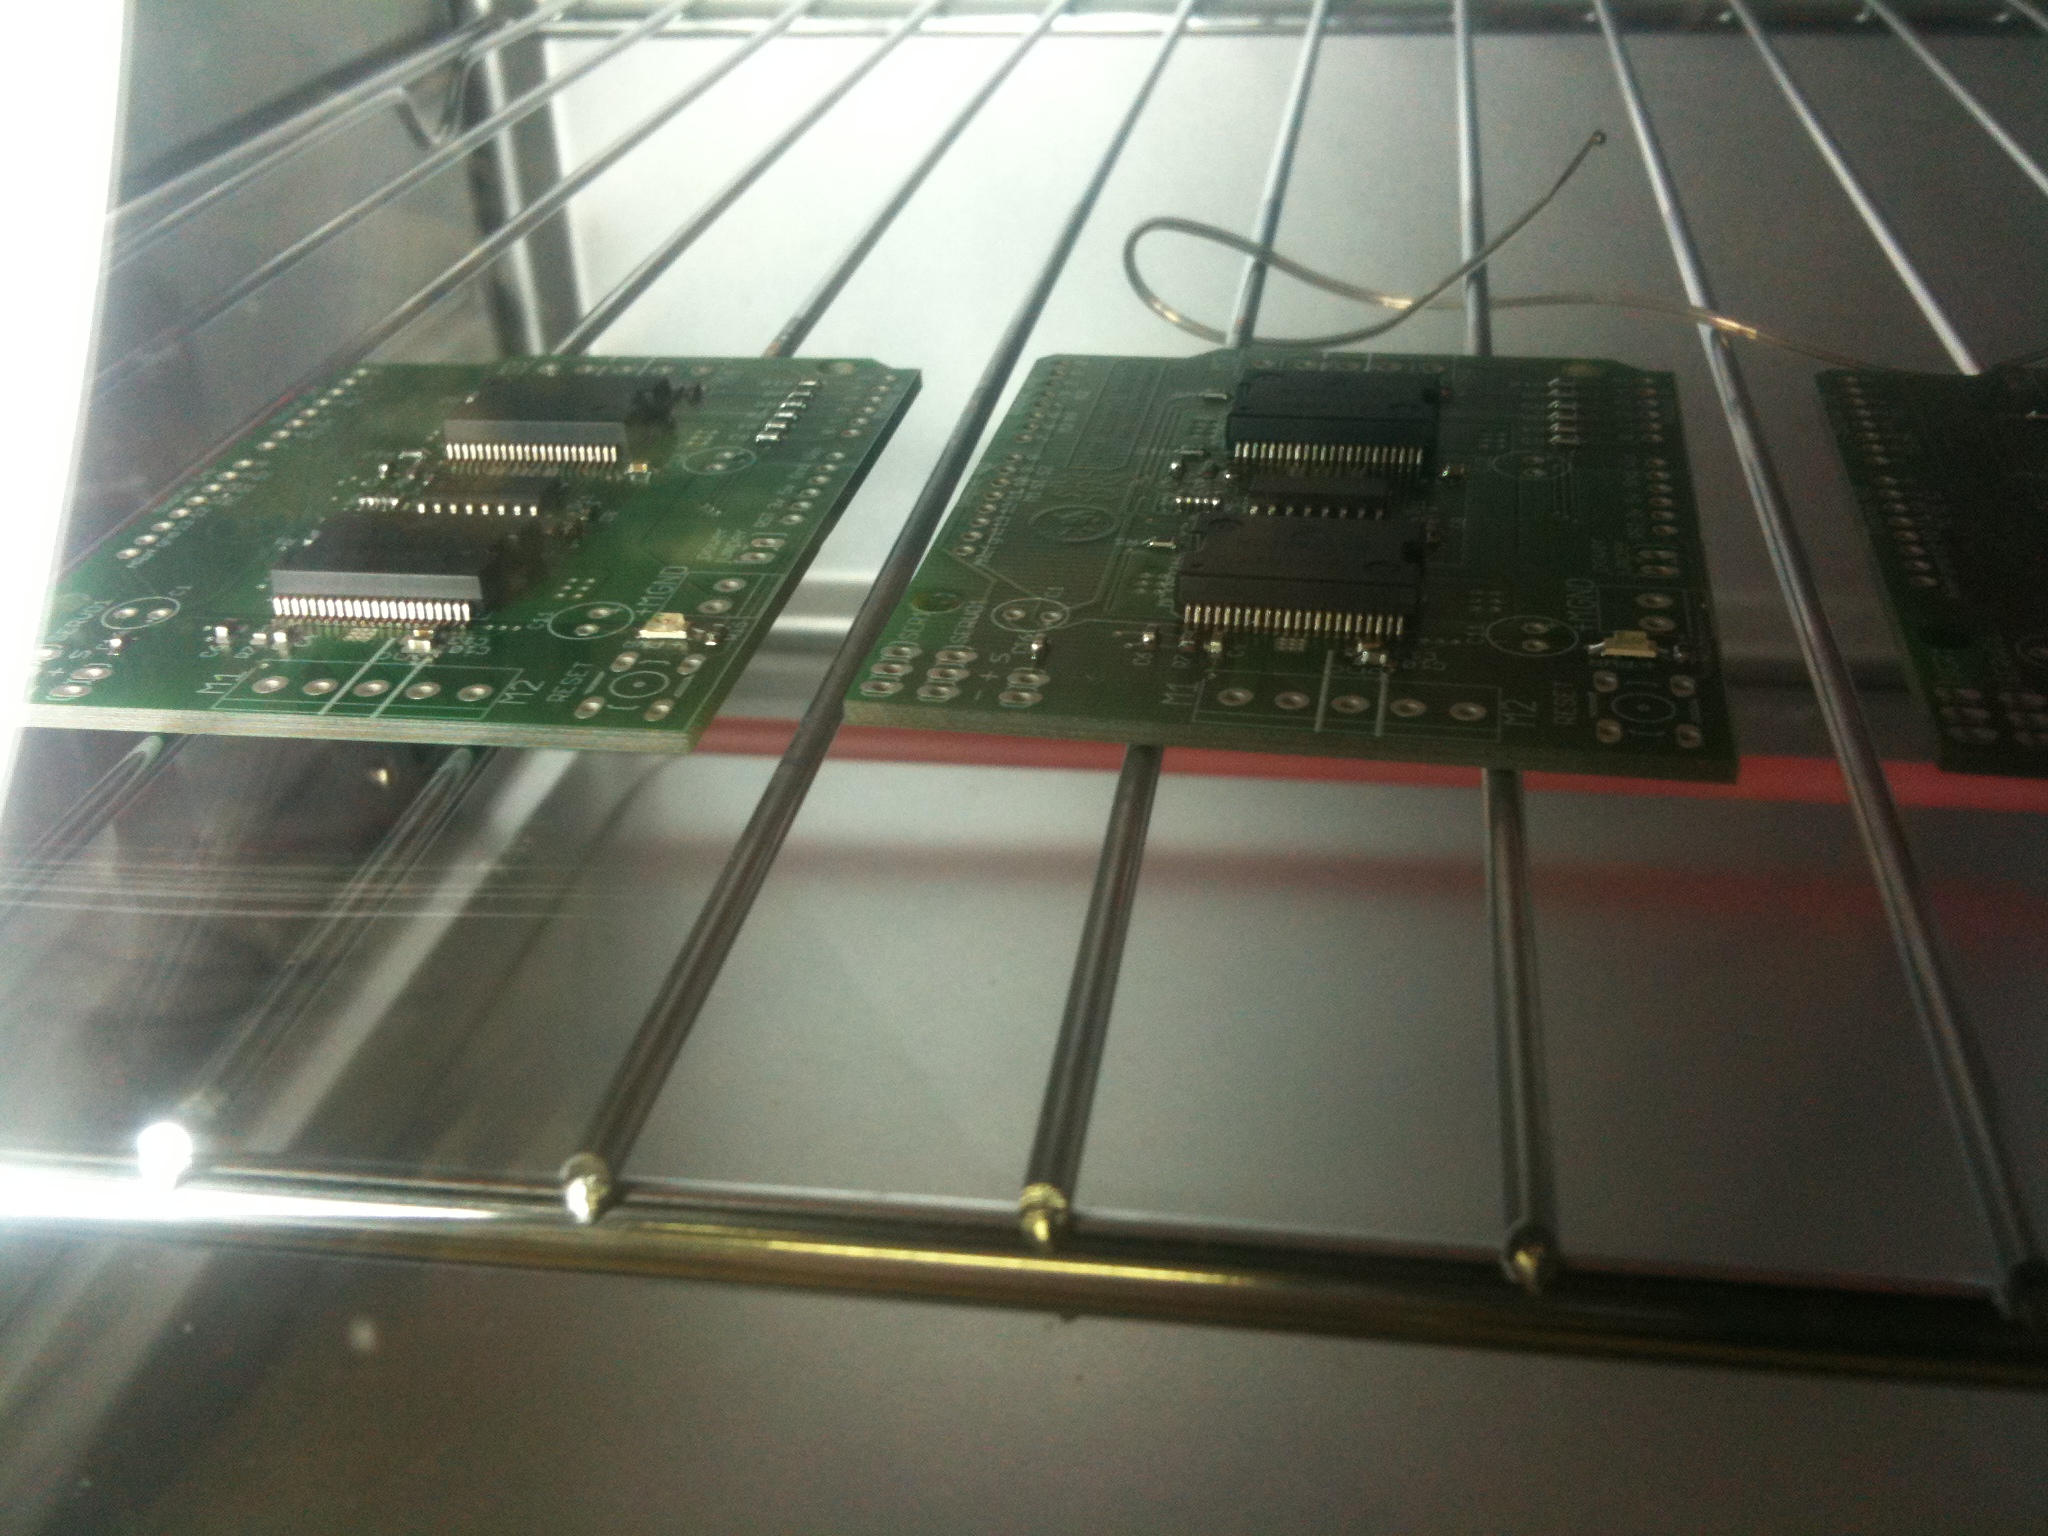 |
Substep 3.5: |
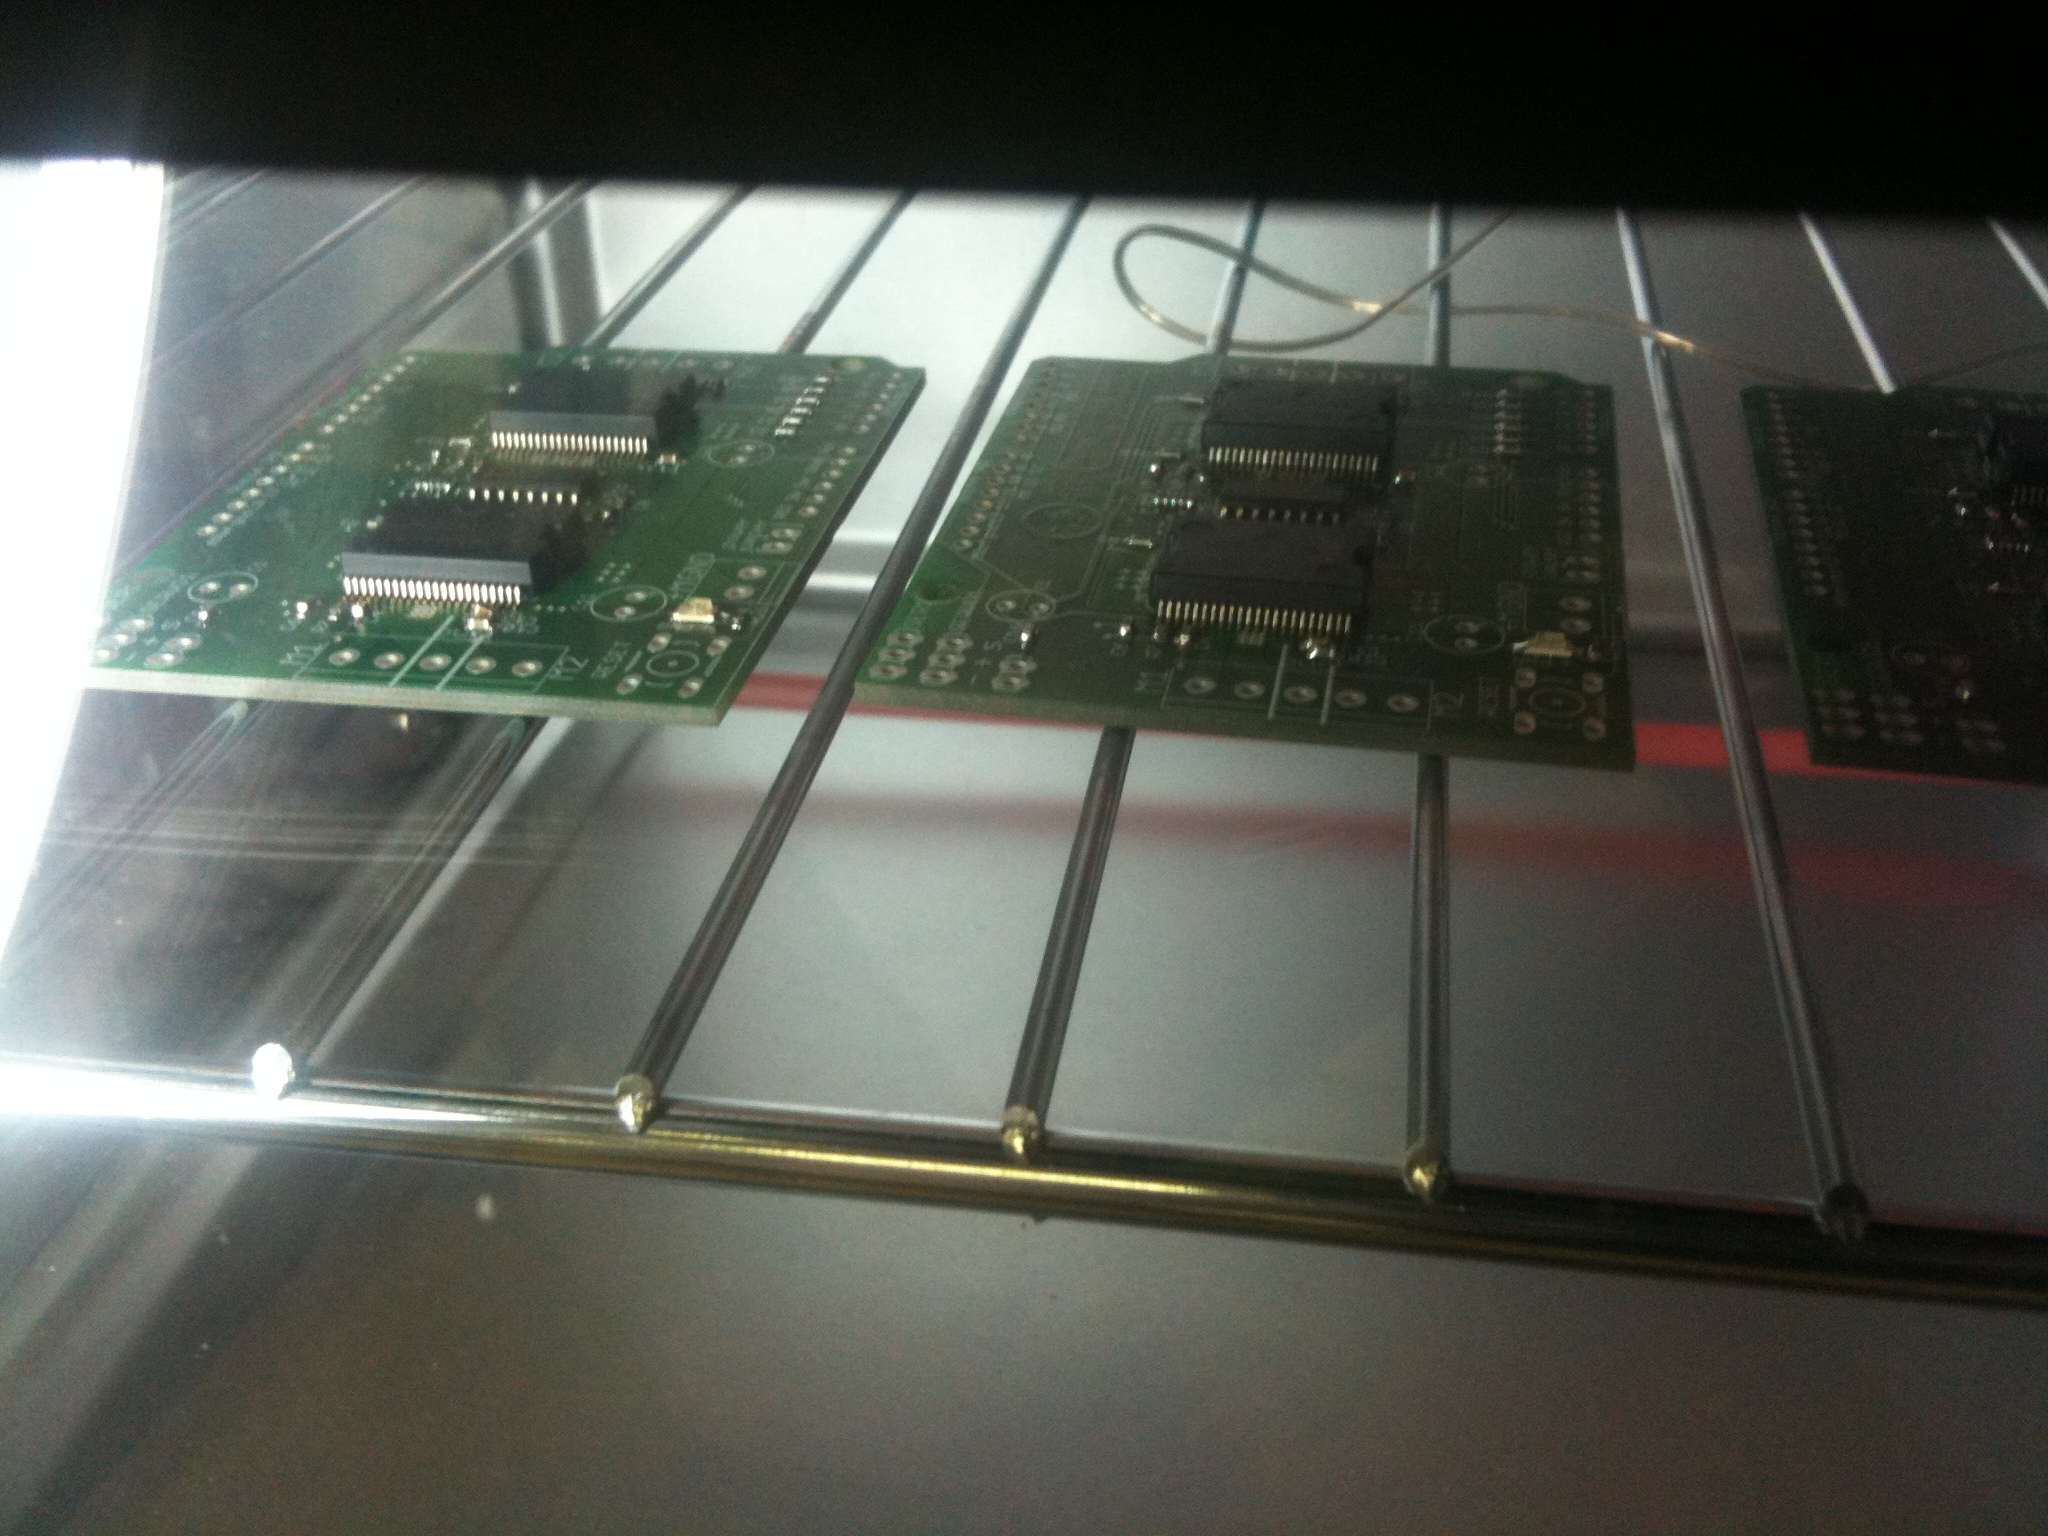 |
Substep 3.6: |
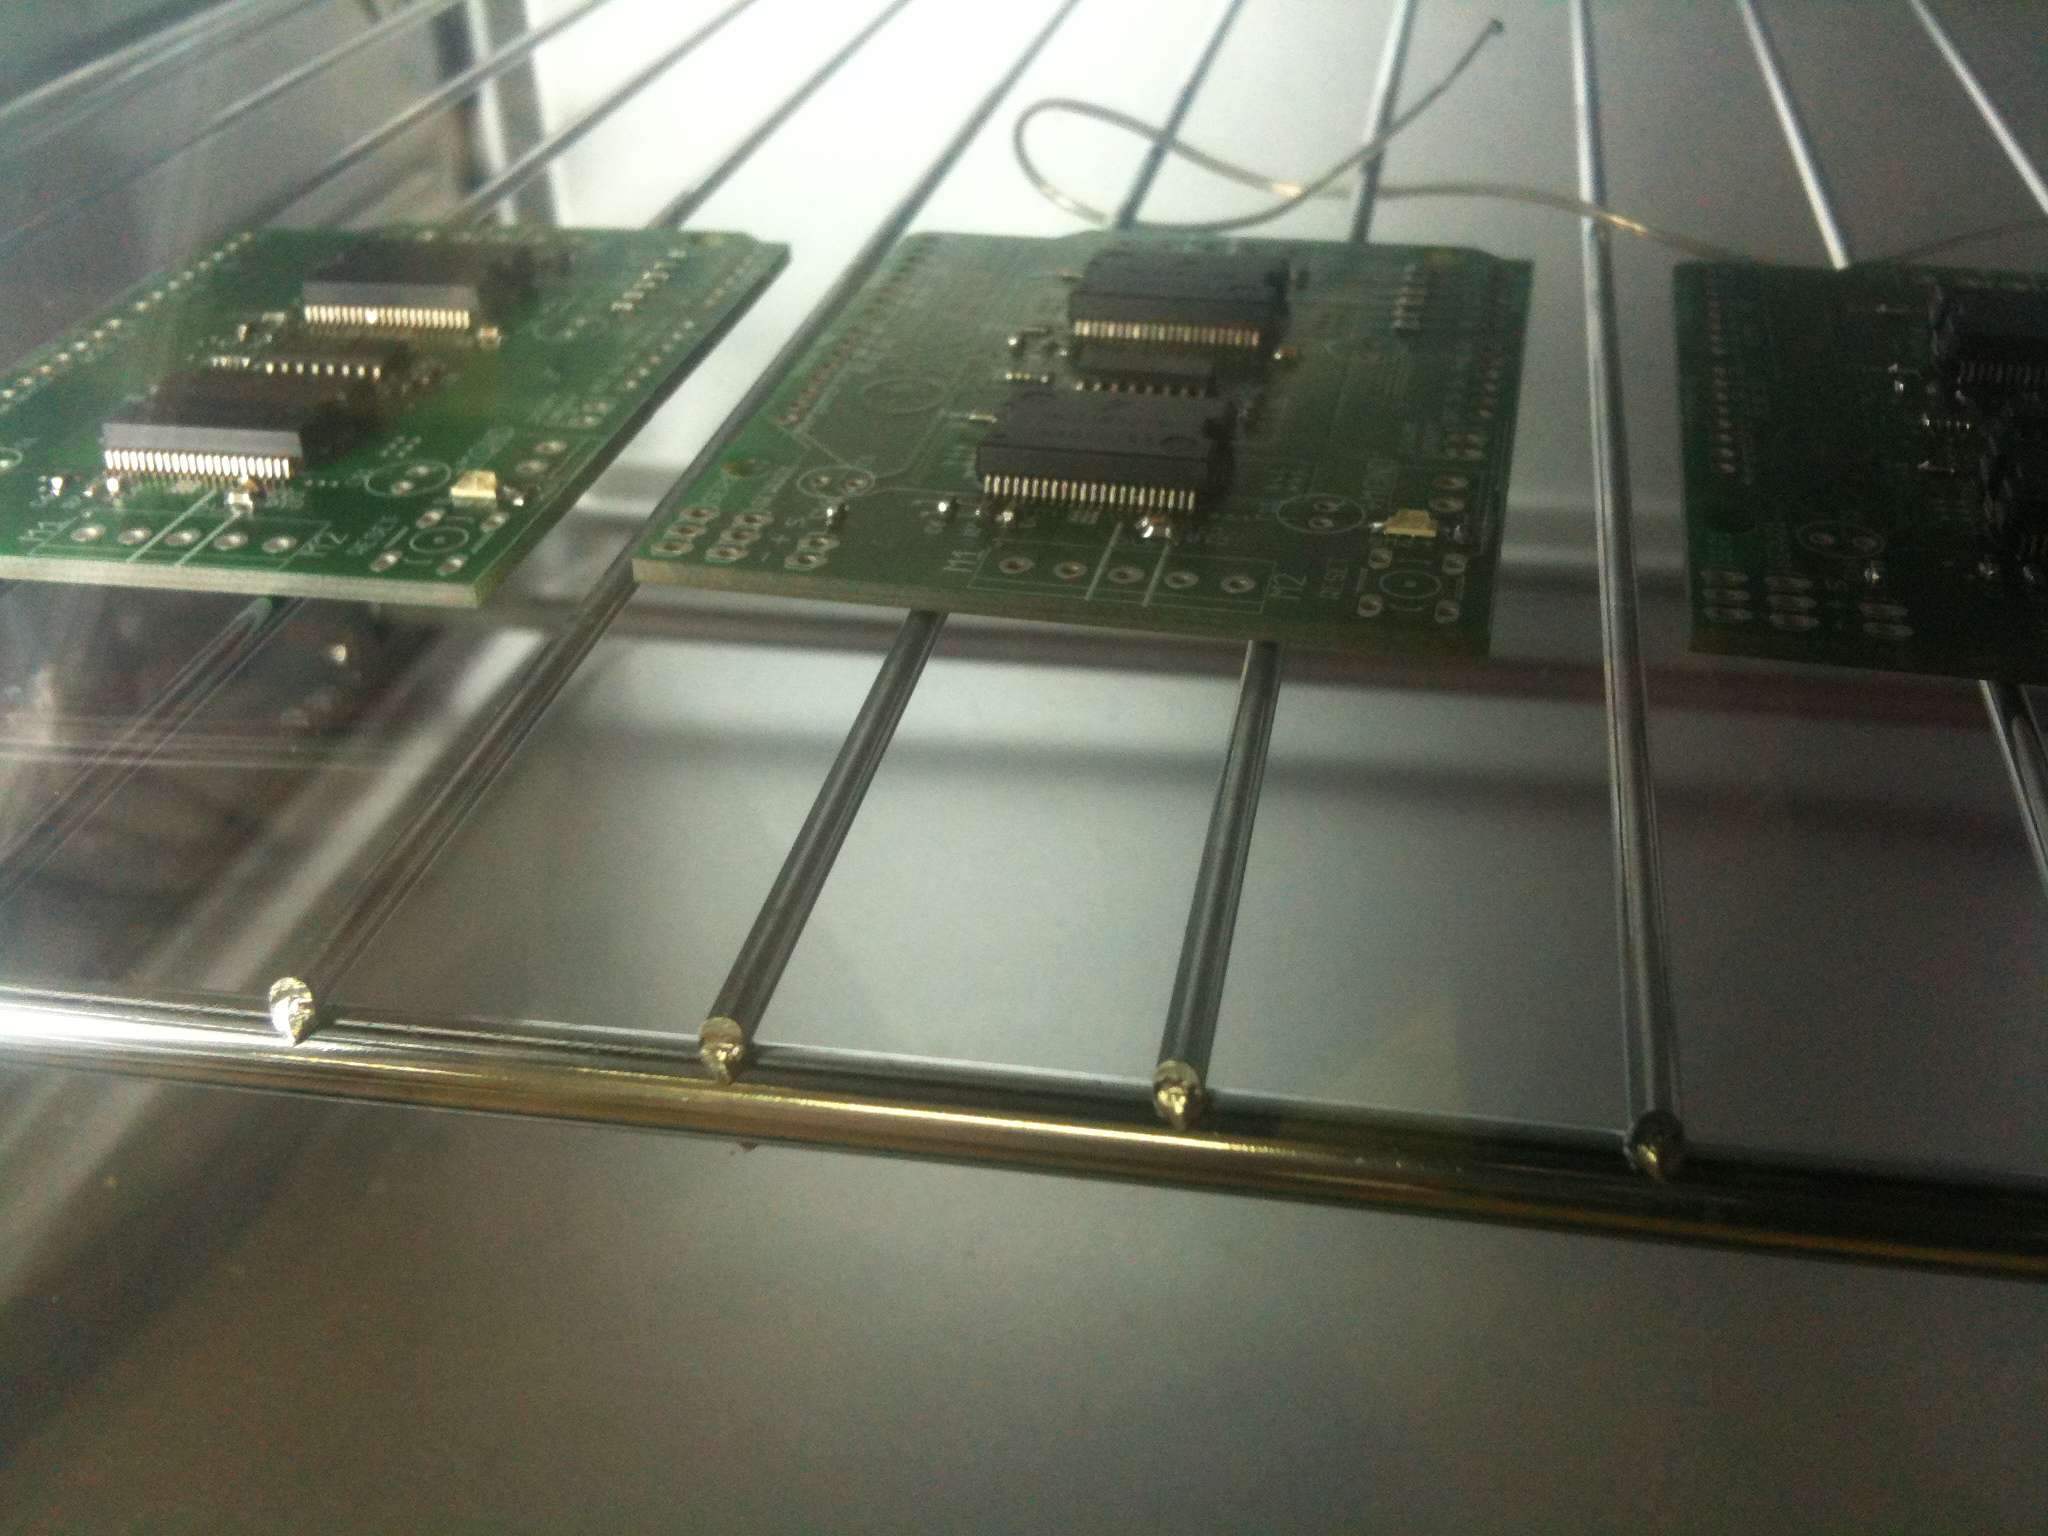 |
Substep 3.7: |
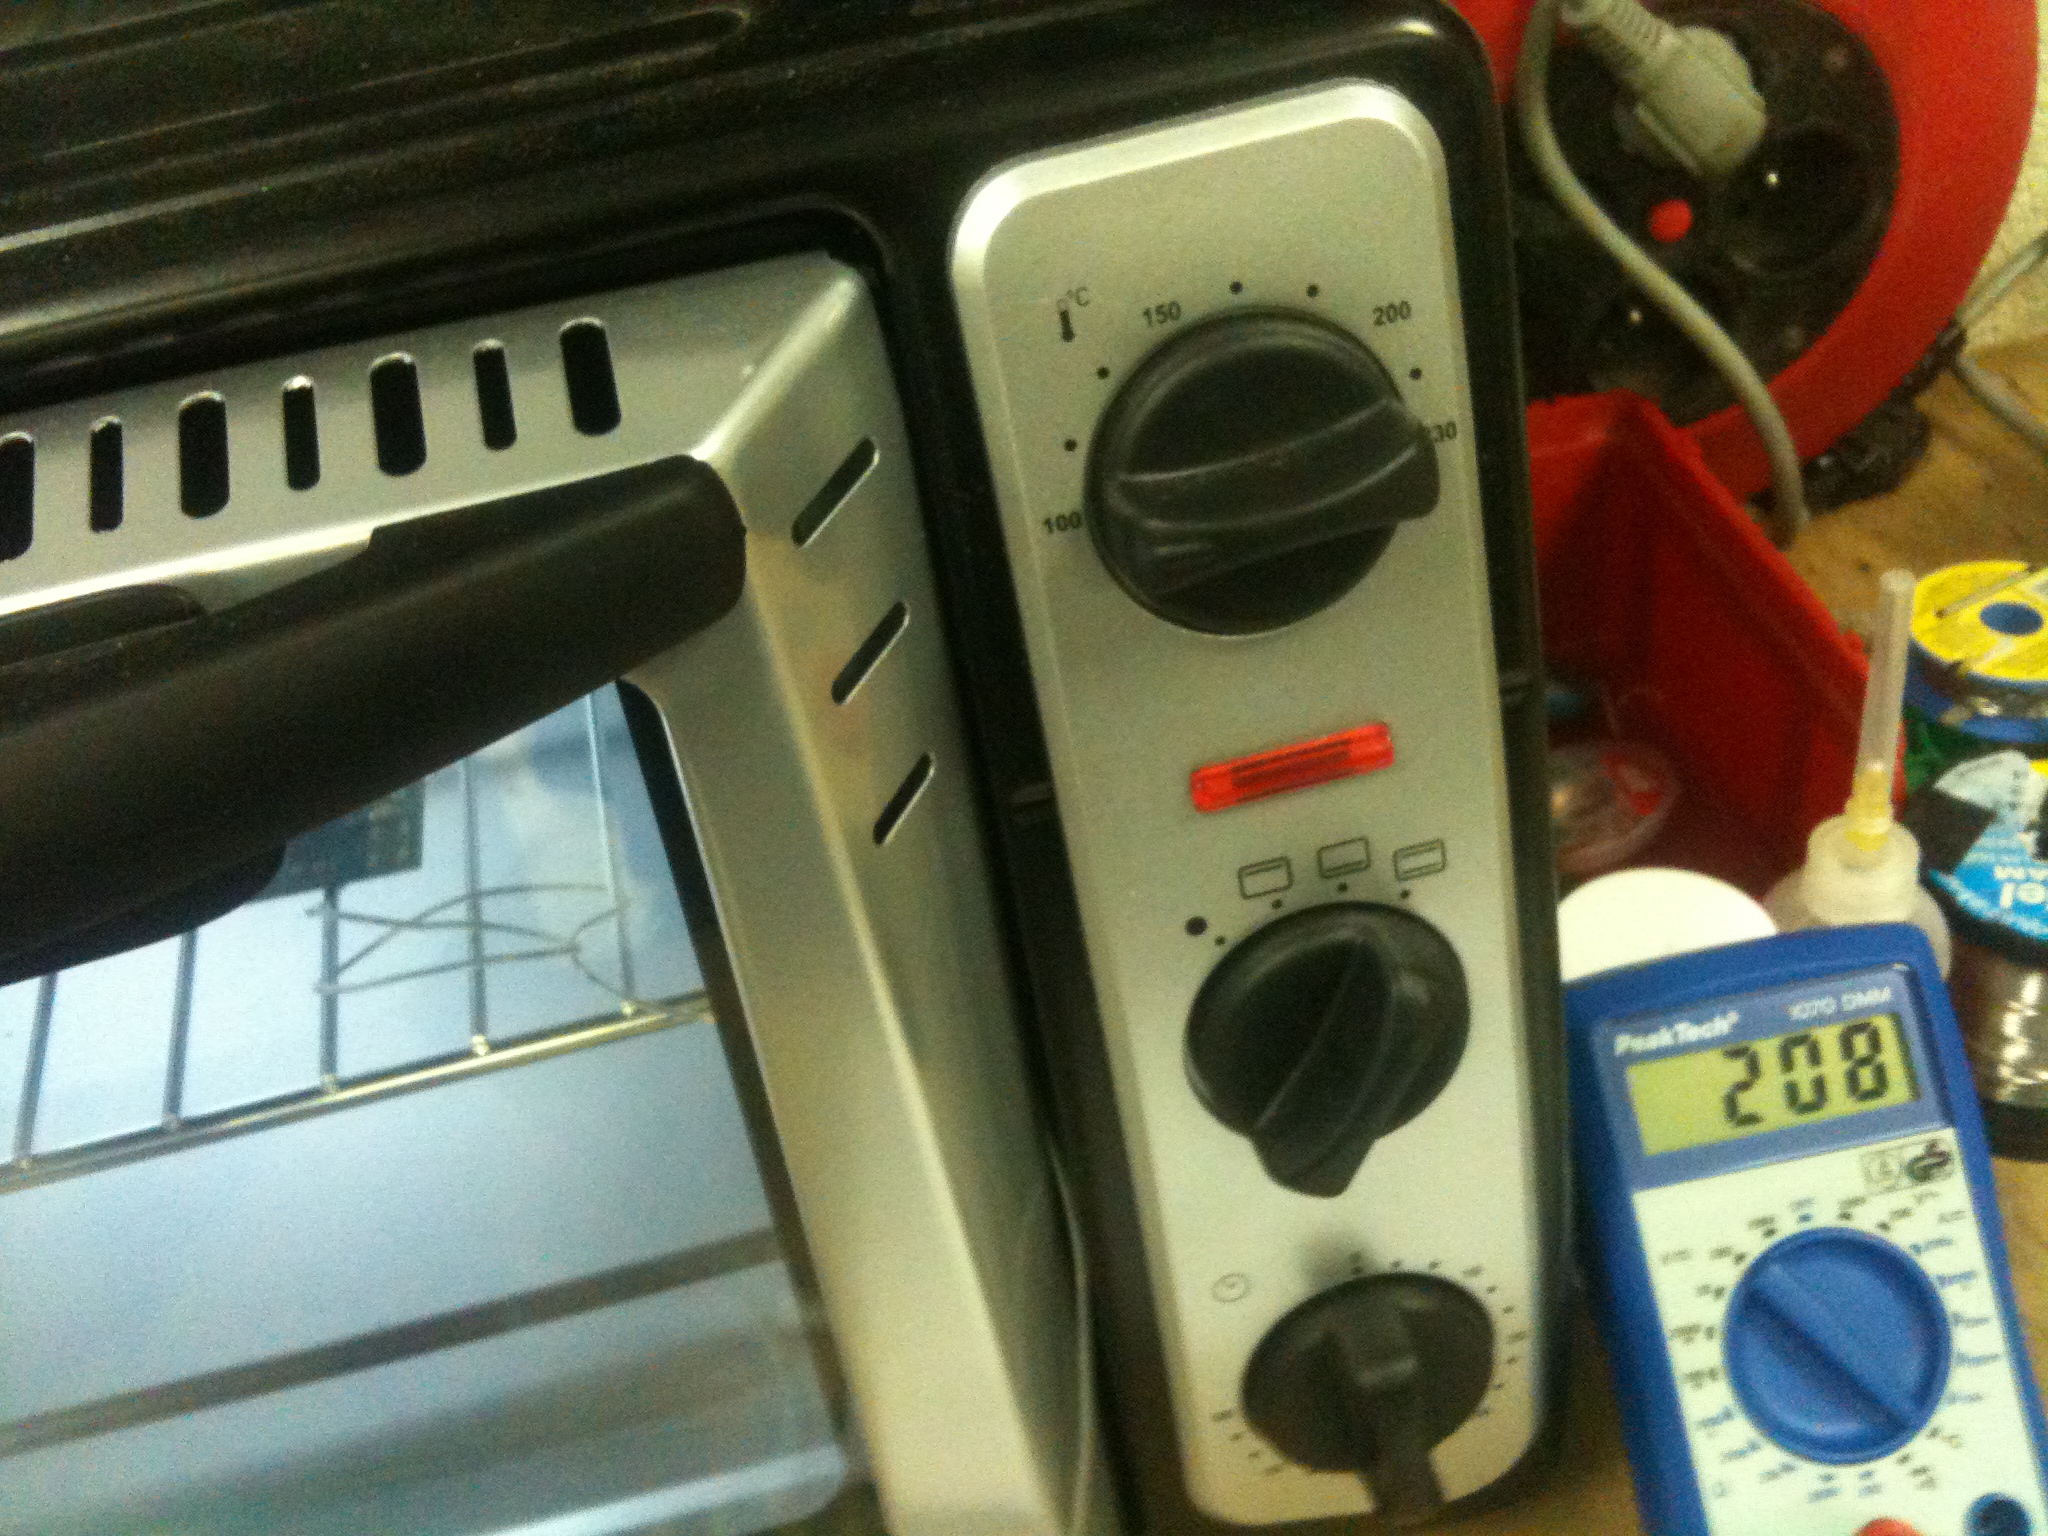 |
Substep 3.8: |
