Projets:Perso:2020:TEKTRONIX 2467B Add HeatsinkToU800
| : TEKTRONIX 2465B - 2467B : add a heatsink to U800 horizontal output stage IC (TEK '155-0241-02') | |
|---|---|
| Auteur | Eric |
| Date de proposition | Nov 2020 |
| Tags du projet | TEKTRONIX 2467B,U800,'155-0241-02',heatsink |
| Utilisateur final | my 2467B |
| Type de projet
Projet personnel de Eric | |
|
Mod for 2465/2466/2467 TEKTRONIX scope series Ajout d'un radiateur sur le composant U800 (étage de sortie horizontal) sur oscilloscope TEKTRONIX 2467B
|
Contents
Context
My TEK 2467B oscilloscope recently released some magic smoke : failure came from the mains filter C14 socket. Replacing the mains filter-socket needs some time (2-3 hours) because gaining access to the defective part requires the whole power supply assembly to be removed :(
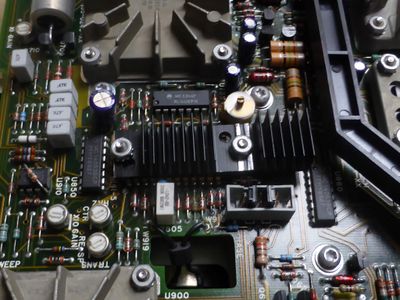
Add a heatsink to 2467B U800 horizontal output stage IC
As the scope was open (and it's mains filter-socket sucessfully replaced), I choose to make use of the opportunity to add a small heatsink to the rather fragile Tektronix "155-0241-02" U800 horizontal output stage with is difficult to find as spare part. A design that duplicates the parts functionality can be found here
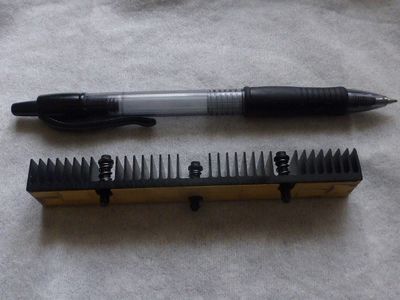
I could find a small heatsink in my junk drawer.
Lenght : 110 mm
Width : 16 mm
Height : 12 mm
Luckilly, its bottom is already coated with a kind of yellow thermally conductive foam/compound.
How to proceed ?
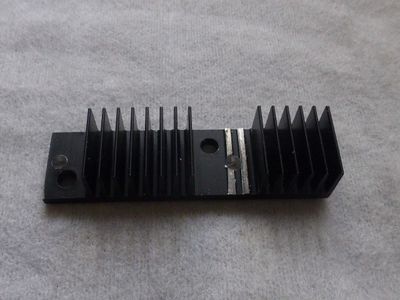
Shorten the heasink to a lenght between 45 and 60 mm : there's actually enough room on the tab side of the IC so that the heasink can be slighly longer than U800.
Remove the fins where the hole(s) have to be placed.
Bore diameter : 3 mm
Distance between the two mounting holes : 36,9 mm
Installation on top of U800 is rather straightforward by using an additional nut and washer, as shown on the picture below.
Additionnal information
The same kind of improvement on a 2465B can be seen at 1:24 on this video made by Philippe Demerliac.


